Do you have a question about the Case Mantis and is the answer not in the manual?
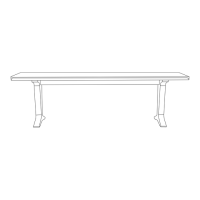
Place table face down, use Fittings 'A' and Allen key to attach legs, tighten securely.
Attach drawer runners, insert central fitting 'C', align drawer to runners and secure.
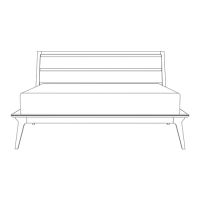
Turn desk upright, position backboard and file support, secure with Fitting 'B'.
Screw in Fittings 'B' for tray, place tray on screws and slide to lock.
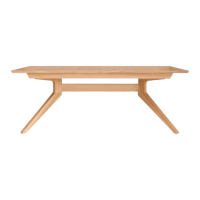
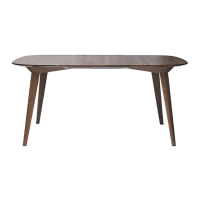
The Mantis Desk, designed by Samuel Wilkinson, is a meticulously crafted piece of furniture intended for both functional use and aesthetic appeal in a modern workspace. This desk is manufactured by European craftsmen, ensuring a high standard of quality and attention to detail.
The Mantis Desk serves as a versatile workstation, offering a spacious surface for various tasks. It incorporates thoughtful design elements to enhance user experience, including options for cable management and integrated storage. The desk is designed to accommodate a backboard and file support, providing organized space for documents and other essentials. Additionally, it features a drawer system, allowing users to choose its placement on either the left or right side of the desk, catering to individual preferences and workspace layouts. The cable management tray helps maintain a tidy work area by concealing wires and power strips, contributing to a clean and uncluttered aesthetic.
The desk is constructed from high-quality materials, primarily ash or walnut stained wood, complemented by powder-coated steel components. This combination ensures both durability and a sophisticated appearance. The use of natural timber means that each unit will exhibit unique variations in natural color and grain, making every desk distinct. The dimensions and specific weight are not provided in the manual, but the assembly instructions imply a substantial and stable structure, requiring two people for safe handling during certain assembly steps, particularly when turning the desk over. The hardware includes various fittings: 'A' (16 pieces) for attaching the legs, 'B' (18 pieces) for securing the backboard, file support, and drawer runners, and 'C' (1 piece) for a specific drawer component. An Allen key is supplied for assembly.
The Mantis Desk offers several user-centric features:
Proper maintenance is crucial to prolong the life and preserve the appearance and functionality of the Mantis Desk. The manual provides clear guidelines for care:
In summary, the Mantis Desk is a well-designed and functional piece of furniture that combines natural materials with thoughtful features to create an efficient and aesthetically pleasing workspace. Its customizable elements, integrated cable management, and durable construction make it a practical choice for various environments, while specific maintenance guidelines ensure its longevity and continued appeal.
| Brand | Case |
|---|---|
| Model | Mantis |
| Category | Indoor Furnishing |
| Language | English |