— 12 —
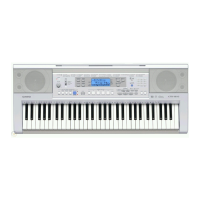
10.Remove 13 screws and then the lower case.
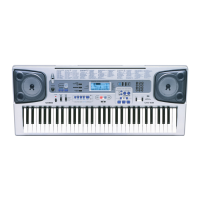
11.Remove 19 screws and then the PCB ASSY (KY1M, KY2M).
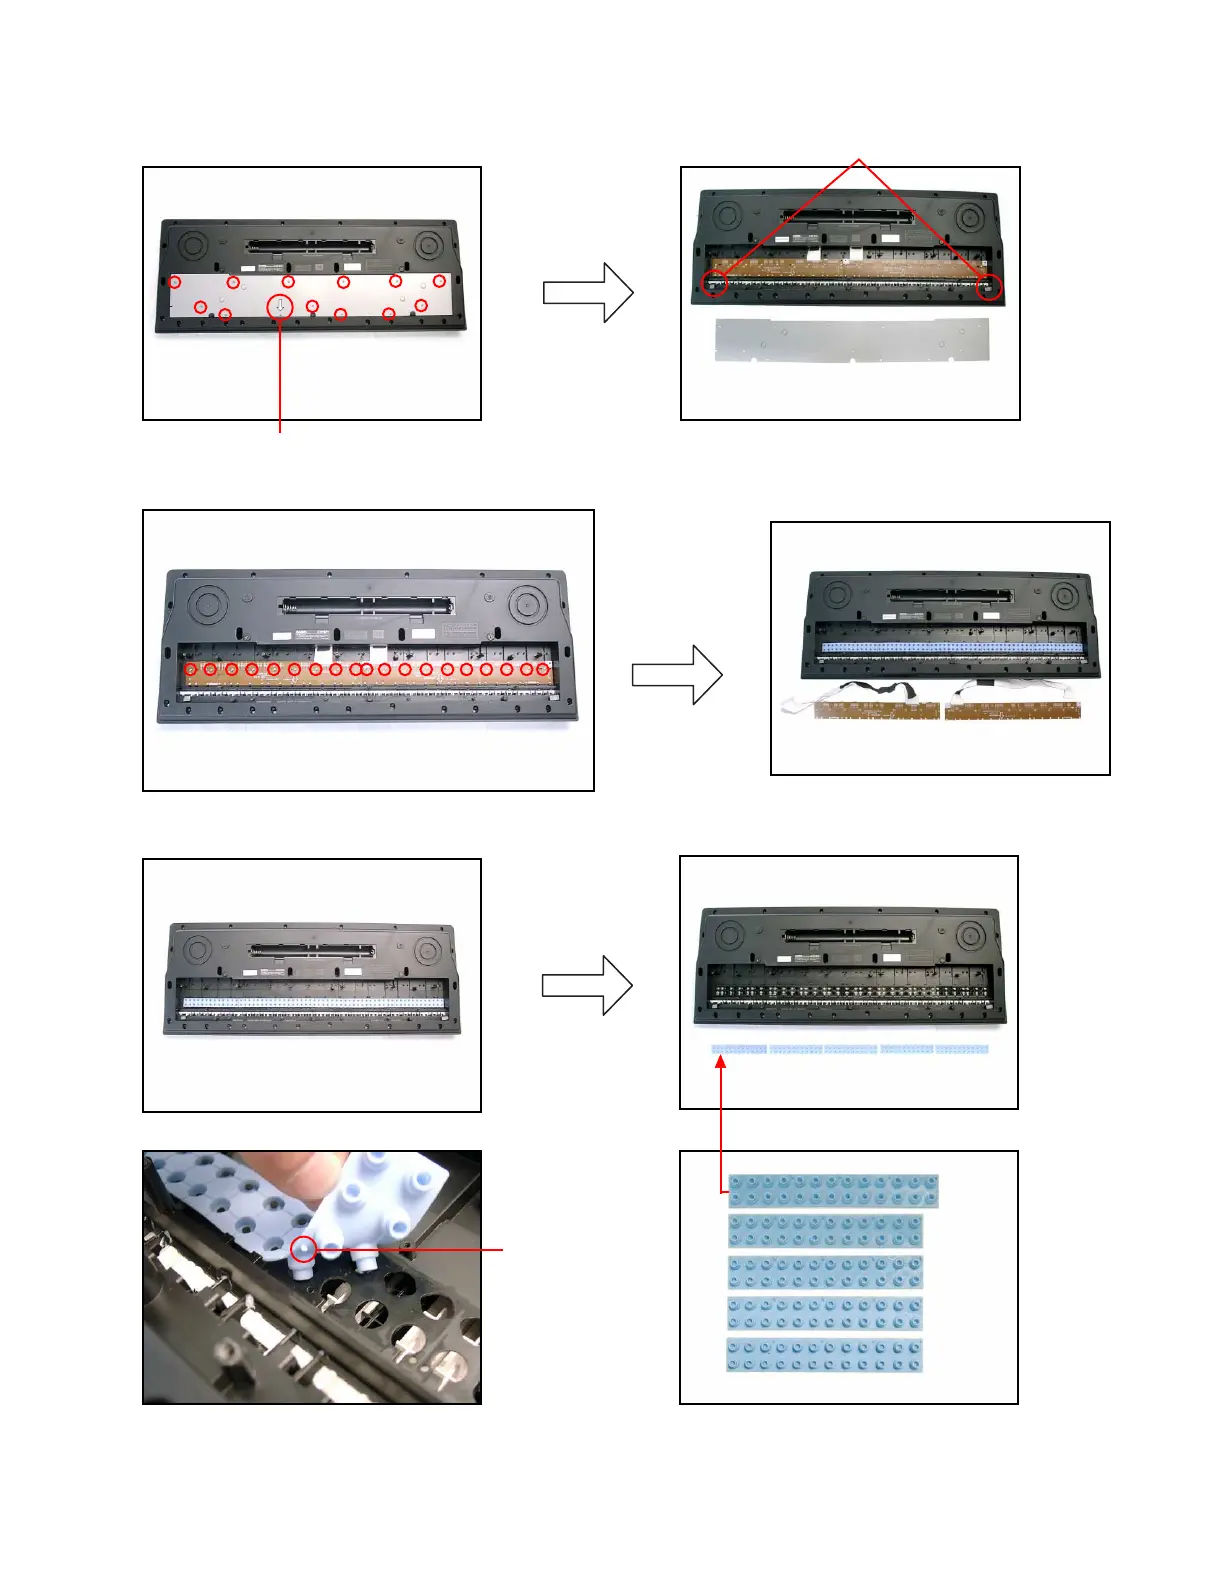
12.Remove the rubber keys.
Note: Pay attention to the positions of the rubber keys as one of them has a different length.
Match the projections of the rubber keys with the holes of the lower case when reassembling.
Note: Tighten the screw with the arrow mark in the figure first when reassembling.
Cushion
Projection
 Loading...