– 22 –
DT-X200/DT-X8
5-3-3. Installing the microSD card
Install the microSD card in which the test program is written in both test object DT-X200/DT-X8 and
opponent DT-X200/DT-X8.
5-3-4. Copying the test program to the FlashDisk
1. Using Explorer, select “SetFactoryTool” under \\My Device\SD Card.
2. When “It copy a Factory Tool ....” is shown, select “Yes”.
The test program (DIAG folder) is copied under “FlashDisk”, and then DT-X200/DT-X8
automatically restarts.
NOTES:
1. The fi le contents copied under “FlashDisk” are identical to those saved in microSD Card.
2. When DT-X200/DT-X8 is restarted, the “PC Connection” checkbox is automatically set to OFF
and USB communication between the test PC via ActiveSync/Windows Mobile Device Center is
impossible. To establish USB communication via ActiveSync/Windows Mobile Device Center, it is
required to set the “PC Connection” checkbox to ON.
5-3-5. Removing the microSD card
1. Turn OFF DT-X200/DT-X8 and remove the microSD.
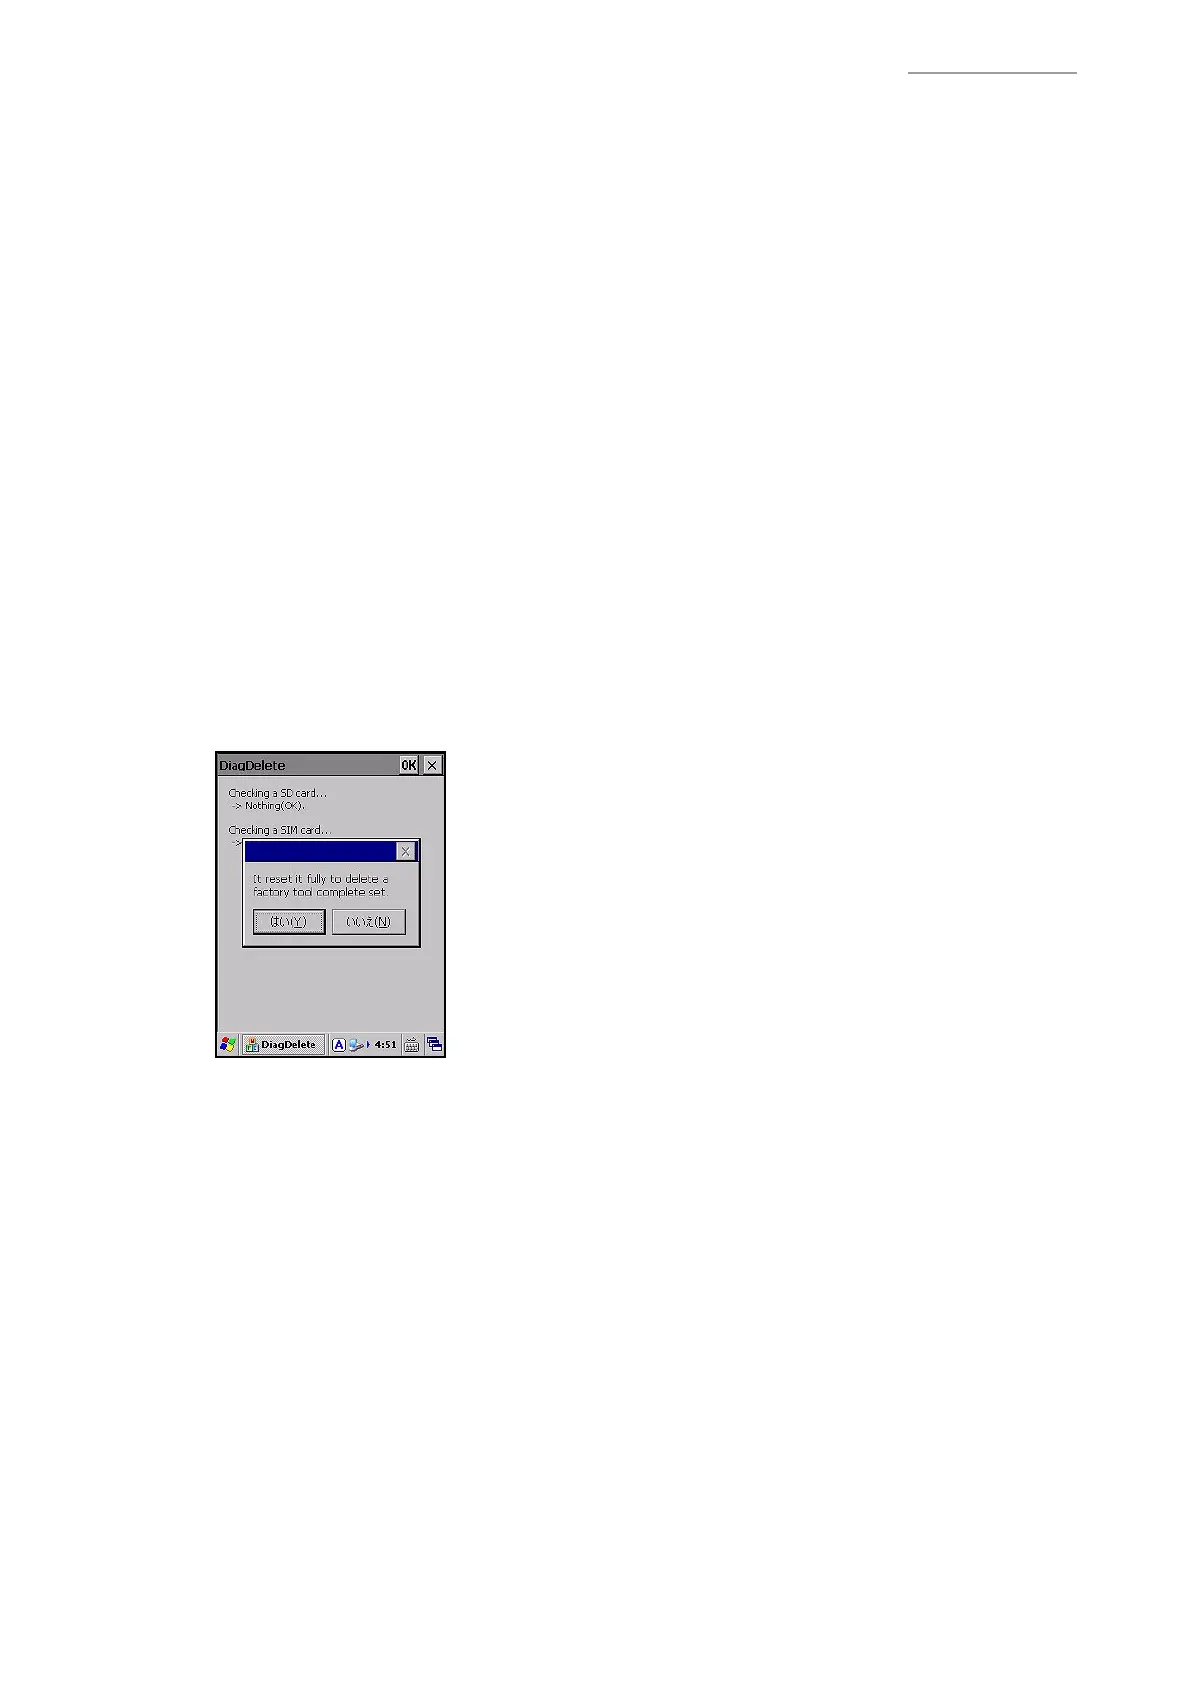
5-3-6. Deleting the test program
After completion of all tests, delete the test program from DT-X200/DT-X8 as follows.
1. Turn ON DT-X200/DT-X8 and execute “zDiagDelete” under \\My Device\FlashDisk\DIAG using
Explorer.
2. When the following dialog box appears, select “Yes (the left button)”.
3. The DIAG folder under \\My Device\FlashDisk is deleted, and then DT-X200/DT-X8 restarts.
 Loading...