[Type here] [Type here] [Type here]
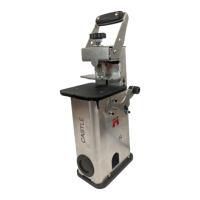
1. Insert the stop bar into the stop bar port in either side
of the Castle 110 with the notch facing down. The
stop bar will lock into place when the notch engages
the bottom of the stop bar port. (Figure 10a)
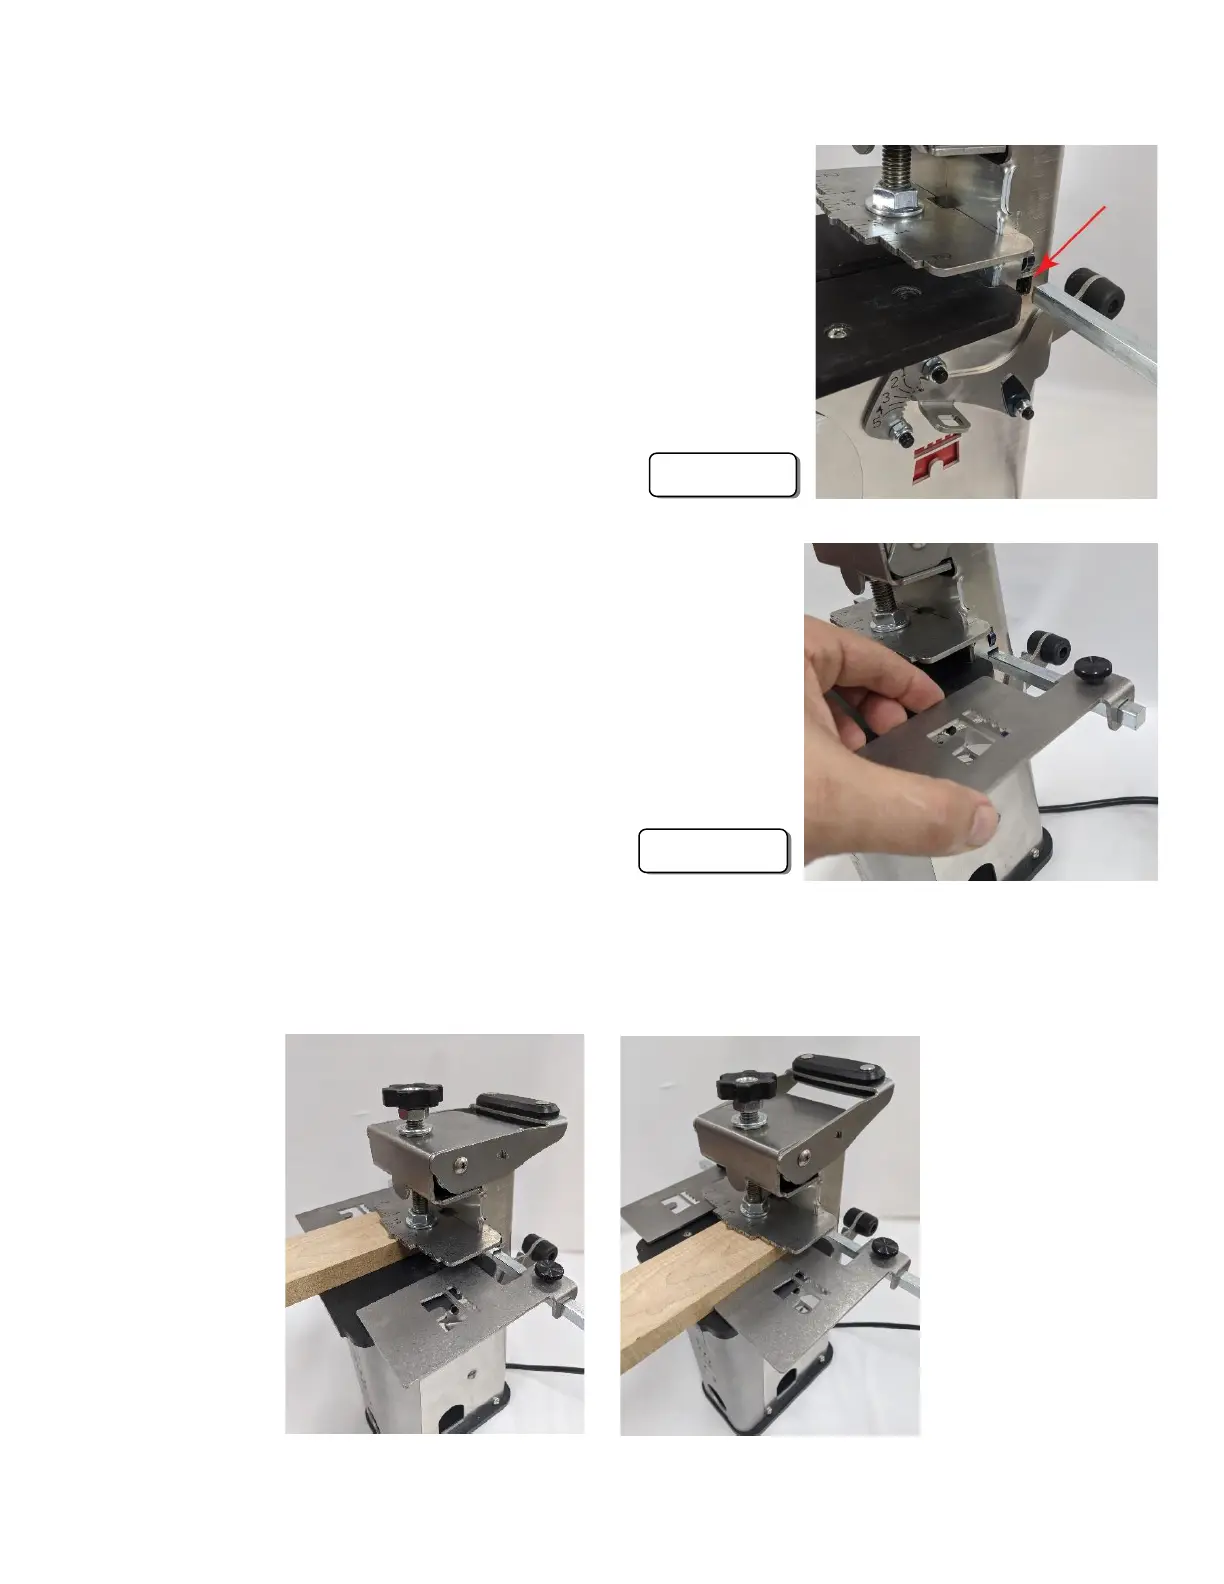
2. The work stops simply slip over the stop bar and lock
into place with the stop locking knobs. Note that the
stops have a “long” side and a “short” side so they can
be positioned either way, depending on the width of
the stock. (Figure 10b)
3. After setting the location of the work stops you will simply place your work
against the work stop, clamp down, and proceed with the cut.
 Loading...