15 VECTOR USER GUIDE
VECTOR
VECTOR RUNNING A LIVE SESSION
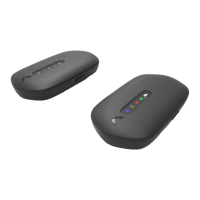
STEP 1 - VECTOR DEVICE
Before running a live session, ensure you have charged
your Vector Devices, Dock and Receiver.
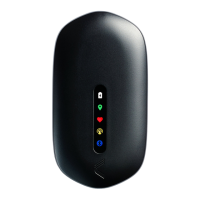
1. Turn on Vector Devices and wait for the GPS
indicator to change from lashing to solid
green (GPS lock)
2. Insert GPS locked devices into the Vector
garment. Clip the Device into the garment
via the press studs to enable integrated
Heart Rate collection*
Integrated HR is for S7/G7 and Elite garment only
STEP 2 - CREATE NEW ACTIVITY
1. Start OpenField console and click
the Start button
2. Right click the timeline and select New Activity
3. Name the Activity, choose the activity
type and Day Code
4. Click the Create Activity button to
start activity
STEP 3 - VECTOR RECEIVER
1. Power on the Vector Receiver and connect
to OpenField
2. Click the Live Play button to start data collection.
Connected devices will appear in the Active
Players list
STEP 4 - MANAGE PERIODS
1. Select the athletes to add to the period from the
Active Players list
2. Click the +Period to create the period
3. A new period will start on the OpenField timeline
4. Rename periods by double clicking on them
5. To stop live periods, press the
button below
the timeline. This will stop data updating in the
dashboard widgets
Repeat 1 & 2 to create additional periods
STEP 5 - ENDING ACTIVITY
1. Stop all live periods by pressing
the
button
2. Click the Live Pause Button button
3. Right click the activity bar and press
Close Activity
You can now power down your Vector Receiver
*For advanced worklows, please see the help section
of the OpenField cloud
■ TIPS:
1. Vector Devices will show a solid amber
wireless indicator when they have successful
connection to the Vector Receiver
2. You can run multiple periods concurrently
to capture players in different drills
simultaneously. Repeat step 4 [1-3] selecting
the different players for each new drill
 Loading...