ATTENTION:The following steps are for the Microwave Oven models with the Built-in Trim Kit
Frame Only.
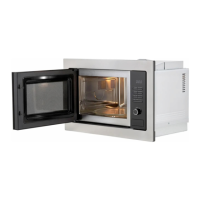
1. After taking all the accessories out of the microwave oven, turn the microwave oven over on its
back and keep the base of the microwave oven facing towards you.
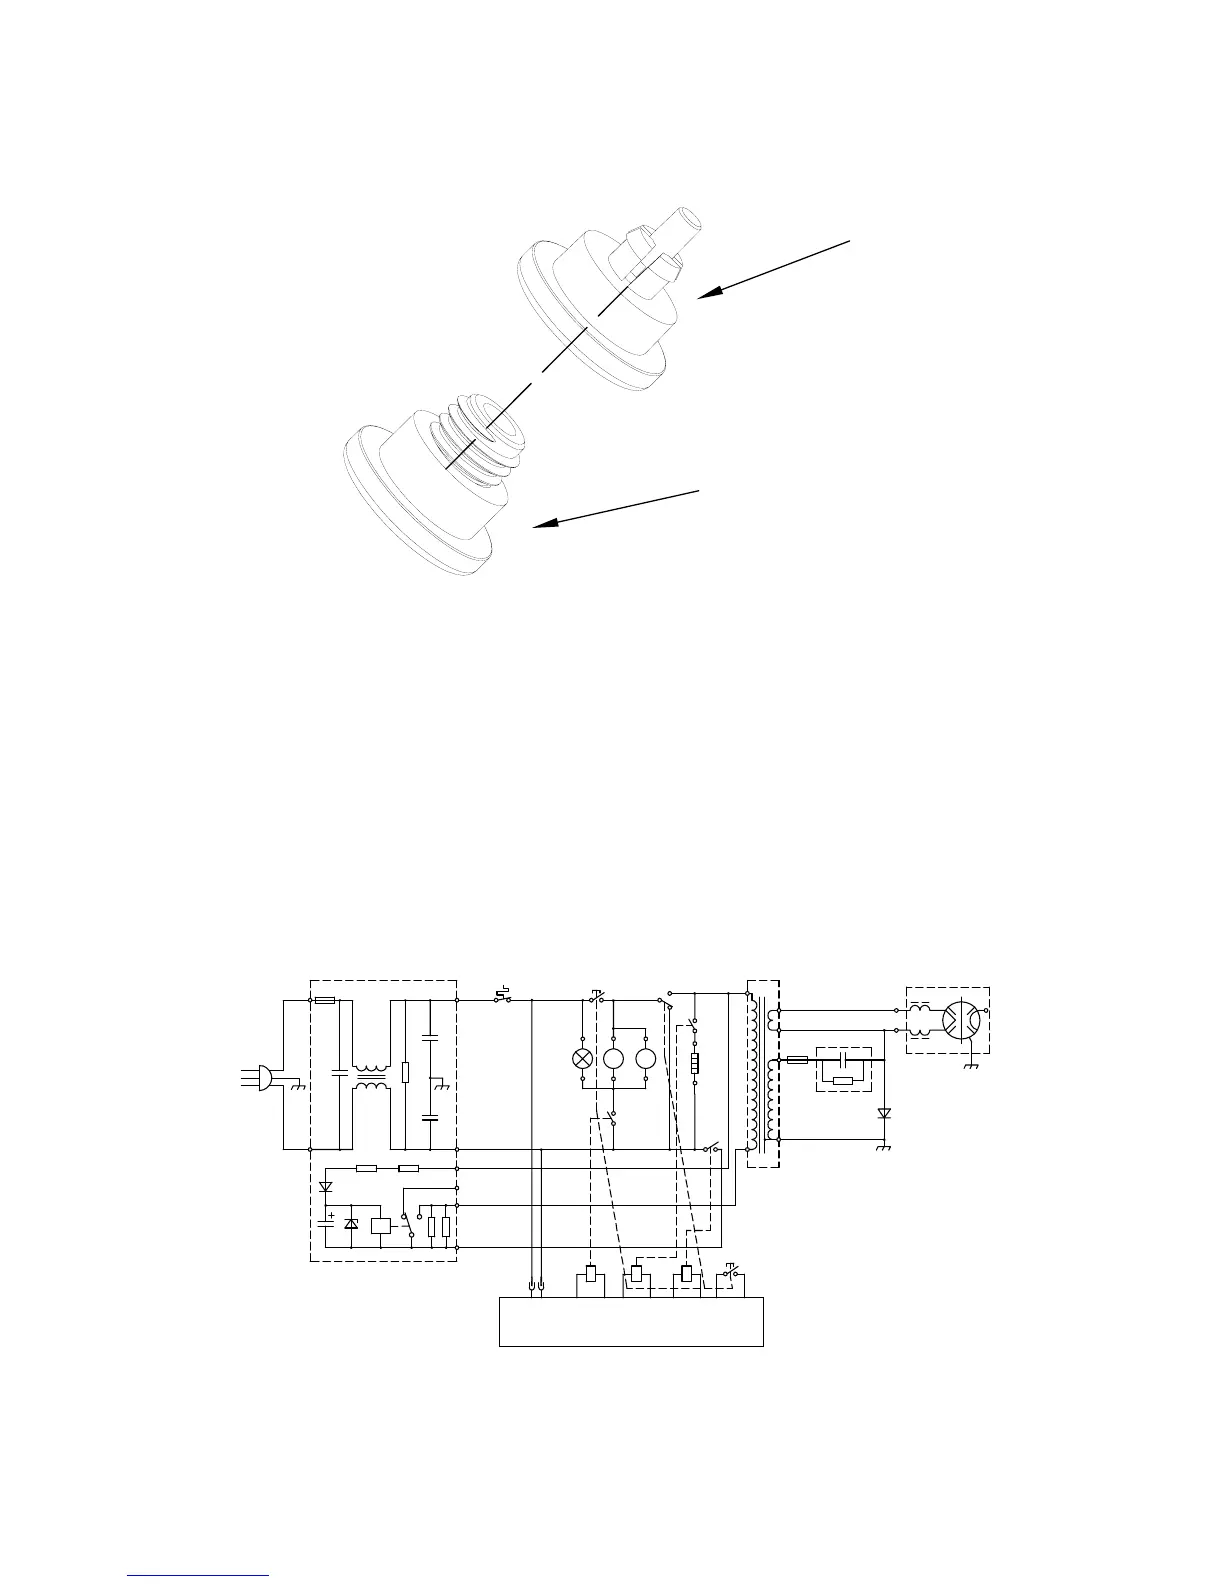
2. Remove the adjustable feet (Fig. No. 2) from the plastic bag and screw them into the holders
(Fig. No. 1), one by one.
3. Once all 4 feet are fitted, turn the microwave oven back over onto its feet to check if the adjust-
able feet are level. If the microwave oven is unstable, adjust the feet by screwing them up or down
accordingly.
1
2
TRANSFORMER
MAGNETRON
H: HEATER
TM: TURNTABLE MOTOR
FM: FAN MOTOR
L: LAMP
SWC: THE MONITOR INTERLOCK SWITCH
SWB: SECONDARY INTERLOCK SWITCH
SWA: PRIMARY INTERLOCK SWITCH
*CIRCUIT SUBJECT TO CHANGE WITHOUT NOTICE
( DOOR OPENED,COOK OFF CONDITION)
SCHEMATIC DIAGRAM
R4-1
C4
D2
RY
N
R3
D1
R2
CONTROLLER
JP1-2
JP1-1
RY
K4
K2 GNDK3 D_ SW
RY
H( OUT)
SW2
R4-2
T( IN)
N
P( OUT)
C2
RY
SWB
SO
D
NEL
L
L
C1
R1
F1
NOISE FILTER
L
C3
FU
L
FM
TM
SWA
H
SH
F2
C
SWC
FA
F