3433
ENGLISH
- Clean the basket and grill thoroughly with hot water, washing-up liquid, and a non-
abrasive sponge.
- Place the rack properly in the basket and place the basket back in the appliance for use.
- Do not fill the device with oil or any other liquid.
3. OPERATION
Using the air fryer
Step 1
1. Place the air fryer on a flat, stable, and heat-resistant surface, away from any
possible splashing water or heat source.
2. Properly place the basket in the air fryer.
3. Do not place any objects on top of the product when in use to avoid interrupting the air
flow and affecting the air-frying result.
4. Insert the power cord into an earthed wall socket.
5. Remove the basket from the air fryer with extreme
care.
6. Put the ingredients in the basket.
- Note: never exceed the MAX mark on the basket or the quantity indicated in the
table (see “Settings” in this section) to avoid affecting the final result.
- Tip: to ensure perfect results, it is recommended that you
avoid overcrowding the
basket with food, as it will not cook evenly.
7. Use the control panel as follows (Fig. 2):
Plug in the air fryer–the corresponding power light indicator (Icon 1) will come on.
Icon 1 – Power icon
Once the basket and rack are securely
in place in the fryer, the power icon will light up.
Pressing the power icon will set the temperature to 185°C and the cooking time to 15 minutes
by default. Pressing the power icon again will start the cooking process. At the start of the
process the “Icons 8 and 9” flash to indicate that the fan and the heating element are in
operation. During the cooking process, the “Icon 9” will stop flashing as soon as the
device reaches the set temperature and will start flashing again when the temperature
drops below the set range.
Icon 2 - Menu-selection icon
Use this icon to choose from 12 of the most popular food options. Once the desired option
has been chosen, the cooking time and temperature values will be set by default. The time
and temperature values are manually adjustable.
Icons 3 and 4 – Time increase/decrease icon
Press icons “3” and “4” to set the cooking time from 1 to 60 minutes.
ENGLISH
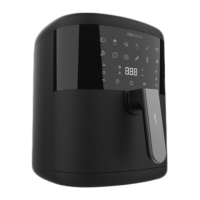
1. PARTS AND
COMPONENTS
Fig. 1
1. Housing
2.
Touch control
panel
3. Basket
4.
Handle
5.
Power cord*
6.
Silicone brush*
7.
Silicone spatula*
8.
Silicone mat*
9.
Silicone mould
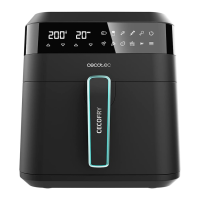
Control panel. Fig. 2
1. Power icon
2. Menu-selection icon
3. Time-increase icon
4. Time-decrease icon
5. Temperature-increase icon
6. Temperature-decrease icon
7. Timer
8.
Fan icon
9. Heating icon
Note:
The graphics in this manual are schematic representations and may not exactly match
the product.
2. BEFORE USE
-
-
This product includes a safety package to protect it during transport. Unpack the device
and keep the original packaging and materials in a safe place. It will help prevent any
damage if the product needs to be transported in the future. In case the original packaging
is disposed of, make sure all packaging materials are recycled accordingly.
Make sure all parts and components are included and in good conditions. If there is any
piece missing or in bad conditions, contact the official Cecotec Technical Support Service
immediately.
- Clean the interior and the exterior of the device with a damp cloth. Do not wet the heating
elements.
*Accessories are only supplied with CECOTEC Cecofry Bombastik 6000 Full