78
ENGLISH
3. OPERATION AND INSTALLATION
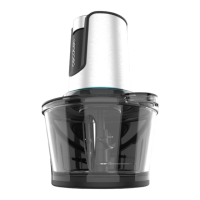
Assembly of stainless-steel Victory XL and Unique XL stainless steel jars
Place one of the jars on the main body, making the handle of the jar coincide with the front
of the main body, if it is not correctly positioned and you try to start cooking, the A2 warning
will appear on the display. FIG. 2. The robot has a jar detector so you can tell whether you are
tting the Victory XL or Unique XL jar.
Assembling the hinged cover
- Place the cover on the jar matching the markings on the jar and the cover, press the cover
around the jar’s rim and turn the cover clockwise to secure it. Should the cover not be
correctly tted when the speed is not on 0, the A1 warning will appear on the display. FIG.
3
- When you open the cover, you have the possibility to leave it in the hinged position by
using the side handle with a hook to snap it onto the rim of the jar. The cover of the
cooking robot can also be hinged.
- The cover has a removable sealing gasket that can be cleaned.
Warning
Please note that if you subject the jar or the robot to movement, the cover may fall o to one
side. FIG. 4
Assembling the accessory bracket and the xing system for the accessory bracket
- Make sure the accessory bracket’s sealing gasket is properly installed. When installing it
on the jar you must take into account that the bracket must be placed a certain way. Make
sure it ts correctly. FIG. 5 AND FIG. 6
- Hold and install the accessory bracket making sure it is correctly tted. Then install the
locking system on the bottom of the jar and turn it clockwise until the arrows on the
system match the padlock on the base of the jar to secure the accessory bracket. FIG. 7
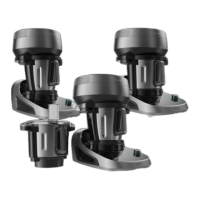
Assembling the accessories on the bracket
- Once the accessory bracket is installed and xed, place the desired accessory on it and by
pressing down, turn it counterclockwise. FIG. 8 and ensure that it moves slightly upwards
again and snaps back into its safety housing. It is very important to ensure that they
are properly housed and secured. To check this, once they are in place, gently pull them
upwards and check that they cannot be removed easily.
- To remove the accessories, press and turn clockwise. Some accessories, such as the
blades, are very sharp, use extreme caution when handling them.
Tip
To attach the accessories, place the jar on the robot to make it easier to t the accessories.