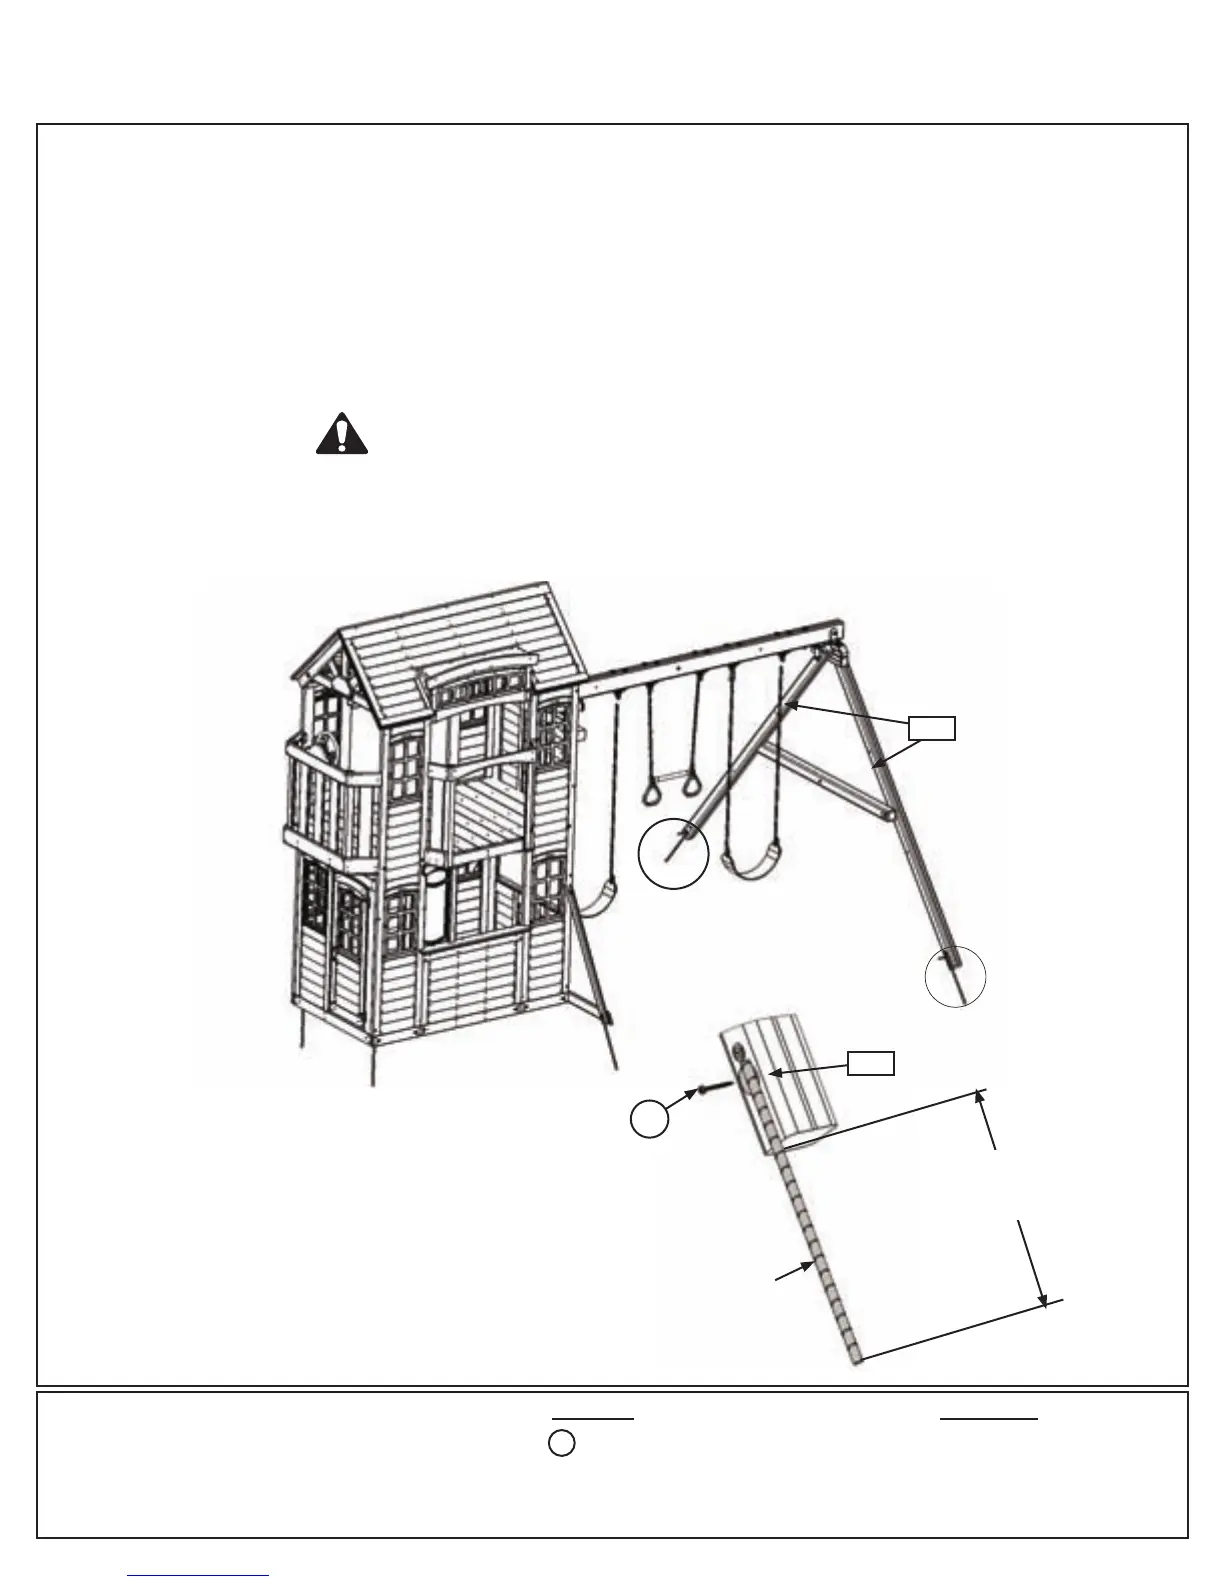
Step 32: Attach Swing End Ground Stakes
Other Parts
A:Inthe2placesshowning.32.1drivetheRebarGroundStakes13”intothegroundagainsttheboards.
Becarefulnottohitthewasherwhilehammeringstakesintothegroundasthiscouldcausethewasherto
breakoff.
B: Attachgroundstakesto(282)SWPostsusing1(S7)#12x2”PanScrewpergroundstakeasshowning.
32.2.
C:Afterdrivingstakesintotheground,checkforsharpedgescausedbytheimpactofthehammer.Smooth
anysharpedgesfromimpactareaandtouchupwithoutdoorpaint.
Warning! To prevent tipping and avoid potential
injury, stakes must be driven 13” into ground.
Digging or driving stakes can be dangerous if you
do not check rst for under-ground wiring, cables
or gas lines.
Fig. 32.2
Fig. 32.1
2 x #12 x 2” Pan Screw
S7
Hardware
S7
282
282
RebarGroundStake
13”InGround
2 x Rebar Ground Stake
107 support@cedarsummitplay.com
 Loading...