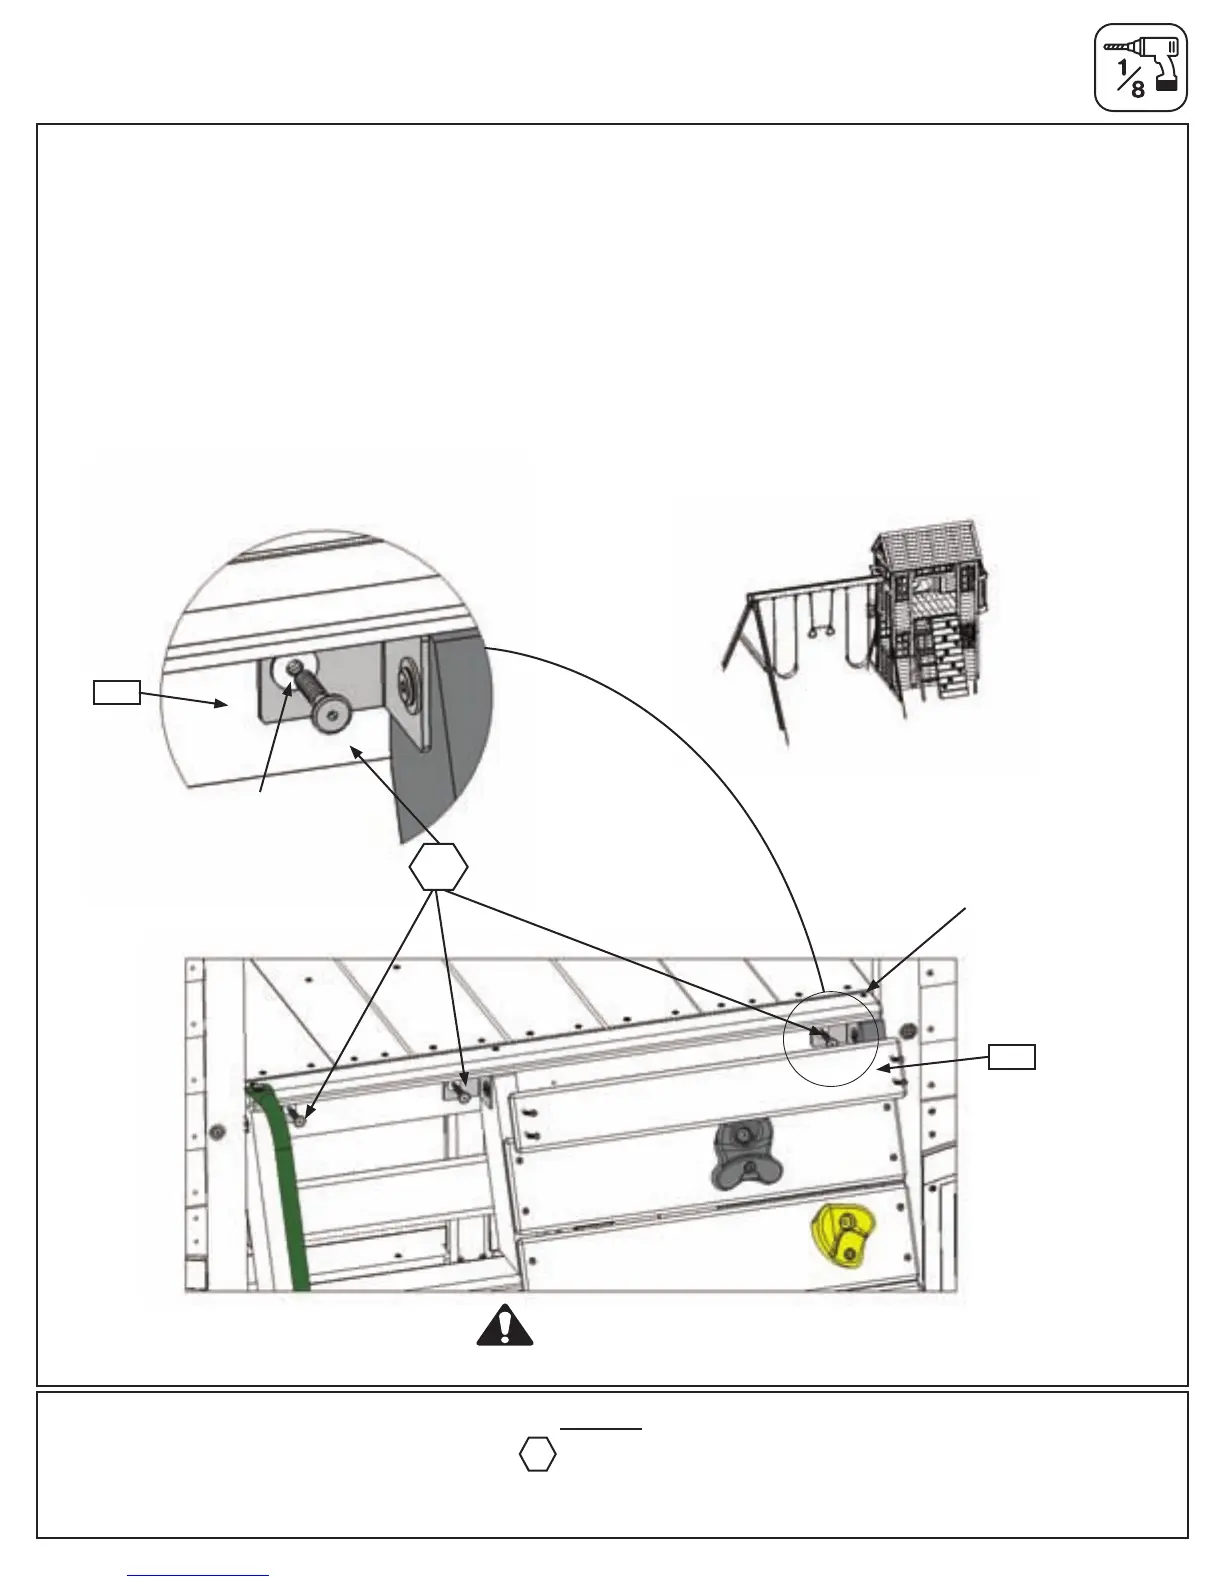
Step 34: Attach Access Ladder Rockwall Assembly
Hardware
Pre-drill all holes using a 1/8” drill bit before installing the Wafer Lags
A: Remove(026)BoardAccessfromtheAccessLadderRockwall,previouslyassembledinStep2.Setthe
boardandscrewsaside,theywillbere-attached.(g.34.2)
B:PlacetheAccessLadderRockwallontheBacksideofthefortandattachto(043)JoistSidewith1(WL3)
1/4x1-3/8”WaferLagScrew(withatwasher)ineachSwingBracket.(g.34.1,34.2and34.3).
C: Re-attach(026)BoardAccesstothesameplaceitwasremoved.(g.34.2)
Fig. 34.3
043
3 x 1/4 x 1-3/8” Wafer Lag
(1/4” at washer)
WL3
Warning! Check entire play center for
bolts protruding beyond T-Nuts. Use extra
washers to eliminate this condition.
Fig. 34.1
Fig. 34.2
1/4”Flat
Washer
026
WL3
Important.Flush
toDeckBoards.
Back
109 support@cedarsummitplay.com
 Loading...