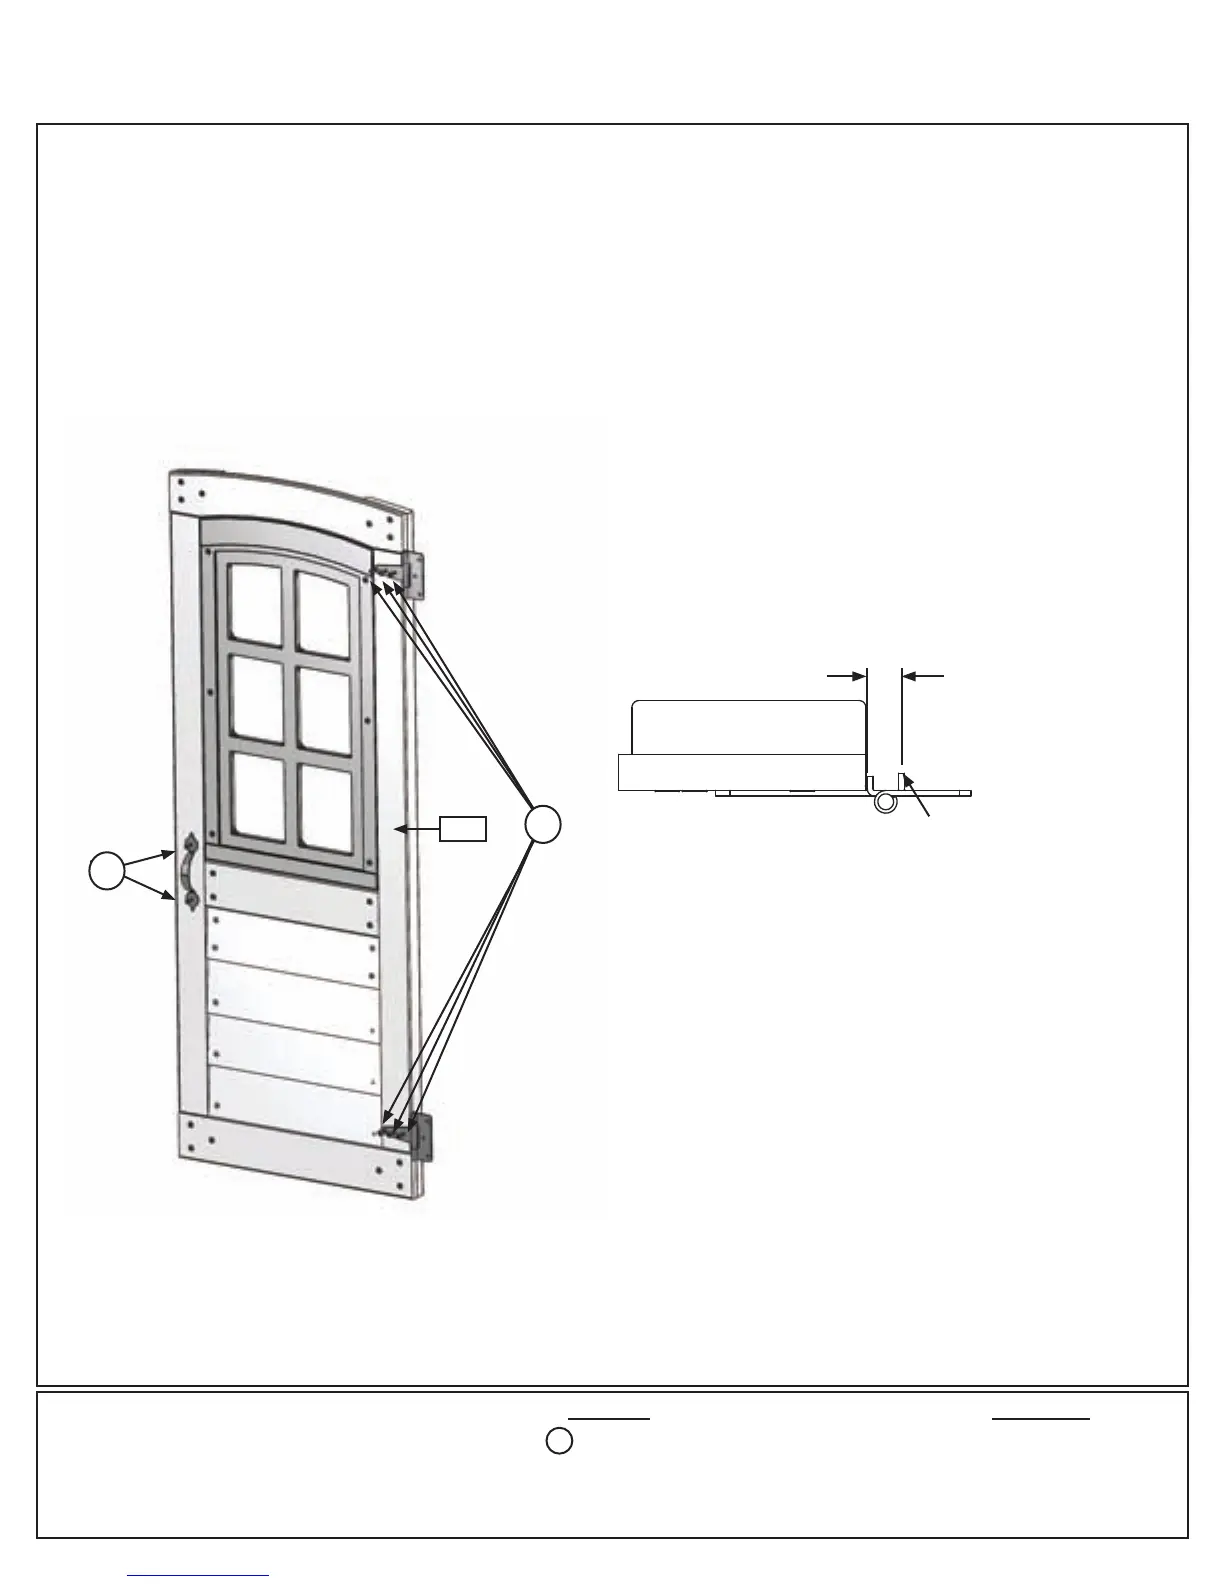
Fig. 14.5
Fig. 14.6
141
S13
S13
Outside View
1/2”
HingeStop
Hardware
Step 14: Door Assembly
Part 3
D:Ontheoutsideofthe(141)DoorWindowPanelattachthesecondDoorHandleatapproximatelythesame
placeastheoneontheinside.Use2(S13)#6x5/8”PanScrews.(g.14.5)
E:Attach2DoorHingesontheoutsideofthe(141)DoorWindowPanelontheoppositesidefromtheDoor
Handle.Judgespacingbasedong.14.5.Use3(S13)#6x5/8”PanScrewsperHinge.
Note:Hingestopsmustbetightto(141)DoorWindowPanel.(g.14.6)
8 x #6 x 5/8” Pan Screw
S13
Other Parts
1 x Door Handle
2 x Door Hinge
Top View
72 support@cedarsummitplay.com
 Loading...