Hardware
Wood Parts
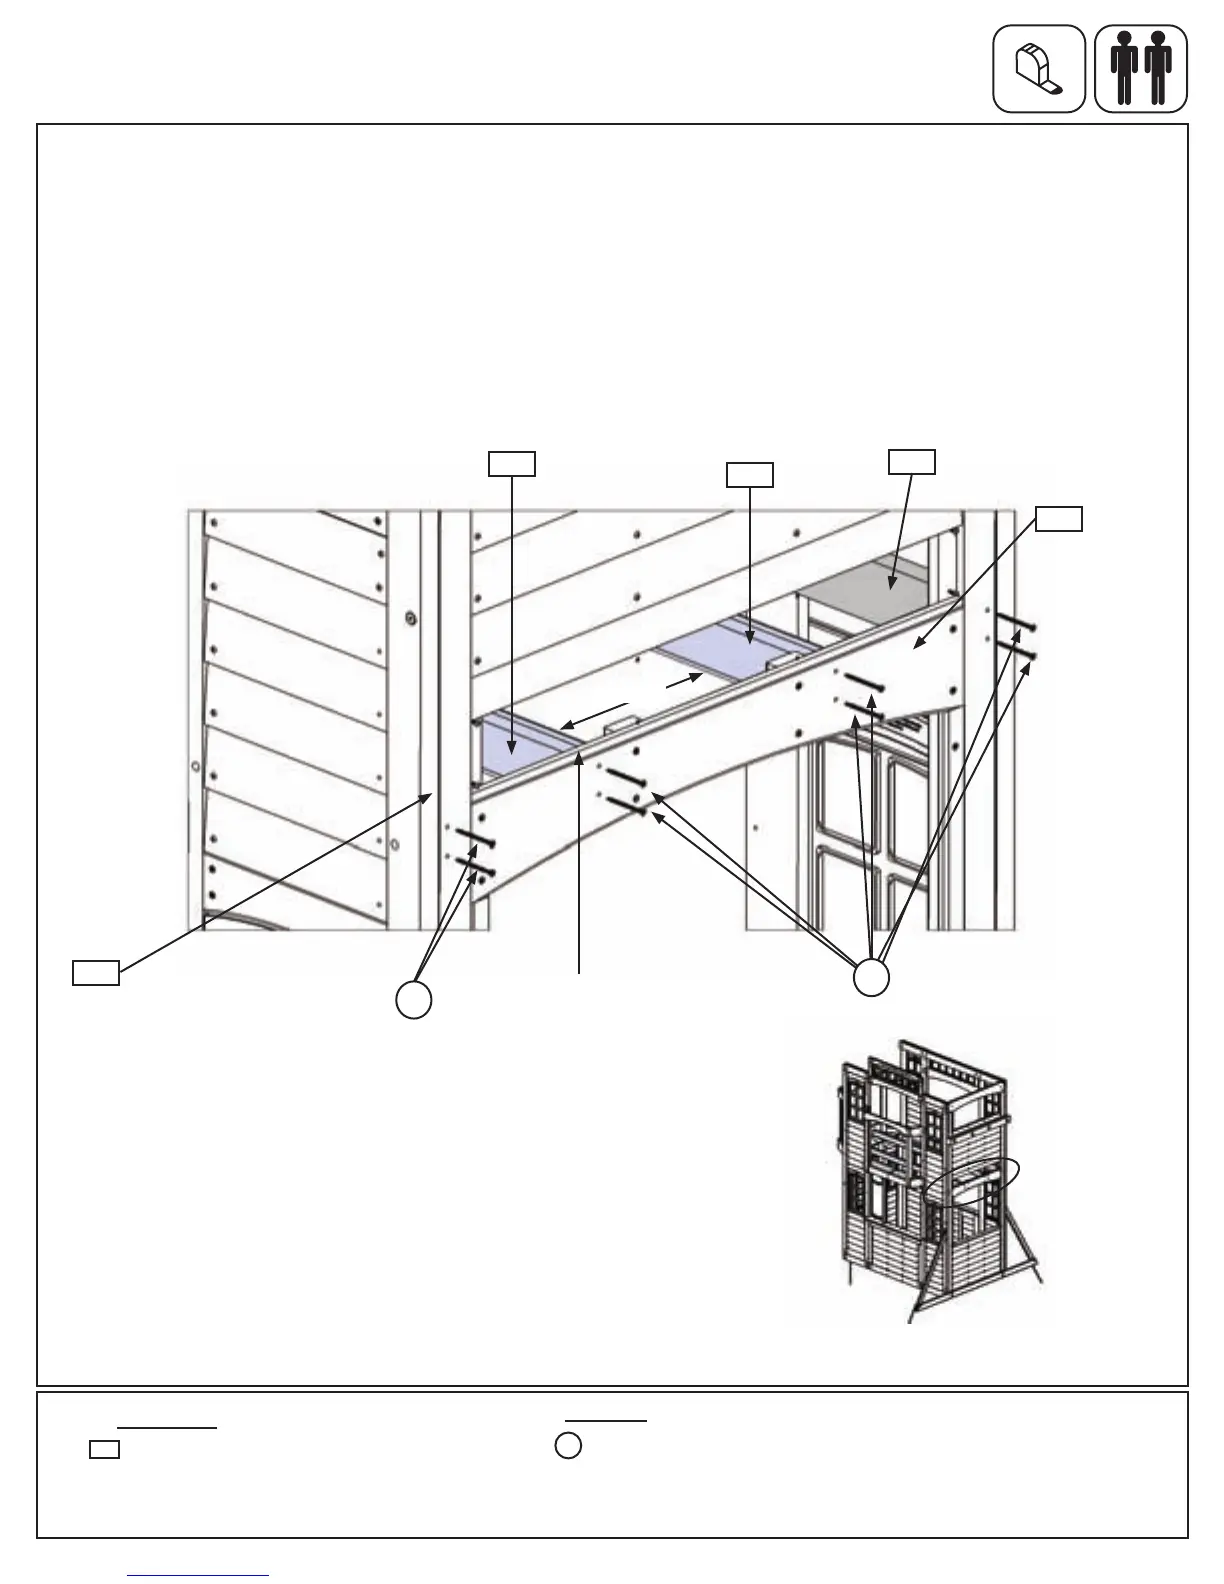
Fig. 16.2
043
Step 16: Attach Floor Joists and Gussets
Part 1
A:Withonepersoninsidetheassemblyline2(160)Joistsuptothepilotholesonthe(040)SWSidePanel.
Makesurethedistancebetweenthe2boardsis15”andthetopsofthejoistsareushtothetopofthepanel
board,thenattachto(040)SWSidePanelwith2(S4)#8x3”WoodScrewsperjoist.(g.16.1and16.2)
B:Attachboth(043)JoistSidesto(040)SWSidePanelwith2(S4)#8x3”WoodScrewsperjoist.(g.16.1
and16.2)
Fig. 16.1
Noticejoistsare
ushtotopedge.
160
160
043
(hiddenbehindpanel)
2 x Joist FSC 2 x 4 x 76-11/16”
8 x #8 x 3” Wood Screw
S4
160
S4
S4
15”
Swing Side Wall
Partsremovedforclarity.
040
75 support@cedarsummitplay.com
 Loading...