Hardware
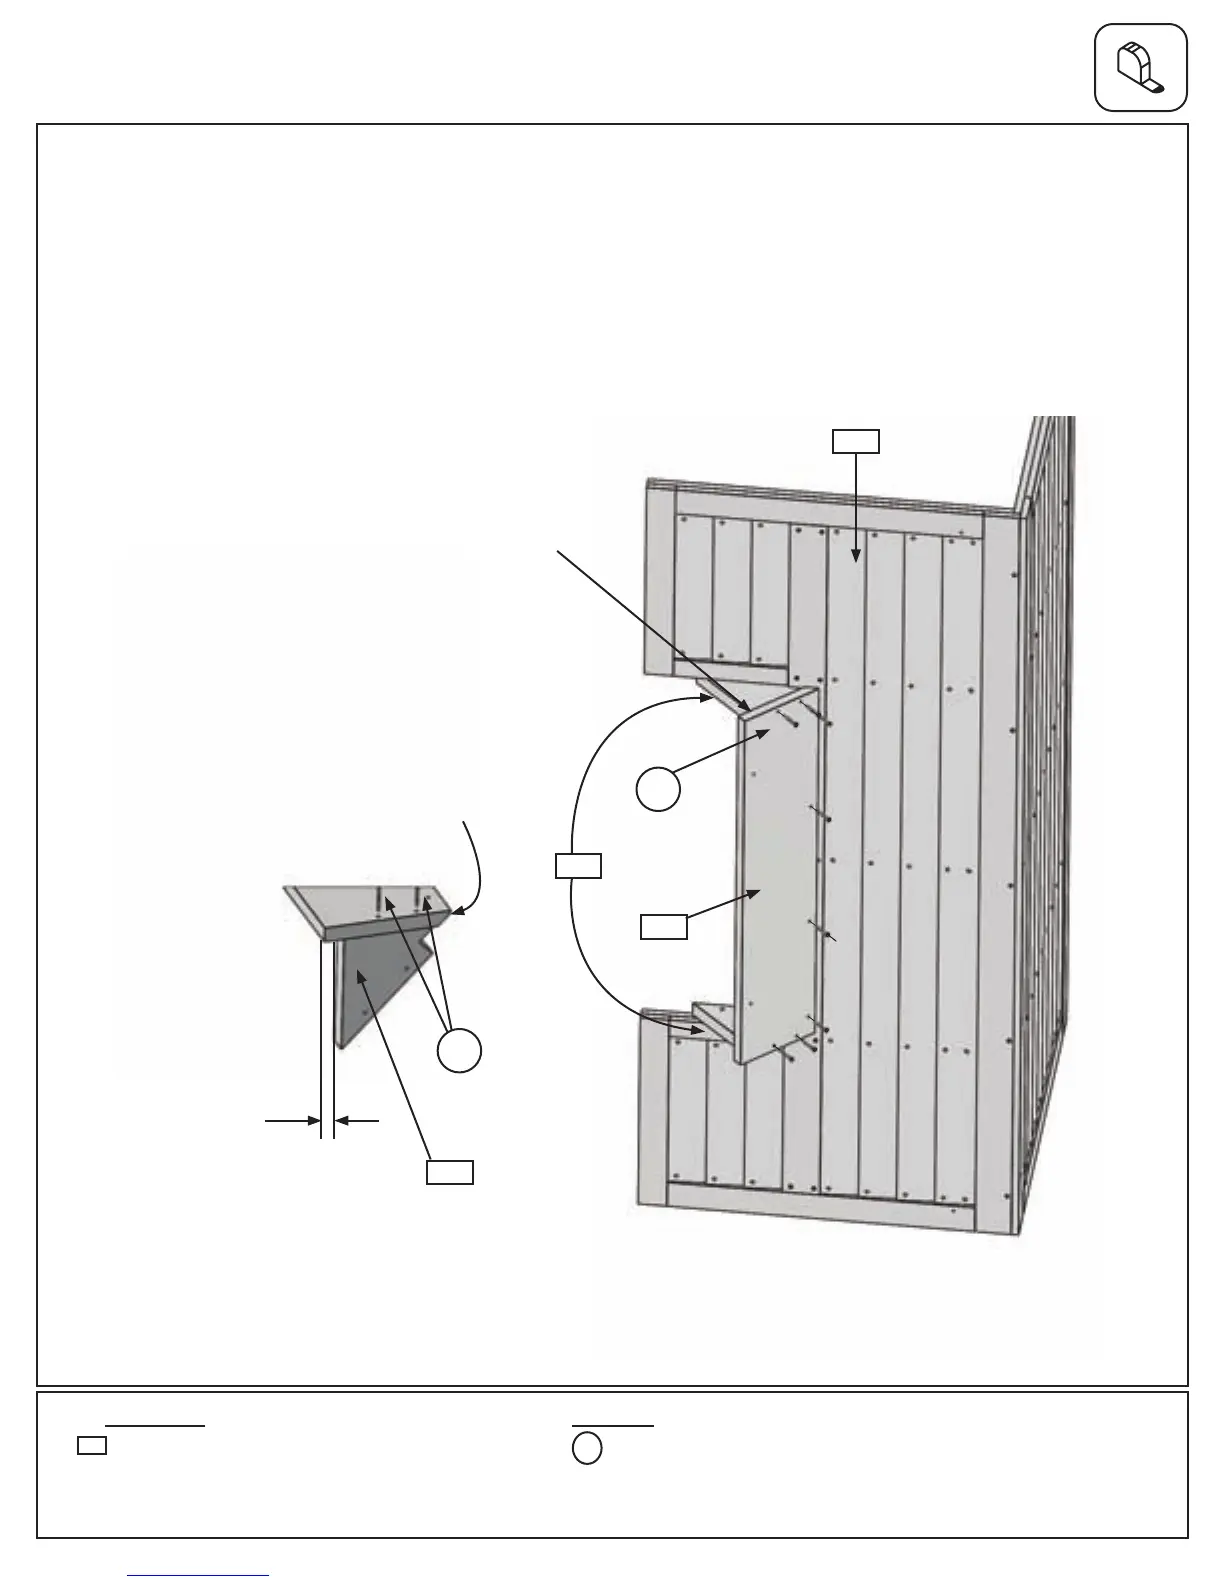
Note: Makesurethereisa1-1/4”gapfromtheoutsideedgeofeach(232)TransomSidetotheoutsideedgeof
(233)TransomRoof.(g.23.9)
E:Attach(233)TransomRoofushtotheoutsideedgeofeach(232)TransomSideandto(220)FrontRoof
Panelwith8(S15)#8x1-3/4”WoodScrews,asshowning.23.8and23.9.
Step 23: Roof Assembly
Part 3
Fig. 23.8
Fig. 23.9
233
Wood Parts
1-1/4”
8 x #8 x 1-3/4” Wood Screw
S15
1 x Transom Roof FSC 5/4 x 8 x 36”
233
S15
S15
x8
232
232
Note: Angled
edgetothisside.
220
Flush
Partsremoved
forclairty.
91 support@cedarsummitplay.com
 Loading...