8
2. Rotate the telescope base on the tripod head until the three feet on the bottom of the base fall into the feet recesses on the top
of the tripod head.
3. Thread the three attached mounting bolts from underneath the tripod head into the bottom of the telescope base. Tighten all
three bolts.
You are now ready to attach the visual accessories onto the telescope optical tube.
A
A
d
d
j
j
u
u
s
s
t
t
i
i
n
n
g
g
t
t
h
h
e
e
C
C
l
l
u
u
t
t
c
c
h
h
e
e
s
s
The CPC has a dual axis clutch system. This allows you to move the telescope manually even when the telescope is not powered on.
However, both clutches need to be tightened down for the telescope to be aligned for "goto" use. Any manual movement of the
telescope will invalidate your telescope's alignment.
Before attaching your visual accessories, first loosen the altitude locking knob while holding the telescope tube by the rear cell handle.
Rotate the tube upwards until it is level with the ground and tighten the locking knob.
Note: When transporting your telescope, make sure that both clutches are somewhat loose; this will diminish the load placed
on the worm gear assemblies and protect them from damage.
T
T
h
h
e
e
S
S
t
t
a
a
r
r
D
D
i
i
a
a
g
g
o
o
n
n
a
a
l
l
The star diagonal diverts the light at a right angle from the light path of the telescope. For astronomical observing, this allows you to
observe in positions that are more comfortable than if you were to look straight through. To attach the star diagonal:
1. Turn the thumbscrew on the visual back until its tip no
longer extends into (i.e., obstructs) the inner diameter of
the visual back.
2. Slide the chrome portion of the star diagonal into the
visual back.
3. Tighten the thumbscrew on the visual back to hold the
star diagonal in place.
If you wish to change the orientation of the star diagonal,
loosen the thumbscrew on the visual back until the star
diagonal rotates freely. Rotate the diagonal to the desired
position and tighten the thumbscrew.
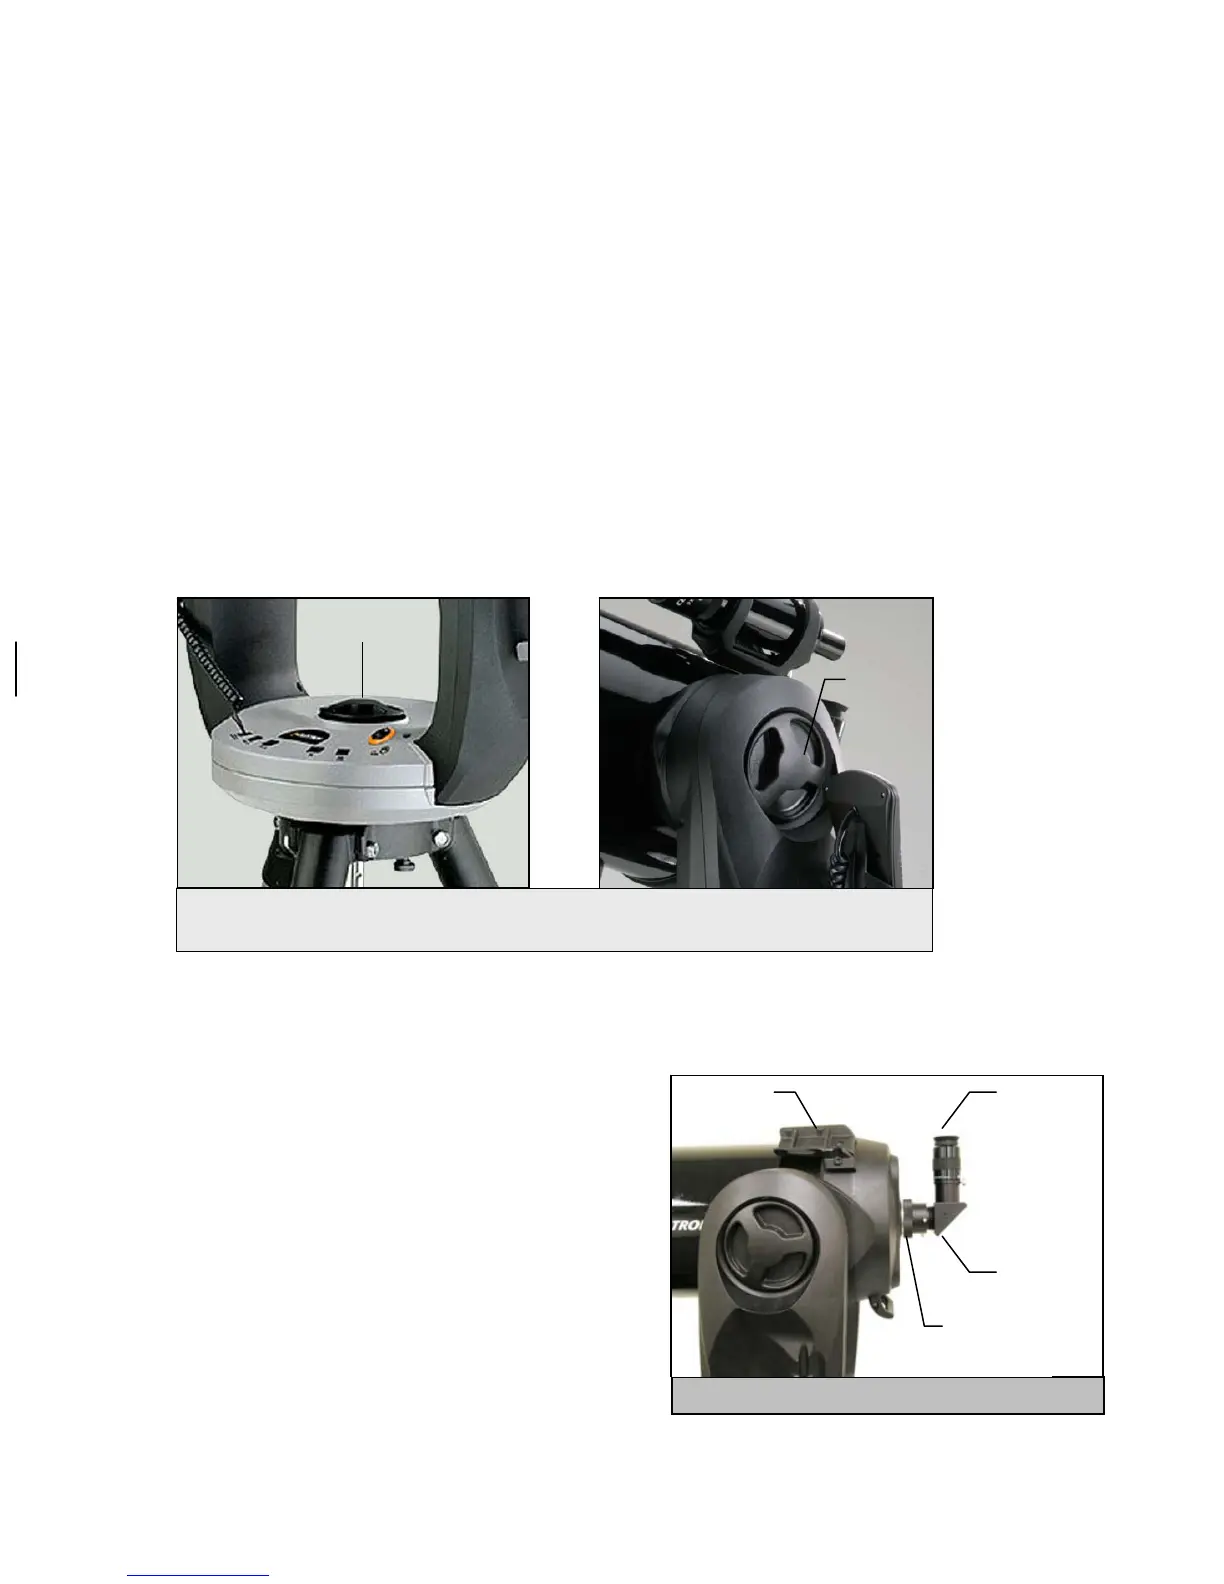
Eyepiece
Figure 3-4 - The CPC has an altitude locking knobs (right) located on the fork arm and an
azimuth locking knob (left) located on the top of the base.
Altitude
Locking
Knob
Azimuth
Locking Knob
Figure 3-5 - The Visual Accessories
Eyepiece
Star
Diagonal
Visual Back
Finderscope
Mounting
Bracket