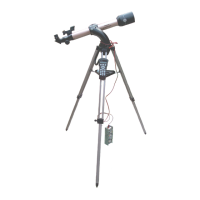
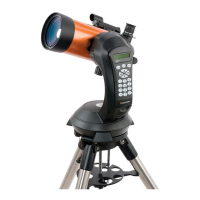
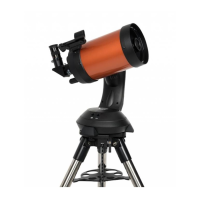
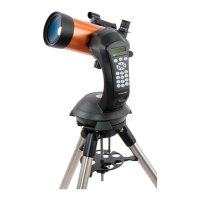
1. Your NexStar 102GT includes optical tube,
pre-assembled tripod, Computerized Hand
Control, computerized hand control holder,
erect image diagonal, eyepiece kit, StarPointer
finderscope, accessory tray, battery pack,
documentation, including an owner’s manual,
and TheSkyX
®
CD.
2. Assemble tripod by spreading the legs out
until the center leg brace is fully extended.
3. Extend tripod legs 6 to 8 inches by loosening
the tripod leg locking knob and pulling the leg
to desired length and re-tightening knob.
4. All three legs should be the same length to
provide a level platform for the telescope.
A bubble level is included (inset) to assist
in leveling.
5. Place accessory tray on top of center leg
brace by lining up the grooves on the tray to
the post on the brace.
6. Once grooves are aligned, turn accessory
tray until it snaps into clips on each leg brace.
7. Hold the telescope fork arm and place the
bottom of the base inside the tripod mounting
platform as shown.
8. Thread the coupling screw into the hole at
the bottom of the fork arm base. Tighten screw
to secure the fork arm.
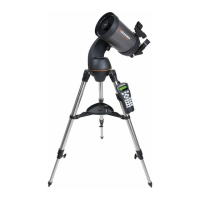
9. Slide the optical tube dovetail into the fork
arm as shown above.
www.CELESTRON.com
COMPUTERIZED TELESCOPE
QUICK SETUP GUIDE