Do you have a question about the Celestron NexStar 130SLT and is the answer not in the manual?
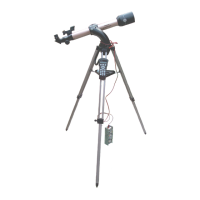
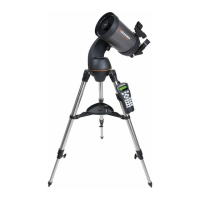
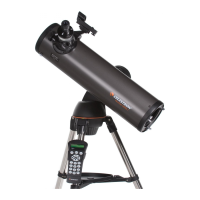
Spreading tripod legs and extending center leg brace.
Loosening leg knobs, extending legs to desired length, and re-tightening.
Ensuring legs are same length for a level platform using bubble level.
Placing tray on brace and aligning grooves to snap into clips.
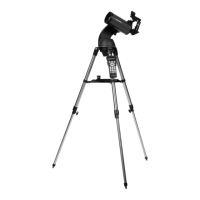
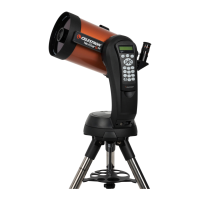
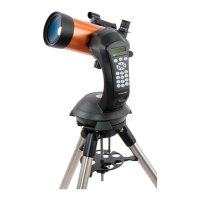
Placing fork arm base onto tripod mounting platform.
Threading and tightening coupling screw to secure fork arm base.
Sliding optical tube dovetail into the fork arm.
Tightening screw inside fork arm to secure optical tube.
Loosening screw, sliding finderscope into mounting platform.
Tightening screw to secure finderscope, ensuring glass window faces front.
Selecting and inserting the low power (25mm) eyepiece.
Attaching the plastic holder for the hand control to a tripod leg.
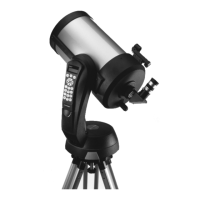
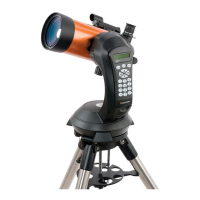
Sliding the computerized hand control into its holder.
Plugging the computerized hand control into the fork arm port.
Remembering to remove the telescope's tube lens cap before viewing.
Inserting 8 AA batteries into the battery compartment at the fork arm base.
Turning the power switch on and observing the hand control display.
Identifying directional buttons for telescope movement, not menu scrolling.
Turning on the red LED light and removing the protective disk.
Centering a distant object in the eyepiece using directional buttons.
Changing motor slew speed using the RATE button (1-9).
Using adjustment knobs to align the red dot with the centered object.
Turning off the finderscope LED and preparing for telescope alignment at night.
Pressing ENTER when the display reads NexStar SLT to start alignment.
Using scroll buttons to select 'SkyAlign' and pressing ENTER.
Using UNDO to enter site and time details if this is the first use.
Choosing the closest city from the database for accurate location.
Using the numeric keypad to enter time details and continuing.
Verifying and selecting the correct time zone using scroll buttons.
Using the numeric keypad to enter the current date.
Using directional arrows to move the telescope towards a celestial object.
Centering the alignment star in the eyepiece and pressing ALIGN.
Centering a second bright object and pressing ALIGN.
Repeating alignment for a third star and confirming the match.
Pressing TOUR to display a list of visible objects for the current date/location.
Pressing INFO to read object details or DOWN to see the next object.
| Focal Length | 650 mm |
|---|---|
| Focal Ratio | f/5 |
| Mount Type | Computerized Alt-Azimuth |
| Optical Design | Newtonian Reflector |
| Highest Useful Magnification | 307x |
| Computerized | Yes |
| Database | 4, 000+ Objects |
| Lowest Useful Magnification | 19x |
| Limiting Stellar Magnitude | 13.1 |
| Resolution (Rayleigh) | 1.07 arc seconds |
| Resolution (Dawes) | 0.89 arc seconds |
| Light Gathering Power | 345x |
| Tracking Rates | Sidereal, Solar, Lunar |
| Tracking Modes | Alt-Az |
| Communication Ports | RS-232 |
| Aperture | 130 mm |
| Finderscope | StarPointer |
| Optical Coatings | Aluminum |
| Tripod | Steel |
| Eyepieces | 25mm (26x) |
| Alignment Procedure | SkyAlign |
| Power Requirements | 12 VDC (8 AA batteries - not included) |
| Weight | 18 lbs (8.16 kg) |