EasyManua.ls Logo

Celestron PowerSeeker 80 User Manual

Celestron PowerSeeker 80
2 pages
To Next Page IconTo Next Page
Page #1 background imageLoading...
Page #1 background image
Use the three tightening screws located at the
bottom of each leg to secure the extended legs
in place.
To set up the tripod, spread the legs outward
until they are fully extended. Extend the center
portion of each of the three tripod legs down 6-
8".
Item #31132
Quick Set-up Guide
1
2
3
All three legs should be the same length to
provide a level platform for the telescope.
4
7
Locate the equatorial mount and place the
base of the mount through the hole in the
center of the tripod mounting platform.
5
Properly assembled, the accessory tray should
appear as pictured above.
6
From underneath the tripod mounting platform,
thread the mounting bolt with washer into the
threaded hole on the bottom of the equatorial
mount.
8
Thread the latitude adjustment screw into the
equatorial mount until it is touching the inside
of the mount.
9
PowerSeeker 80
Your PowerSeeker 80 includes: optical tube w/ tube
rings & lens shade attached; tripod with center
support bracket; equatorial mount; two eyepieces; a
3x barlow lens, finderscope; 5 lb. counterweight;
counterweight bar; star diagonal; two slow motion
cables; eyepiece accessory tray; The Sky™ CD
software; documentation including owner’s manual.
Item# 21048
Place the accessory tray on top of the tripod's
center leg brace. Thread the tray into the
threaded hole in the center of the leg brace.
Questions or Problems with Set-up?
CONTACT:
Celestron Technical Support: 310.803.5955
Question and Answer IconNeed help?

Do you have a question about the Celestron PowerSeeker 80 and is the answer not in the manual?

Celestron PowerSeeker 80 Specifications

General IconGeneral
BrandCelestron
ModelPowerSeeker 80
CategoryTelescope
LanguageEnglish

Summary

Quick Set-up Guide

Included Components

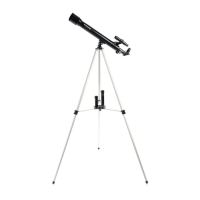
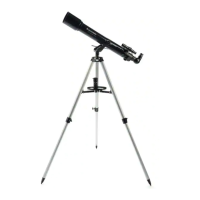
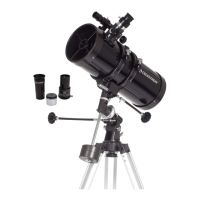
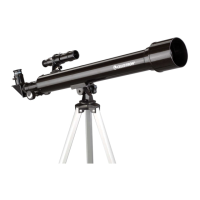
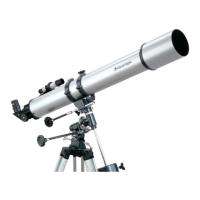
Lists all items included with the PowerSeeker 80 telescope, such as optical tube, mount, eyepieces, and accessories.

Tripod Setup

Instructions for extending the tripod legs to their full length and setting the height for stability.

Securing Tripod Legs

Details on using tightening screws to lock the tripod legs in their extended position for stability.

Ensuring a Level Platform

Guidance on adjusting tripod legs to ensure all are the same length for a level telescope platform.

Accessory Tray Installation

Steps to attach the accessory tray to the tripod's center leg brace using the provided threaded hole.

Accessory Tray Assembly Check

Visual confirmation that the accessory tray has been correctly installed on the tripod.

Equatorial Mount Attachment

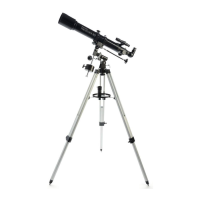
Instructions for placing the equatorial mount onto the tripod's mounting platform.

Securing the Equatorial Mount

Details on using the mounting bolt and washer to secure the equatorial mount to the tripod.

Latitude Adjustment Screw Setup

Guidance on inserting the latitude adjustment screw into the equatorial mount for proper alignment.

Counterweight and Bar Setup

Counterweight Installation

Instructions for sliding the counterweight onto the counterweight bar and tightening the locking screw.

Counterweight Bar Attachment

Steps to thread the counterweight bar into the Dec axis of the equatorial mount.

Slow Motion Control Cables

Guidance on attaching the slow motion control cables to the equatorial mount gear shafts.

Cable Assignment

Details on connecting the longer cable to the Right Ascension axis and the shorter to the Declination axis.

Tube Ring Preparation

Instructions for removing the wingnuts from the tube rings before mounting the optical tube.

Optical Tube Mounting

Steps for placing the optical tube onto the mount, aligning screws with mounting holes.

Securing Tube Rings

Reattaching and tightening the wingnuts to secure the optical tube in place.

Focuser and Diagonal Setup

Instructions for attaching the diagonal to the focuser and securing it with the set screw.

Eyepiece Installation

Inserting the 20mm eyepiece into the focuser and tightening the set screw.

Finderscope Attachment

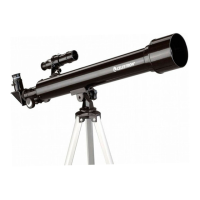
Steps to attach the finderscope to the telescope tube using knurled nuts.

Finderscope Orientation

Guidance on orienting the finderscope so the large lens faces the front of the telescope tube.

Barlow Lens Usage

Instructions for using the 3x barlow lens for increased magnification by placing it in the focuser.

Final Observation Setup

Steps for placing an eyepiece into the barlow lens and removing the front lens cap for observation.

Related product manuals