EasyManua.ls Logo

Celestron PowerSeeker 50AZ User Manual

Celestron PowerSeeker 50AZ
20 pages
To Next Page IconTo Next Page
Page #1 background imageLoading...
Page #1 background image
ENGLISH | 1
Unpack your telescope and verify that all parts are present.
Your PowerSeeker 50AZ includes: optical tube w/ lens shade
attached; tripod with center support bracket and accessory tray;
three eyepieces; a 3x Barlow lens, star diagonal, finderscope with
bracket, and a 1.5x image erecting eyepiece.
Check to ensure that all three legs are the same height once
extended to provide a level platform for the telescope.
Remove the threaded bolt from the underside of the telescope tube.
To set up the tripod, spread the legs outward until they are fully
extended and push down center leg brace.
To mount the accessory tray, remove the fastener from the lower
support bracket.
Line up the hole in the mount with the holes on the underside of the
optical tube as shown above.
Extend the center portion of each of the three tripod legs down about
6 to 12 inches. Flip the tightening lever inward on each leg to secure
the extended leg in place.
Place accessory tray on lower support bracket and then tighten
fastener.
Replace the threaded bolt to secure the optical tube to the mount.
1
4
7
2
5
8
3
6
9
#21039
QUICK SETUP GUIDE
ENGLISH
50AZ
1
5
5
Question and Answer IconNeed help?

Do you have a question about the Celestron PowerSeeker 50AZ and is the answer not in the manual?

Celestron PowerSeeker 50AZ Specifications

General IconGeneral
Lens coatingFully Multi Coated (FMC)
Magnification10 x
Altazimuth mountYes
Fixed focal length600 mm
Visual power (max)150 x
Tripod materialAluminum
Bundled softwareSkyX
Weight and Dimensions IconWeight and Dimensions
Weight2720 g
Optical tube diameter50 mm

Summary

Quick Setup Guide

Unpack and Verify Components

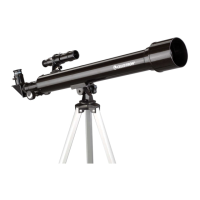
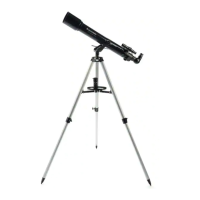
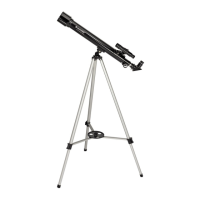
Unpack telescope and verify all included parts like optical tube, tripod, eyepieces, and accessories.

Assemble Tripod and Accessory Tray

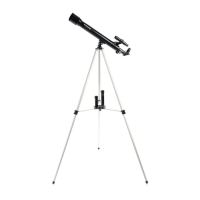
Set up and extend tripod legs, ensure levelness, attach and secure the accessory tray.

Mount Optical Tube

Remove the base bolt, align the optical tube to the mount, and secure it with the bolt.

Attach Finderscope

Ensure optical tube is properly assembled, remove finderscope nuts, orient, and secure the finderscope.

Install Focuser, Diagonal, and Eyepiece

Loosen focuser, insert diagonal, secure it, insert eyepiece, and remove lens caps.

Use Barlow Lens for Magnification

Use the 3x Barlow lens for higher magnification by replacing the eyepiece or inserting it into the focuser.

Need Assistance

Contact Technical Support

Get help by contacting Celestron Technical Support via their website for product assistance.

Aligning the Finderscope

Choose a Target for Alignment

Select a distant, recognizable object during the day to use for aligning the finderscope.

Center Target in Eyepiece

Use the 20mm eyepiece to center the chosen object in the main telescope view.

Align Crosshairs in Finderscope

Adjust the finderscope using its knobs until its crosshairs are directly over the centered object.

Confirm Alignment

Verify that the finderscope is now aligned and does not require further adjustment unless bumped.

Your First Night Out

Prepare for Moon Observation

Set up the telescope with the 20mm eyepiece and roughly point it towards the Moon.

Locate and Center Moon in Finderscope

Use the finderscope's crosshairs to locate and center the Moon in the telescope's view.

Focus and Enhance View

Adjust focus using the knobs, then switch to the 4mm eyepiece for higher magnification.

Utilize Celestron SkyPortal App

Download the SkyPortal app to help locate and identify celestial objects quickly and easily.

Related product manuals