EasyManua.ls Logo

Celestron PowerSeeker 50 User Manual

Celestron PowerSeeker 50
2 pages
To Next Page IconTo Next Page
Page #1 background imageLoading...
Page #1 background image
Use the three tightening snaps located at the
bottom of each leg to secure the extended legs
in place.
To set up the tripod, spread the legs outward
until they are fully extended. Extend the center
portion of each of the three tripod legs down 6-
8".
Item #31132
Quick Set-up Guide
1
2
3
All three legs should be the same length to
provide a level platform for the telescope.
4
7
Replace threaded bolt to secure the optical
tube to the mount. Attach the nut to the
threaded bolt by turning clockwise and tighten.
Make sure nut falls into recess.
5
Line up hole in mount with the hole on the
underside of the optical tube as shown above.
6
Properly assembled, optical tube should
appear as pictured above.
8
Remove knurled finderscope nuts from the
optical tube.
9
PowerSeeker 50
Your PowerSeeker 50 includes: optical tube w/ lens
shade attached; tripod with center support bracket;
three eyepieces; a 3x barlow lens, star diagonal,
finderscope with bracket; The Sky™ CD software;
documentation including owner’s manual.
Item# 21039
Remove the threaded bolt from the underside
of the telescope tube.
Questions or Problems with Set-up?
CONTACT:
Celestron Technical Support: 310.803.5955

Other manuals for Celestron PowerSeeker 50

Question and Answer IconNeed help?

Do you have a question about the Celestron PowerSeeker 50 and is the answer not in the manual?

Celestron PowerSeeker 50 Specifications

General IconGeneral
Aperture50 mm
Focal Length600 mm
Focal Ratiof/12
Eyepiece 120 mm
Eyepiece 24 mm
Finderscope5x24
Mount TypeAltazimuth
TripodAluminum
Optical DesignRefractor

Summary

Celestron PowerSeeker 50 Quick Set-up Guide

Unpack Telescope Components

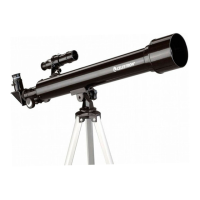
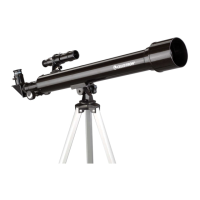
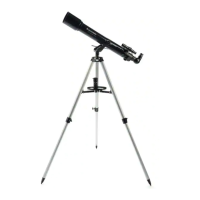
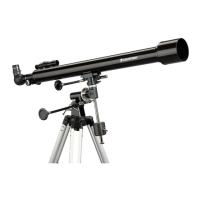
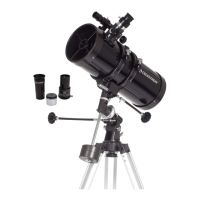
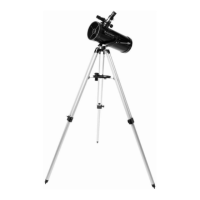
Lists all included components for the PowerSeeker 50 telescope.

Extend Tripod Legs

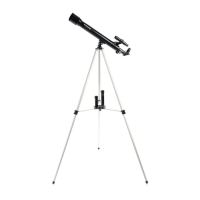
Spreading tripod legs outward and extending lower sections for stability.

Secure Extended Tripod Legs

Using tightening snaps at the leg bottoms to lock extended legs in place.

Ensure Tripod Leveling

Adjusting leg lengths to ensure all three are the same for a level platform.

Remove Optical Tube Bolt

Detaching the threaded bolt from the underside of the telescope optical tube.

Align Optical Tube to Mount

Lining up the mounting hole on the optical tube with the mount.

Secure Optical Tube to Mount

Reinserting the threaded bolt and tightening the nut to secure the tube.

Verify Optical Tube Assembly

Confirming the optical tube is properly attached to the mount.

Prepare Finderscope Attachment

Removing knurled nuts from the optical tube to prepare for finderscope.

Attach Finderscope

Orienting and placing the finderscope over the mounting screws.

Secure Finderscope and Remove Covers

Replacing knurled nuts to secure the finderscope and removing lens covers.

Prepare Telescope Focuser

Loosening the focuser set screw and removing the protective plastic cap.

Attach Diagonal

Inserting the star diagonal into the focuser and securing it with the set screw.

Attach Eyepiece to Diagonal

Placing the 20mm eyepiece into the diagonal and tightening the set screw.

Remove Optical Tube Cover

Removing the protective cover from the objective end of the optical tube.

Begin Observing

Looking through the assembled telescope to start viewing celestial objects.

Use Barlow Lens for Magnification

Inserting the 3x Barlow lens into the diagonal for increased magnification.

Attach Eyepiece to Barlow Lens

Securing the 20mm eyepiece into the Barlow lens for higher magnification viewing.

Related product manuals