15
7. Installation
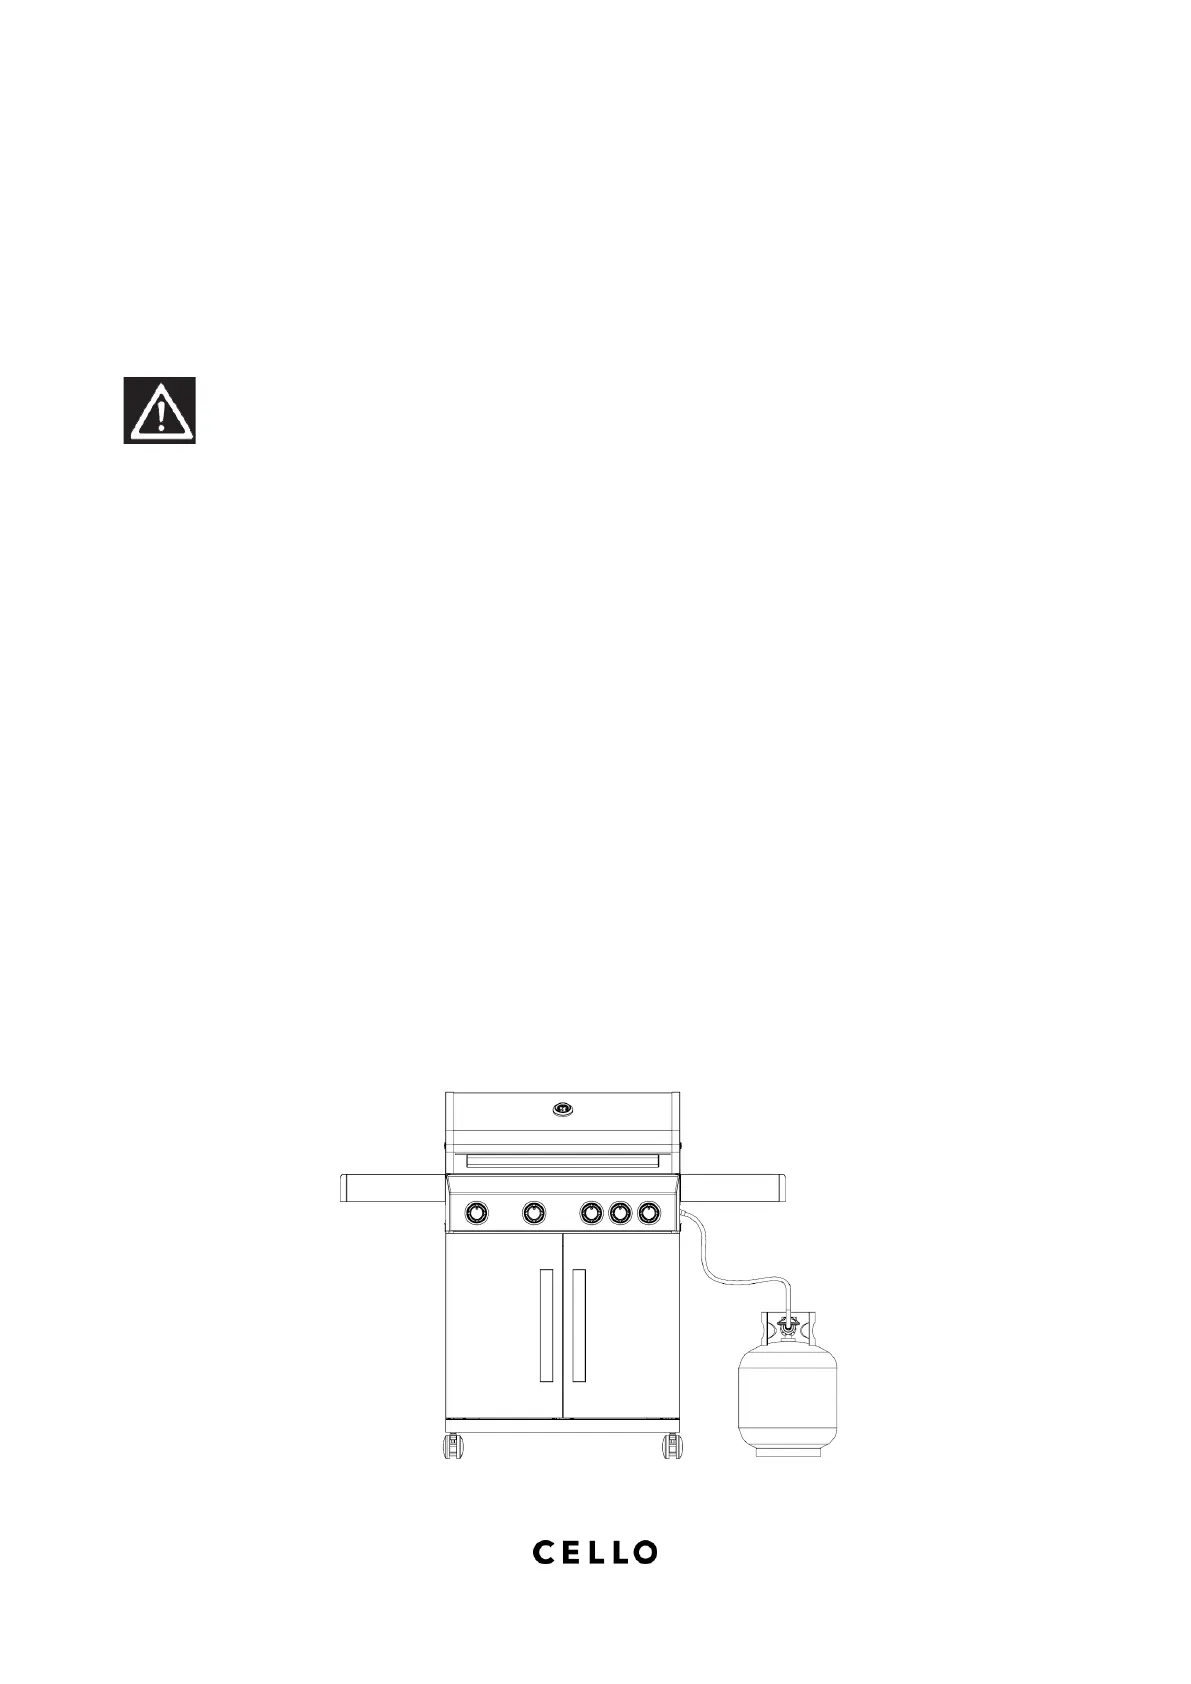
After purchasing your gas bottle you will then be ready to set it up with your gas grill.
a) When changing the gas bottle which shall be carried out away from any source of
ignition. Position the gas bottle at the side of your gas grill, not underneath, keeping in
mind that the bottle must be kept away from heat and in a safe position.
b)
Warning: Before attempting to light your gas grill you must refer to your lighting
instructions and warning / safety points.
Check the hose before each use, searching for cracking, cuts or any abrasions. If the hose
is found to be faulty in any way do not attempt to use your gas grill.
When changing your gas bottle ensures that there are no sources of ignition close by i.e.
fires, cigarettes, naked flames etc. Make sure that the appliance is switched off.
Ensure that the hose is not subjected to twisting which will affect the gas flow when
using your gas grill. Also the hose must not have undue tension and must not touch any
part of the gas grill which may be hot.
Please choose flexible hose whose heatproof higher than 80℃
Every 2 years changing the flexible hose when the national conditions require it.
How to connect a gas bottle
a) Turn the orange cap so that the arrow is pointing to the gap in the shroud.
b) Remove the orange safety cap by pulling the lanyard out, then out. Do not use tools.
Leave the cap hanging.
c) Check that the black sealing washer is fitted inside the cylinder valve. Place the
regulator down over the valve with switch.
d) Turn the switch clockwise on gas bottle-then turn on the gas grill as instructed.
When ready to use your gas grill insert the regulator into the gas cylinder valve and
tighten firmly. The recommended hose length is about 1.0 m. The hose must not be longer
than 1.5 m.
 Loading...