Page 4 For technical questions, please call 1-888-866-5797. Item 5907
Set up Instructions
Read the ENTIRE IMPORTANT SAFETY INFORMATION section at the beginning of this
manual including all text under subheadings therein before set up or use of this product.
Note: For additional information regarding the parts listed in the following pages,
refer to Parts List and Assembly Diagram near the end of this manual.
TO PREVENT SERIOUS INJURY:
Wear heavy duty gloves during setup and use. Keep hands clear
of the cutting, folding and rolling mechanisms.
Functions
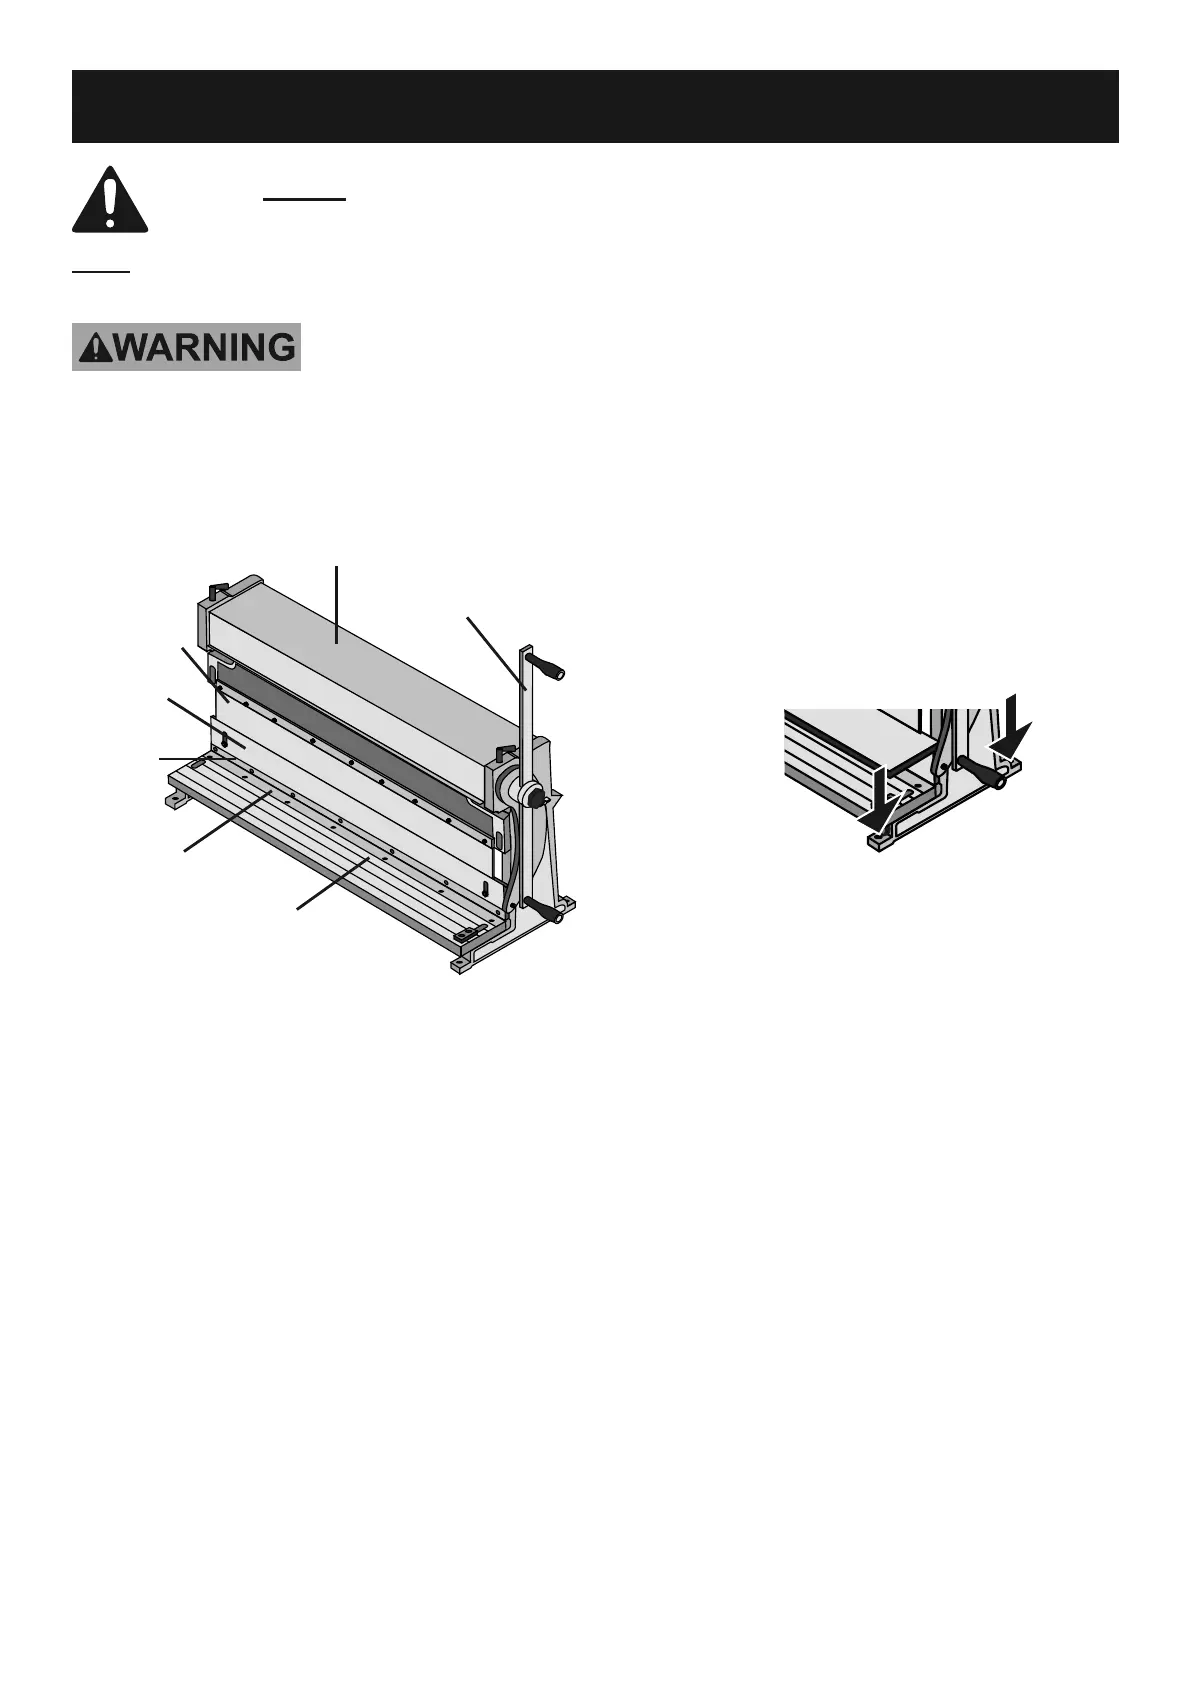
Figure 1
Handle (18)
Apron (11)
Upper
Blade
(23a)
Work Bench (2)
Cover (33) over Rollers
Upper
Braking
Dies (12-01
to 12-06)
Lower Blade (23b)
Mounting
Before use, mount the unit to a strong
level surface that is designed to handle the
weight of this machine, plus any additional
weight placed on it during use. If mounting
onto a bench or other wooden surface:
1.
Figure 2
Mounting Holes
Select four Bolts, eight Washers, and four
Nuts (not included) to accommodate the four
6mm holes on the Left and Right Frames (1,5).
Place the Press Brake in the location it will be
mounted in. Make a mark in the center of each
of the 4 mounting holes. Set the unit aside.
2. WARNING! Before drilling the holes,
make sure that there are no electric
wires, cables, utility lines or other
obstructions in the area to be drilled in.
3. Drill the holes straight down, large enough
to allow your mounting hardware to fit.
4. Put the Press Brake in place
and mount using the hardware.
Tighten all hardware securely before use.


 To Next Page