SKU 99612 For technical questions, please call 1-800-444-3353. Page 9
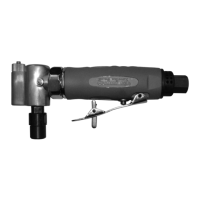
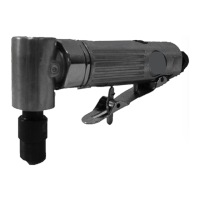
Grinding Attachment Installation
1. Select the grinding attachment appro-
priate to your needs.
2. Select the Collet (31) that has the
correct diameter (either 1/4” or 1/8”).
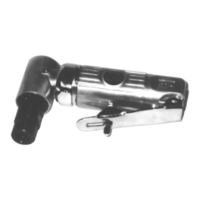
3.
Figure 2
Clamp Nut (32)
Collet (31)
Insert the Collet (31) into the Clamp
Nut (32). See Figure 2.
4. Thread the Clamp Nut (32) onto the
Chuck Casing (29) a few turns.
5.
Figure 3
Clamp Nut (32) with Col-
let (31) attached.
Grinding Attachment
(not supplied)
Switch (ON/OFF) (37)
Insert the shaft of the grinding attach-
ment (not supplied) through the ared
end of the Collet (31). See Figure 3.
6. Place Wrench (35) onto the at
edges of the Chuck Casing (29), hold
steady.
7.
Wrench (35)
Wrench (36)
Figure 4
Chuck
Casing
(29)
Clamp Nut (32)
Tighten
Place Wrench (36) onto the at edges
of the Clamp Nut (32) and tighten in
counterclockwise motion. See Fig-
ure 4.
Work Piece and Work Area Set Up
1. Designate a work area that is clean
and well-lit. The work area must not
allow access by children or pets to
prevent injury and distraction.
2. Route the air hose along a safe route
to reach the work area without creat-
ing a tripping hazard or exposing the
air hose to possible damage. The air
hose must be long enough to reach
the work area with enough extra
length to allow free movement while
working.
3. Secure loose workpieces using a vise
or clamps (not included) to prevent
movement while working.