Do you have a question about the CETAC ASX-500 Series and is the answer not in the manual?
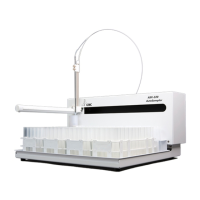
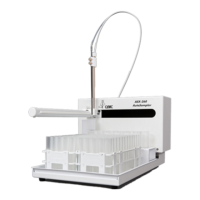
Confirms instructions apply to CETAC ASX-500 series autosamplers with Z-drives.
Explains how the Z-drive works using a PEEK tubing cable and rotor.
Provides guidelines on handling the Z-drive cable and using fingers for adjustments.
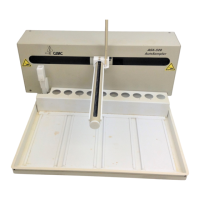
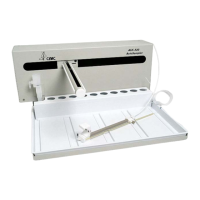
Remove autosampler from packaging and place on a flat surface. Ensure power is disconnected.
Slide the Z-drive assembly onto the autosampler arm and Y-axis leadscrew nut.
Tighten thumbscrews to secure the assembly and feed the cable through the guide block.
Turn the rotor clockwise, slide the cable onto the rotor, and secure it with the thumbscrew.
Adjust Z-axis slider gap, verify cable movement, and center the Y-arm tube.
| Category | Laboratory Equipment |
|---|---|
| Model | ASX-500 Series |
| Manufacturer | CETAC Technologies |
| Robotic Arm | Yes |
| Compatibility | Compatible with most spectrometers |
| Control | Software-controlled |
| Rinsing | Automated rinsing between samples |
| Wash Station | Integrated wash station |
| Dimensions | Varies depending on configuration |
| Weight | Varies by configuration |
| Communication Interface | RS-232 |
| Sample Tray Options | Multiple tray options available, including standard racks, cooled racks, and specialized trays for various sample containers |