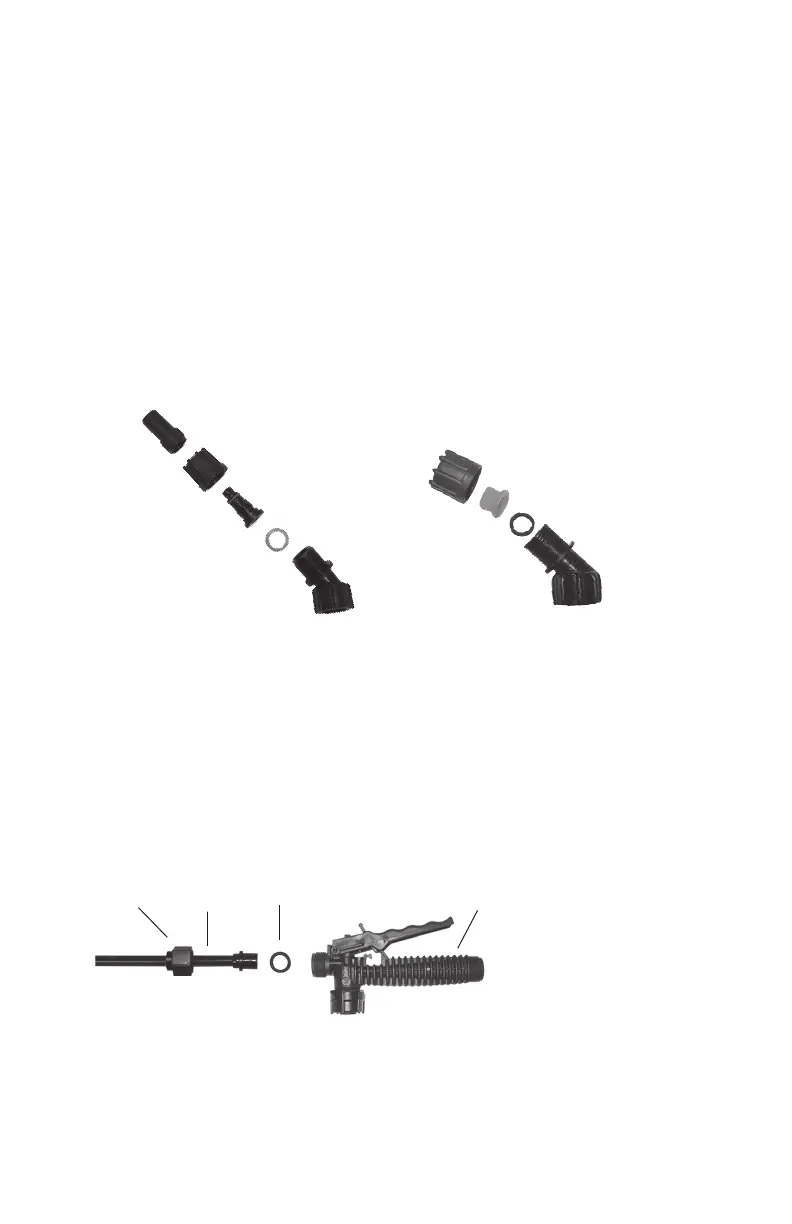
1. Poly
Nozzle Cap
2. Retaining
Nut
3. Nozzle
Body
4. Nozzle
Gasket
5. Elbow
Figure 1 Figure 2
Nozzle
Gasket
Retaining Nut
Elbow
Fan Nozzle Tip
2E
SPRAYER COMPONENTS & USE INFORMATION
NOZZLE ASSEMBLY
Figure 1
Unscrew the nozzle cap (1) from the nozzle body (3) with retaining nut (2) fastened tightly to the elbow
(5). Unscrew the retaining nut (2). Push the nozzle body (3) with the nozzle gasket (4) out of the retain
-
ing nut (2). To reinstall the nozzle, reverse the above instructions.
Figure 2
Unscrew the retaining nut from the elbow and push the fan nozzle tip and gasket out of the retaining nut.
To reinstall the nozzle, reverse the above instructions.
WAND ASSEMBLY
1. Make sure the o-ring is installed on the end of the wand.
Insert the wand into shut-off valve.
2. Turn and tighten the retaining nut clock-wise onto the shut-off valve.
O-ring
Wand
Retaining Nut
Shut-off
Valve
 Loading...