
K
Kyle EstesAug 18, 2025
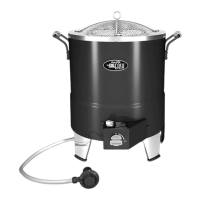
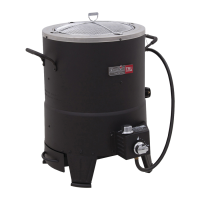
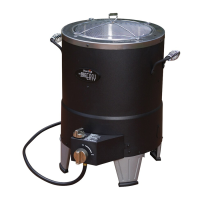
How to fix a Char-Broil Fryer when the burner won't light with the ignitor?
- RRichard RoseAug 18, 2025
To troubleshoot a Char-Broil Fryer burner that won't light with the ignitor, begin by ensuring the burner engages correctly with the control valve. Then, inspect the burner tube for obstructions. Verify the LP cylinder isn't empty; if it's not, address potential vapor lock by disconnecting and reconnecting the coupling nut. Confirm a secure connection between the coupling nut and LP cylinder valve, tightening by hand. Check the electrode for cracks or proper positioning (1/8” to 1/4” from the gas port). Clean any residue from the wire/electrode with rubbing alcohol. Lastly, inspect for loose or shorting wires. Replace a cracked electrode. Reconnect loose wires or replace the electrode/wire assembly. Replace the ignitor wire/electrode assembly if the wire is shorting.