- 4 -
OPERATING INSTRUCTIONS
1. Before each use, clean the Jerky Gun thoroughly.
(See CLEANING AND MAINTENANCE Instructions)
2. Pre-mix ground meat with store bought seasonings and cure. (Not included)
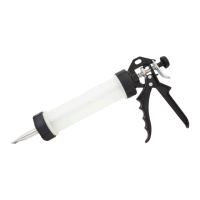
3. To load the Chard
®
9" Jerky Gun, begin by retracting the Plunger (3a) fully by
pressing down on the Plunger Release Button (3b) on the back of the trigger
assembly.
4. Remove the Threaded Collar (2) and load the Jerky Tube (1) with ground meat.
Pack the meat rmly to release any trapped air. Repeat this step until the meat
lls the tube approximately ½" from the top.
NOTE: To ensure that the meat slides through the nozzle with minimal effort, it
is suggested to add water to the meat gradually until the desired consistency is
achieved. The consistency of the meat should slide through the nozzle attachment
like peanut butter.
5. Select the desired Nozzle Attachment (4). Attach the Nozzle to the Jerky Tube (1)
using the Threaded Collar (2). Tighten all parts securely.
6. Use the Jerky Gun to form strips or sticks on a drying rack or tray. Leave ¼" to
½" spacing between pieces to ensure even drying.
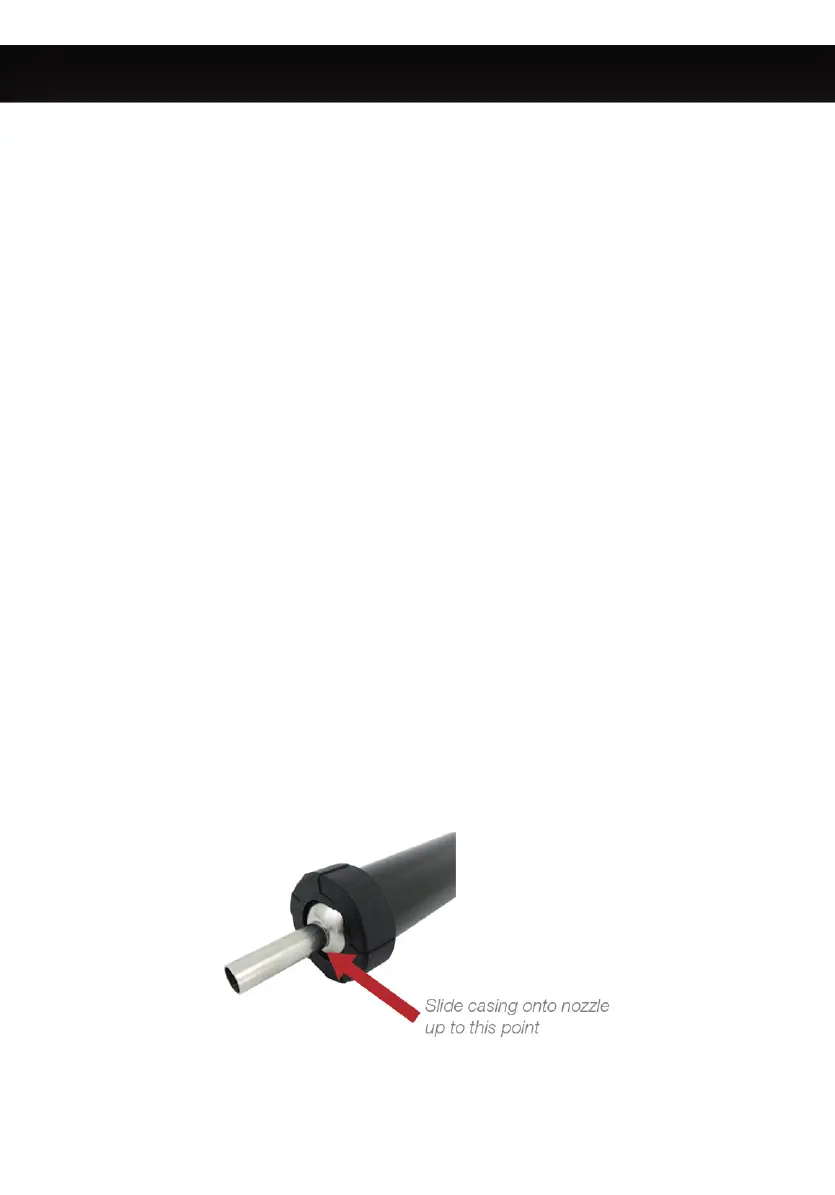
7. Jerky sticks can be made with or without casings.
NOTE:
Using casings: Slide the desired length of casing over the Single Round
nozzle (4c). Pull the trigger to stuff the casing to the desired length. Pinch and
twist the casing to form individual links.
8. Use a food dehydrator, smoker or convection oven to cure the jerky.
(Minimum internal temperature of 155°)