CLUTCHES AND TRANSMISSIONS 7-7
MANUAL TRANSMISSIONS
INDEX
Page
Linkage Adjustment ..............
..
..................................................
..
..................
7-7
Floor Shift Control Lever Replacement
.........................................
.............
7-7
Transmission Replacement (Except “K” Series Models)
..............
.............
7-7
Transmission Replacement (Except “K” Series Models)
...........
.............
7-8
Alignment.......................................................................
..
..................
.............
7-9
TRANSMISSION LINKAGE ADJUSTMENT
3-Speed Column Shift (Fig. 10)
In cases where gearshift linkage has been disconnected
or removed, proper adjustment sequence is important.
1. Install control rods to both second and third shifter
lever and first and reverse shifter lever. Set both
shifter levers in neutral position.
2. Align both shifter tube levers on mast jacket in the
neutral position. Install gauge in holes of levers to
hold levers in alignment. Position relay levers so
that gearshift control lever is in neutral position.
3. Connect control rods to tube levers making sure
clamps are properly adjusted so that tube levers and
transmission shifter levers remain in their neutral
positions while tightening.
4. Remove gauge and move selector lever through all
positions to check adjustment and insure over-travel
in all positions.
NOTE: If mast jacket lower dash clamp has
been disturbed at its mounting on dash, its ad
justment to the steering mainshaft should be
checked as outlined in the procedure in Section
9 of this manual.
Page
Rear Oil Seal Replacement
...........................................................
Speedometer Driven Gear Replacement
................................
Side Cover Replacement/Repair
..................................................
Transfer Case Replacement
..................
.........................................
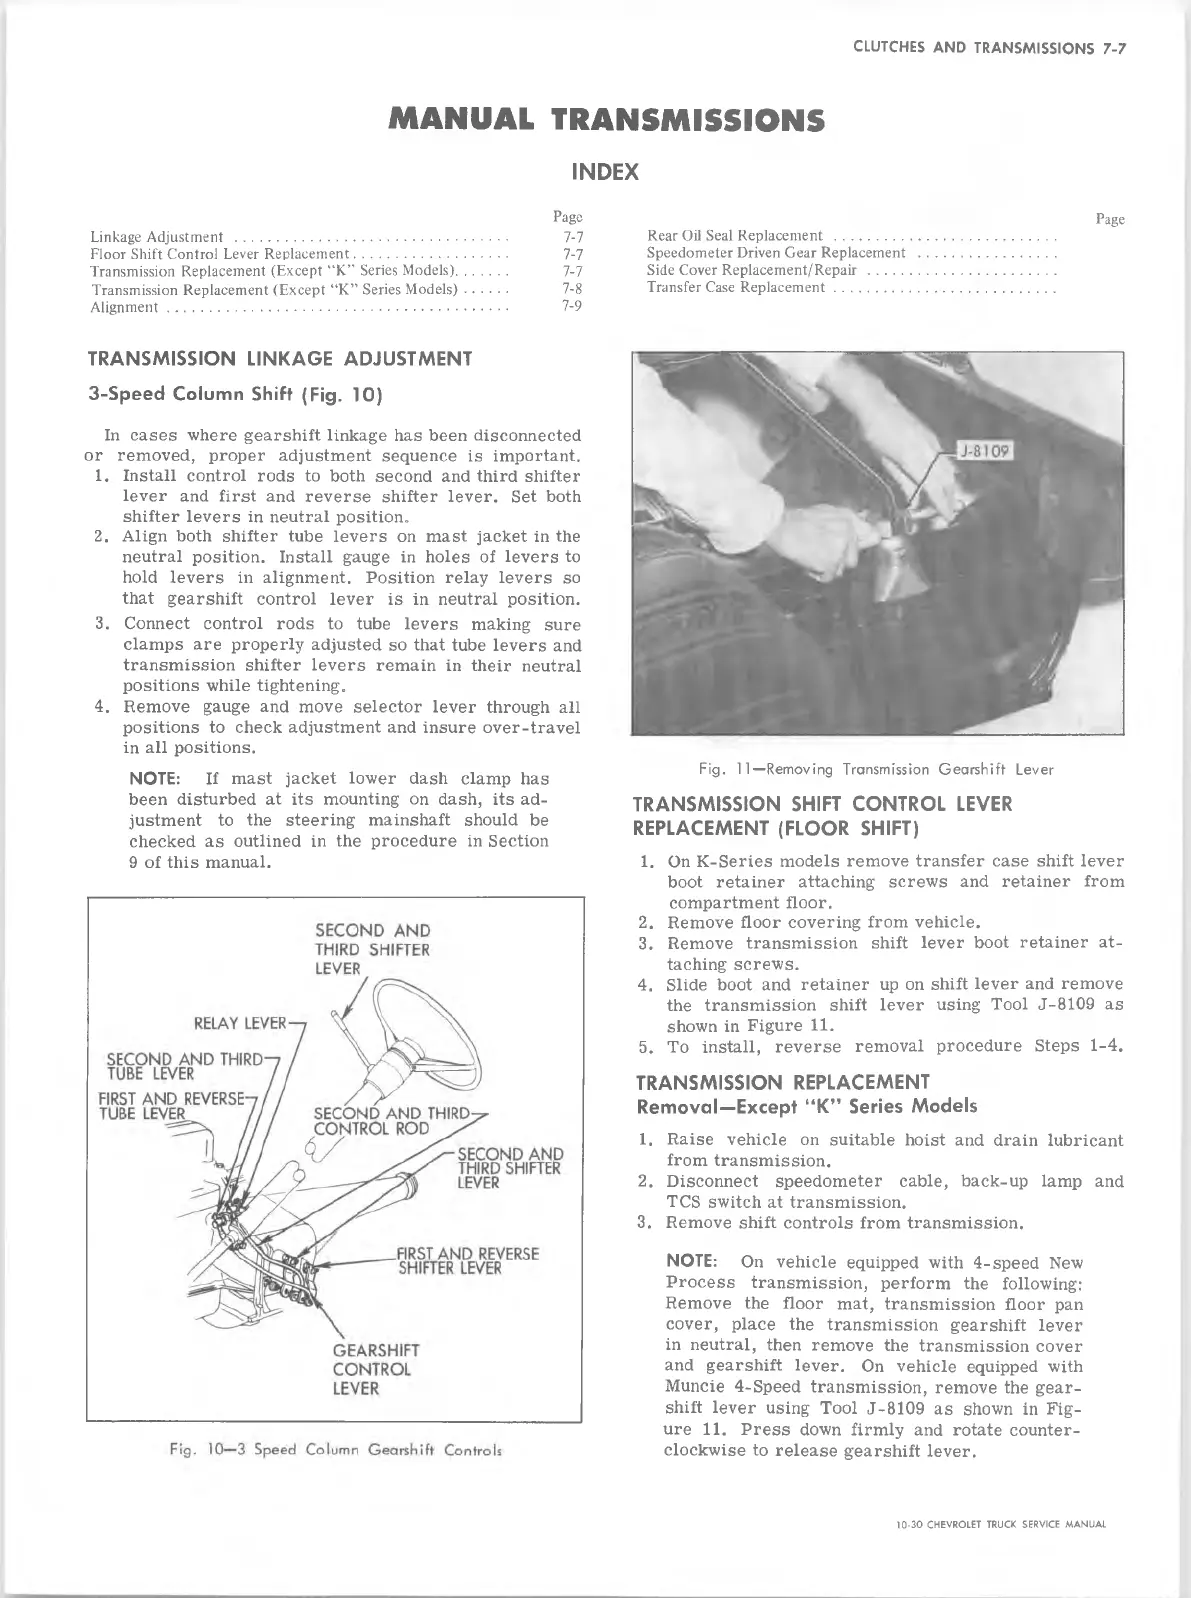
Fig. 11— Removing Transmission Gearshift Lever
TRANSMISSION SHIFT CONTROL LEVER
REPLACEMENT (FLOOR SHIFT)
1. On K-Series models remove transfer case shift lever
boot retainer attaching screws and retainer from
compartment floor.
2. Remove floor covering from vehicle.
3. Remove transmission shift lever boot retainer at
taching screws.
4. Slide boot and retainer up on shift lever and remove
the transmission shift lever using Tool J-8109 as
shown in Figure 11.
5. To install, reverse removal procedure Steps 1-4.
TRANSMISSION REPLACEMENT
Removal— Except “K” Series Models
1. Raise vehicle on suitable hoist and drain lubricant
from transmission.
2. Disconnect speedometer cable, back-up lamp and
TCS switch at transmission.
3. Remove shift controls from transmission.
NOTE: On vehicle equipped with 4-speed New
Process transmission, perform the following:
Remove the floor mat, transmission floor pan
cover, place the transmission gearshift lever
in neutral, then remove the transmission cover
and gearshift lever. On vehicle equipped with
Muncie 4-Speed transmission, remove the gear
shift lever using Tool J-8109 as shown in Fig
ure 11. Press down firmly and rotate counter
clockwise to release gearshift lever.
10-30 CHEVROLET TRUCK SERVICE MANUAL
 Loading...