11
How to Assemble Stroller
Assemblage de la poussette
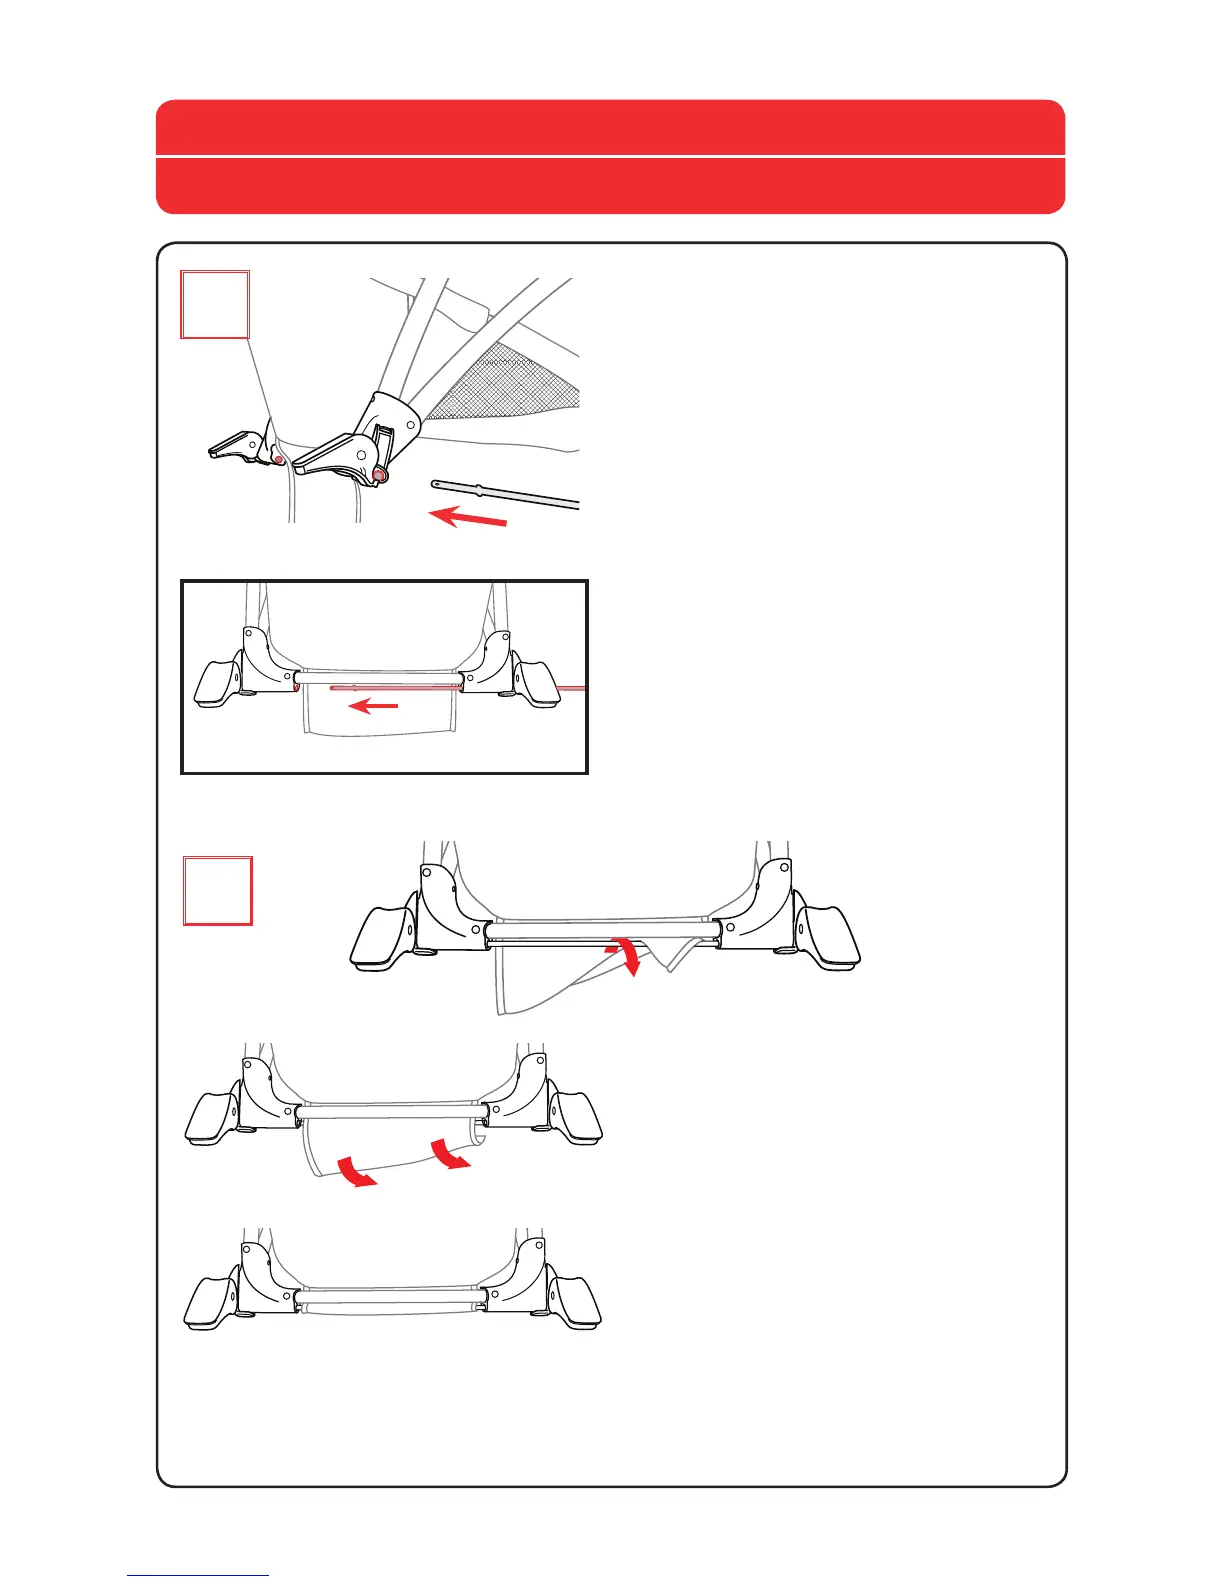
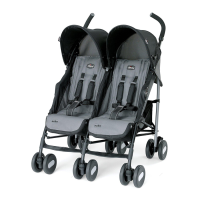
3A.InserttheRearAxle(C)intothe
openingontheRightRearBrakeand
slideitthrough.Keepslidingthe
RearAxleuntiltheendcomesout
oftheLeftRearBrake.Makesure
theAxleiscenteredbetweenboth
brakes.
Insérerl’essieuarrière(C)dans
l’ouverturedufreinarrièredroitet
pousserl’essieujusqu’àcequ’il
ressortedel’autrecôtédufrein.
Continuerdepousserl’essieu
jusqu’àcequ’iltraverselefrein
arrièregauche.S’assurerquel’essieu
estcentréentrelesdeuxfreins.
3B.AttachtheStrollerBaskettothe
RearAxle.ThreadtheBasketfabric
strapbetweentheframeandRear
Axle.FoldtheBasketfabricstrap
underandsecurethehookandloop
tabtothebottomofthebasket.
3B.Attacherlepanieràl’essieu
arrière.Passerlerabatentissudu
panierentrelecadredelapoussette
etl’essieuarrière.Replierlerabatet
l’attacheràl’aidedesbandes
autoagrippantessouslepanier.
3
B
3
A