Installation Instructions MSM1U/MTM1U/LSM1U/LTM1U
11
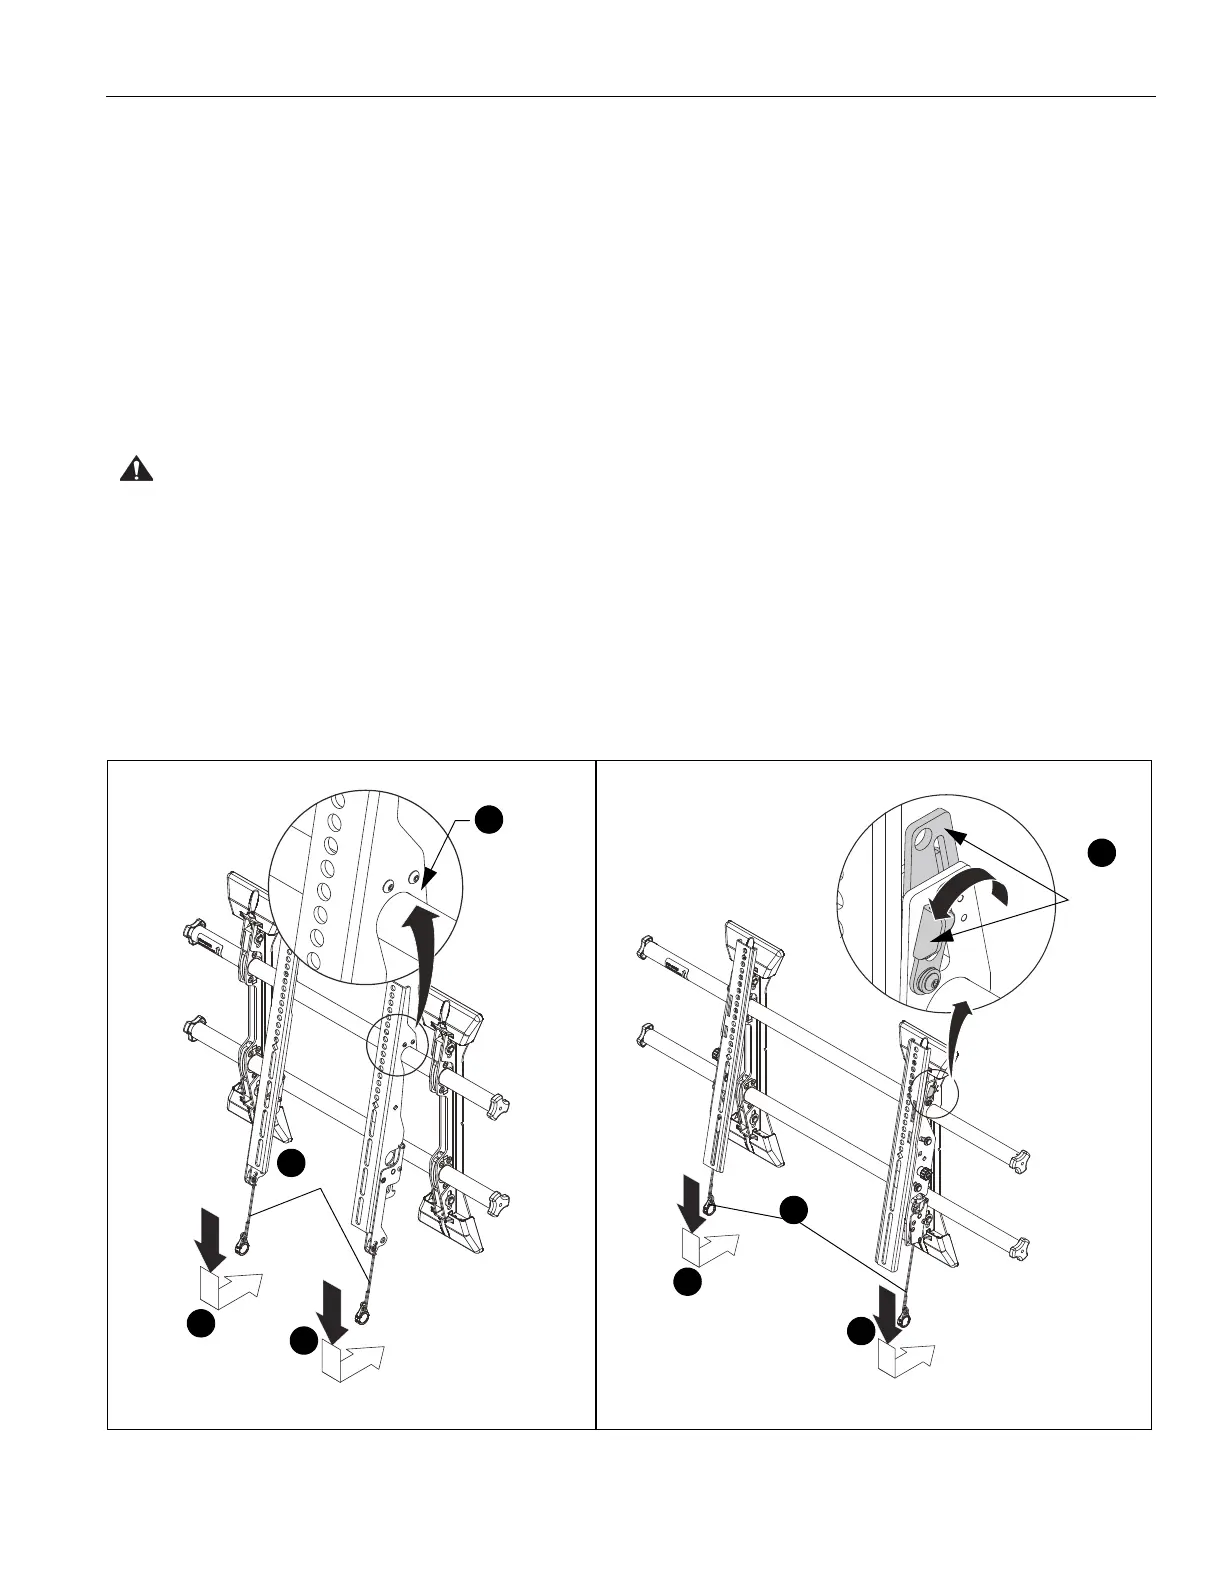
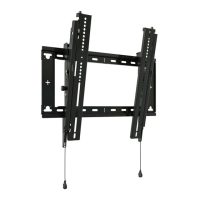
2. Hang screen onto the top rail of the mount (CC). (See
Figure 11)
• MSM1U / LSM1U: Hang top hook of interface
brackets (Y and Z) onto the top rail of the mount (CC).
(See Figure 11)
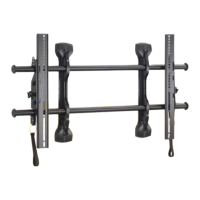
• MTM1U / LTM1U: Move latch on top of interface
bracket to OPEN position and hang top hook of
interface brackets (AA and BB) onto the top rail of the
mount (CC). (See Figure 11)
NOTE: The screen initially installs into the "service mode" to
allow easy cable access.
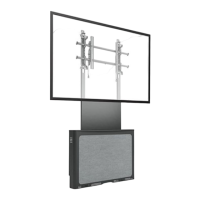
3. Adjust screen and rails to desired viewing position.
4. Route cables between wall and rails.
CAUTION: PINCH POINTS! Keep fingers, hands and
cables out of pinch point areas.
5. Pull downward on the pull cords and swing inward toward
wall, latching interface brackets to lower rail and fastening
bottom of screen to the mount. (See Figure 11)
6. Attach end of pull cord (a magnet) to mount so it does not
extend beyond bottom of screen. (See Figure 11)
Figure 11
6
Pull
2
Top
Hook
cords
MSM1U / LSM1U
MTM1U / LTM1U
Latch in
6
Pull
cords
5
5
5
5
2
OPEN
position