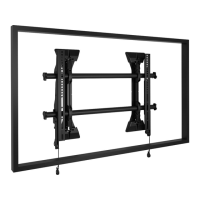
Installation Instructions MSM1U/MTM1U/LSM1U/LTM1U
9
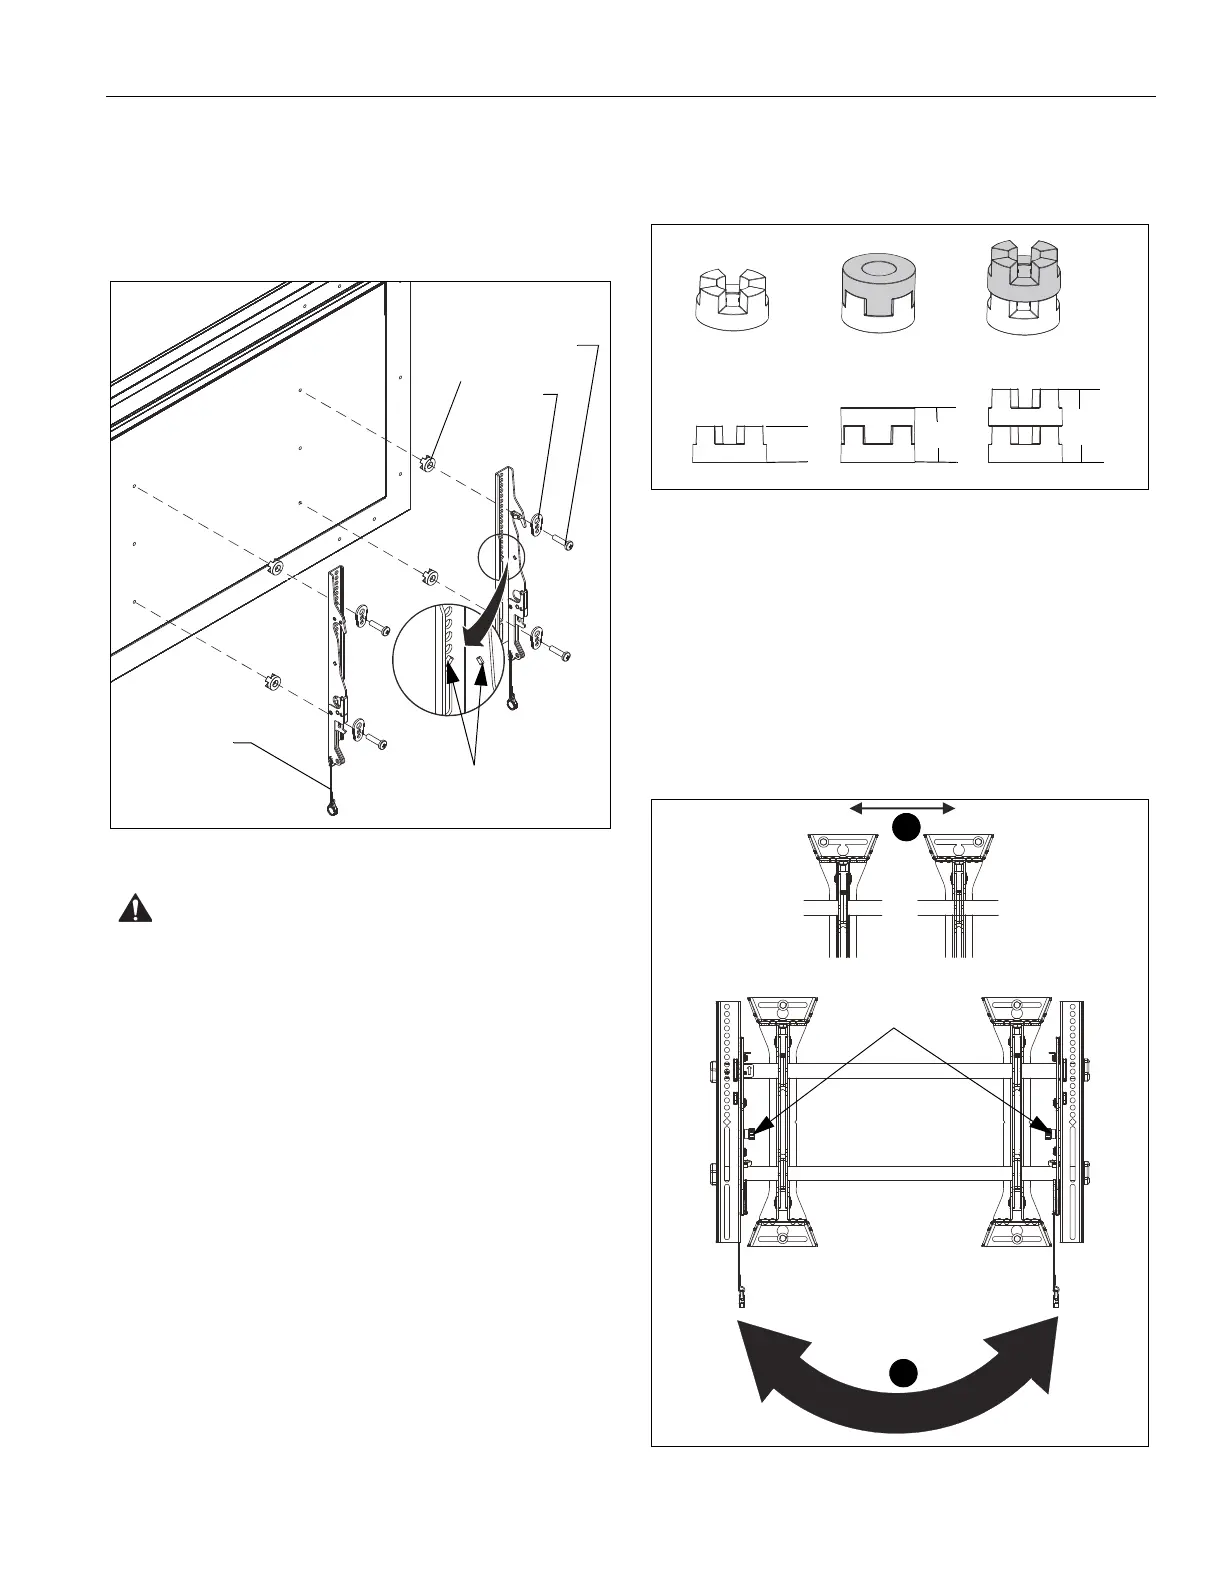
Attaching Interface Brackets to Screen
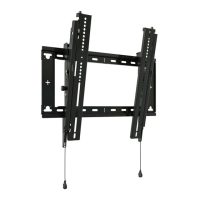
1. Align the center of the bracket (Y and Z or AA and BB) with
center of screen. (See Figure 5)
NOTE: The diamond-shape holes in the bracket correspond to
the center of the mount.
Figure 5
WARNING: IMPROPER INSTALLATION CAN LEAD TO
DISPLAY FALLING CAUSING SERIOUS PERSONAL
INJURY OR DAMAGE TO EQUIPMENT! Using screws of
improper size may damage your display. Properly sized
screws will easily and completely thread into display
mounting holes. If spacers are required, be sure to use longer
screws of the same diameter.
2. Select correct screws, nesting spacers (if necessary) and
universal washers from the hardware bag (A-M) and attach
brackets to back of screen. (See Figure 5)
IMPORTANT ! : (LSM1U/LTM1U Only) If M4 fasteners
are used to attach brackets to back of screen, the weight
of the screen may NOT exceed 150 lbs (68.0 kg).
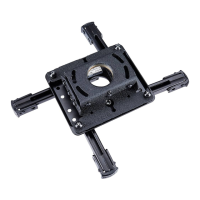
NOTE:
The nesting spacers (MA) may be used separately, or
put two together in different configurations to create
different size spacers. (See Figure 6)
Figure 6
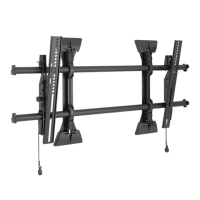
Switching Interface Brackets (Optional)
If an installation situation makes adjusting the location of
interface brackets necessary, there are several options.
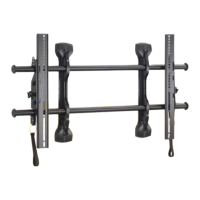
1. The wall brackets may be adjusted side to side at the point
of attachment. (See Figure 7)
2. The location of the left and right interface brackets (Y and Z
or AA and BB) may be switched, with the knobs on the
MTM1U/LTM1U interface brackets (AA and BB) facing the
inside of the mount. (See Figure 7)
Figure 7
Center of bracket
Pull cord
[Brackets Y and Z shown]
(MA)
(MB)
(A-L)
(Single) (Nested) (Stacked)
0.375
[9.5]
0.563
[14.3]
0.750
[19.1]
1
2
Knobs
[Brackets AA
and BB shown]