(4) K-D Bolt Plugs
(4) Slotted/Phillips
Machine Screws
(4) Spring Mounting Brackets (2) Upper Guide
Bushings
(2) Lower
Guide Pins
(12) Lock Nuts
(4) Casters
(12) Pan Head
Machine Screws
(2) Flat Head
Machine Screws
(4) Socket Head
Shoulder Screws
(1) End Plate - Right(1) End Plate - Left
(4) Allen Bolts
(1) Allen Wrench
(style may vary)
1
LH01796:12/00 Legacy.p65
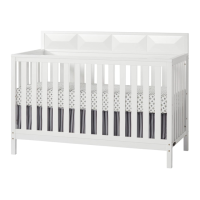
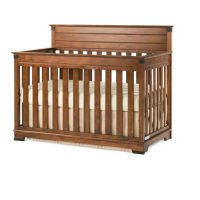
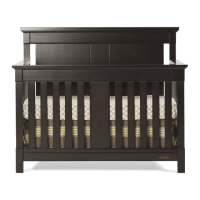
Single Dropside Crib/Daybed &
Drawer with Hidden Hardware
Factory Installed
CHILD CRAFT INDUSTRIES, INC.
P.O. Box 444, Salem, IN USA 47167-0444
PH: 812-883-3111 - FAX: 812-883-1819 - http://www.childcraftind.com
ASSEMBLY DIRECTIONS AND PARTS LIST
AB CDG
H
IJKL
MN
U
ΦΦ
ΦΦ
Φ READ ALL INSTRUCTIONS WITH CARE BEFORE STARTING THE ASSEMBLY PROCEDURE.
ΦΦ
ΦΦ
Φ YOU WILL NEED #1 AND #2 PHILLIPS SCREWDRIVERS, A SLOTTED SCREWDRIVER, A 7/16"
WRENCH, AND THE ENCLOSED ALLEN WRENCH S FOR ASSEMBLY OF THIS CRIB.
S
PARTS ENCLOSED IN HARDWARE BAG
(
NOTED
WHEN
SHOWN
ACTUAL
SIZE
) DO NOT SUBSTITUTE PARTS!
R
(8) 1-5/8" F/H Slotted/
Phillips Wood Screws
T
(3) 1-1/4" R/H Slotted/
Phillips Wood Screws
BB
(4) Bracket Caps
(4) Mini Blocks
DD XX
(8) 1/2" F/H Slotted/
Phillips Wood Screws
(2) 5/8" P/H Slotted/
Phillips Wood Screws
(16) Washers
(actual size)
H00117
H00291
H00116H00132
H00133
H00109
H01169
H00211
H00164
H00106
H00288
H00371
H00190
H01101
H01202
H01217
(actual size)
(actual size)
(actual size)
H00328
H00135
(actual size)
(actual size)
(actual size)
(actual size)
H01205
H01206
(actual size)
(actual size)
H01216
(actual size)
(actual size)
(actual size)
CC O O
(actual size)
(actual size)
(actual size)
21711