Service Manual
Page 7
• Remove the front wheel. The fork legs may
need to be pulled apart slightly, since there is
a 1 mm indent on the non-disc brake side of
the front hub axle. This indent locates the
front bevel gear and provides support during
heavy AWD loading.
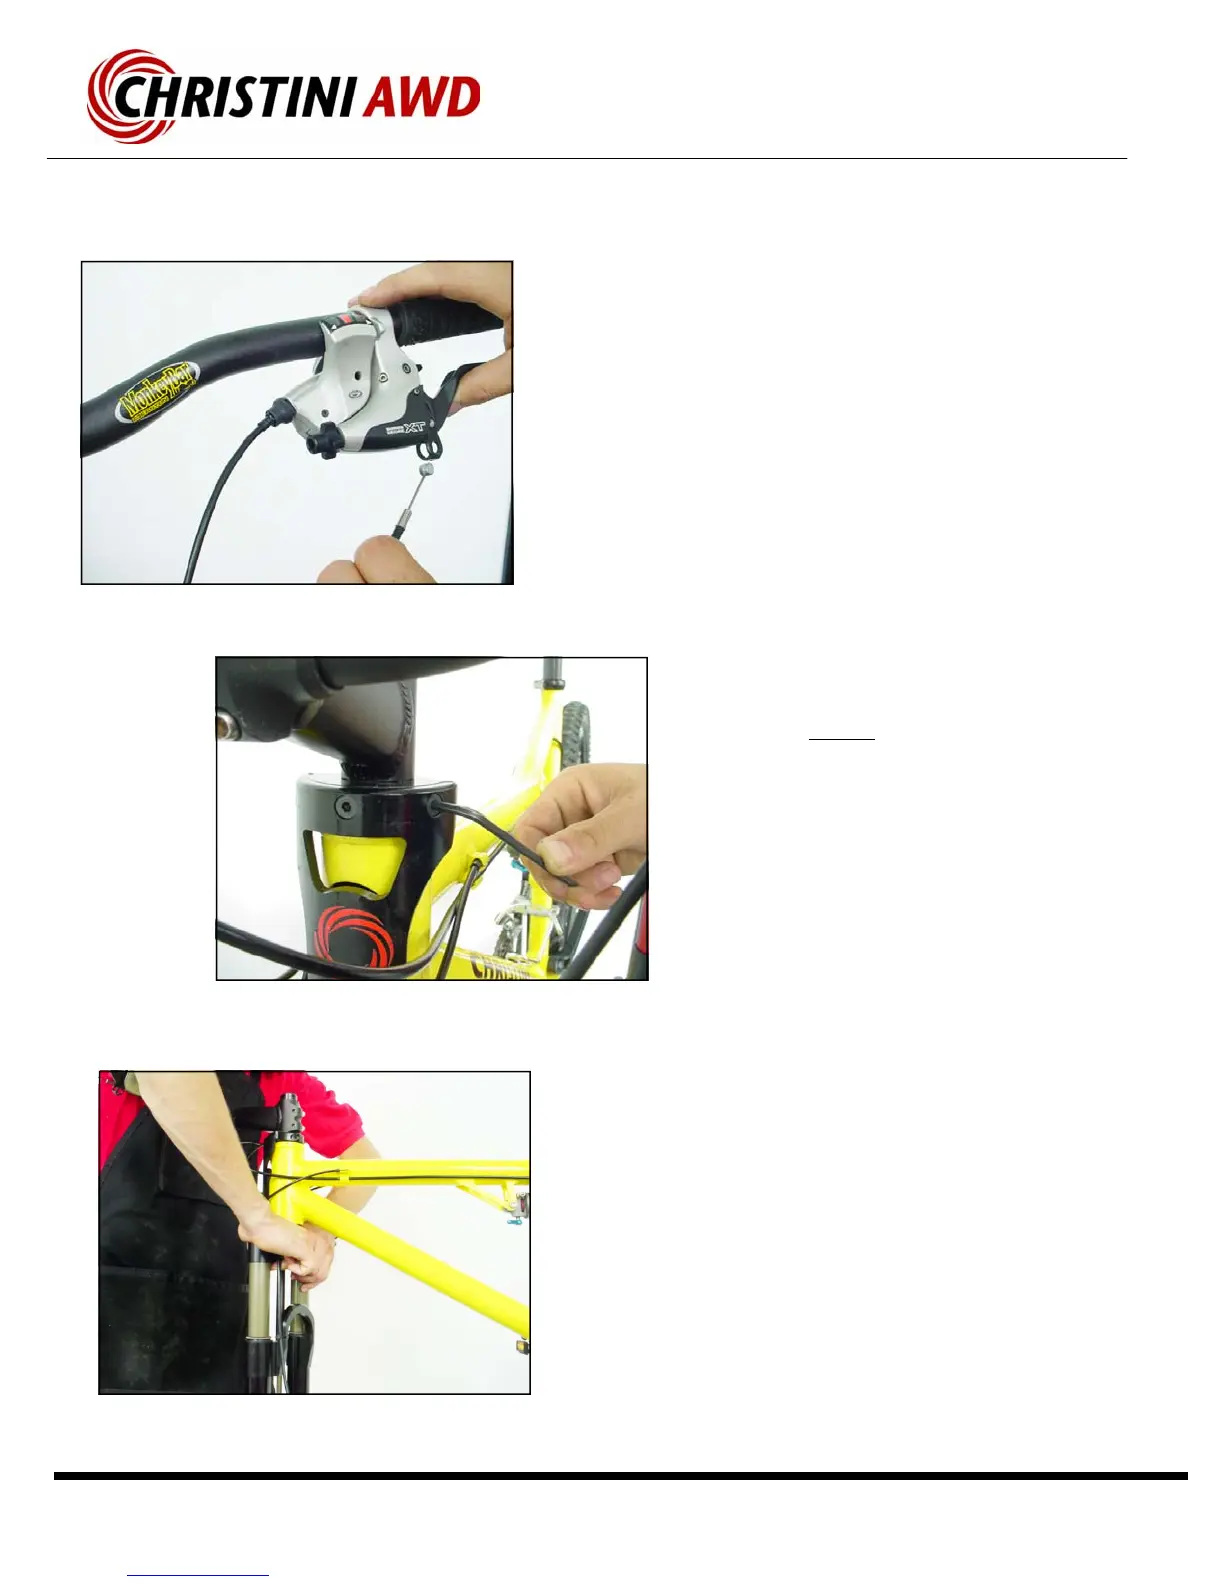
• Remove the front disk brake cable at the
lever—or remove the front disk brake caliper.
• Remove the three M6 bolts, located just
above the headtube on the front plate, that
attach the steering link to the upper steering
clamp.
• Warning—DO NOT
use the rounded Bohndus
end of the Allen wrench when first loosening
the bolts. You will strip the hex head of these
bolts.
• After these three bolts have been removed,
the fork can be pushed down out of the head-
tube of the bicycle. If necessary, use a plastic
hammer to tap the fork out. Hit the hammer
on the top of the brake arch to avoid damag-
ing the forks valves.
• Please refer to the White Brother’s AWD Fork
Owner’s Manual to service or adjust the front
suspension. (If lost see www.WhiteBros.com
for details)
Installation:
• Slide Lower steering tube into the support bear-
ings in the headtube.
• Tap the fork into place with a plastic hammer.
Do not tap the crown cover.
Custom White Brothers AWD Fork Removal