1. Open the battery compartment at the back side.
2. Insert a GSM/SIM card into the slot.
3. Connect the main power to the control panel with the
AC adapter.
4. Slide the power switch from “OFF” to “ON”.
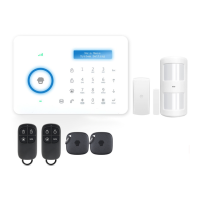
1. RC-80 (Remote control)
Press any button on the remote control to test the connection.
2. DWC-102 (Door/window sensor)
Press the [ARM] button on the remote control, trigger the door/window contact
by separating the magnet to test the connection.
3. PIR-910 (Motion detector)
Press the [ARM] button on the remote control, press the test button at the back
more than twice to test the connection.
4. TAG-26 (RFID-tag)
Put the tag close to the RIFD reader ares in armed mode to disarm the system.
NOTE: Main power must be connected when using the RFID tag disarm function.
Download the APP form APP store or Google
Play by searching the keywords “G5 Alarm”.
Setting up the system
through APP or by
sending “?” to the
control panel SIM card
number.
PIR-910
DWC-102
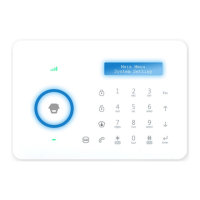
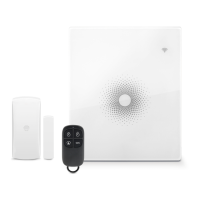
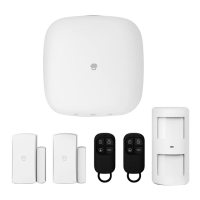
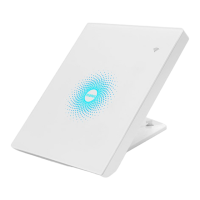
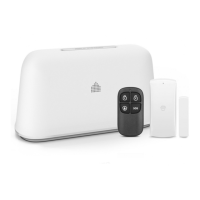
Install the control panel and accessories to the right place.
Make sure to delete the SIM pin code before starting with the following steps.
IT
Passo 1
Messa in funzione
Assicurarsi di cancellare il codice PIN della scheda SIM prima di
procedere con le seguenti operazioni.
1. Aprire il coperchio presente nella parte inferiore.
2. Inserire una scheda SIM GSM nell’apposito alloggiamento
3. Collegare il pannello di controllo all’alimentazione mediante l'alimentatore AC.
4. Spostare l'interruttore di attivazione/disattivazione da "OFF" a "ON".
Passo 2
Verificare il funzionamento degli accessori
1. RC-80 Premere qualsiasi pulsante del telecomando per verificare che il
collegamento sia stato eseguito correttamente.
2. DWC-102 Premere il pulsante [Attiva ] sul telecomando, quindi attivare il
contatto porta/finestra separando il magnete per verificare che il collegamento
sia stato eseguito correttamente.
3. PIR-910 Premere il pulsante [Attiva ] sul telecomando, quindi premere il
pulsante test presente sul retro per più di due volte per verificare che il
collegamento sia stato eseguito correttamente.
4. TAG-26 Posizionare il tag vicino alla zona del lettore RFID per disattivare il
sistema attivo.
Nota: L’alimentatore principale deve essere collegato quando si fa uso della
funzione disattiva del tag RFID.
Passo 3
Scaricare App allarme G5
Scaricare l’App da App Store o Google Play cercando le parole chiave
"Allarme G5".
Passo 4
Configurazione del sistema mediante l’App
Eseguire la configurazione del sistema o inviare "?" al numero di telefono
del pannello di controllo.
Passo 5
Installazione del sistema di allarme
Installare il pannello di controllo e gli accessori in aree adeguate.