32
If the minimum level of SWR is > 3, the red LED flashes and
the message "WARNING: SWR> 3 - PRESS ANY KEY" will show.
PROCEDURE FOR MANUAL TESTING OF MOTOR CONTROL
This process has to be done very skillfull and with much patience by means of fine tuning
because of the very narrow resonance of the antenna.
- Press the / for 3 seconds
- Enter the tuning frequency in KHz and press ENTER
- The display shows the frequency set on the second line and the SWR measured in real
time: what you observe is the real time change of the SWR from 9.9 to the best
possible. And that can be succefully accomplished, when you are closer to the chosen
frequency, only in FINE TUNING mode (keys 7 and 1)
- You can operate the motor by pressing 9 (to open) and 3 (to close) – HIGH SPEED
- You can operate the motor by pressing 8 (to open) and 2 (to close) – LOW SPEED
- You can operate the motor by pressing 7 (to open) and 1 (to close) – FINE TUNING
- The blue LED indicates that there is power being consumed by the motor
- To return to the home screen, press BACK SPACE
-
FULL AUTO MODE and SEMI AUTO MODE
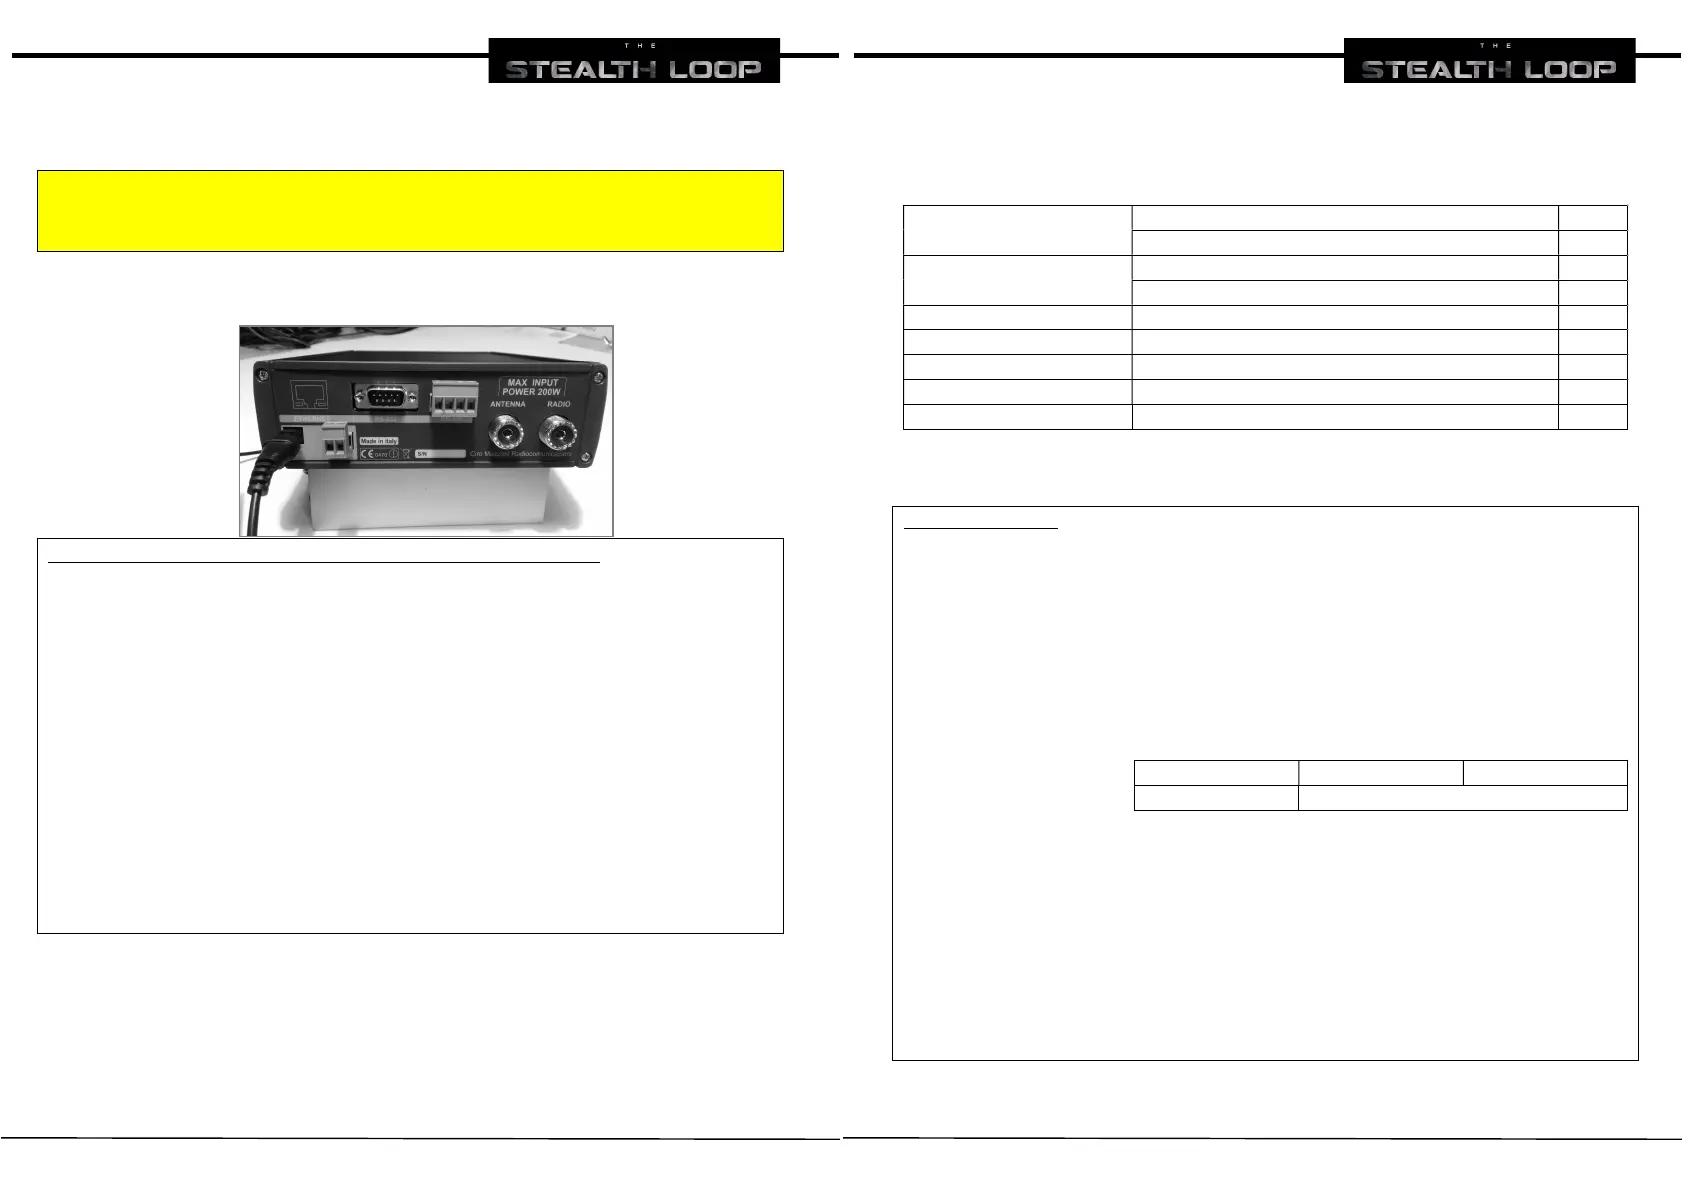
The ATU 2.0, with the I/ORS232 plug and play card, can interface via RS232 port with the
33
most popular HF radios on the market:
ICOM
by ICOM CI-IV remote control cable CI-1
(or by opt. CI-V CT17 interface+DB9f/DB25m cable)
YAESU by YAESU 8 pin remote control cable CI-2
by YAESU remote control cable CI-3
KENWOOD by KENWOOD remote control cable CI-3
ELECRAFT K3/K3S/K4 by ELECRAFT K remote control cable CI-7
ELECRAFT KX2/KX3 by ELECRAFT X remote control cable CI-4
FLEX RADIO by FLEX Radio remote control cable CI-5
ELAD Duo by ELAD remote control cable CI-6
Cables are available at www.ciromazzoni.com/shop
Follow the below operating procedure to use these modes and select the radio connected to the ATU 2.0
FULL AUTO MODE
- press the – key for 3 seconds
- the display will show SET FULL AUTO?
- press ENTER
- scrolling through the options using the + button, you can choose one of the following:
- ICOM MODE
- the ATU automatically scans to detect the address of the ICOM transceiver connected
(ref. to CT17 manual). When the scan is complete, the ID is displayed on the device
detected and will ask the operator to confirm the setting. You can cancel scanning at any
time by pressing the DELETE key or the BACKSPACE key.
- CAT MODE 1
- CAT MODE 2 - YAESU 8 pin data port (eg. FT-817/ 857 / 897)
- CAT MODE 3 - YAESU FTdx101 – FTdx10 – SunSDR (firmware 4.09 or later)
- DISABLED - to exit FULL AUTO MODE
- Press ENTER to confirm
- When you set the ATU in FULL AUTO MODE, the working frequency is read
continuously from the transceiver. Also, the calibration is performed automatically
when the set frequency differs in the range of 2 KHz 1,7-10MHz, and 3 KHz in the
range 10-30MHz
- Automatic re-calibration starts when the frequency of the RTX has not changed for at
least three seconds.
FLEX Radio ELAD Duo ELECRAFT
KENWOOD YAESU (RS232 data port)
 Loading...