Mount and Connect
This chapter describes how to rack-mount the ASA, and how to connect the cords and cables. It contains the
following sections
• Rack-mount the ASA , on page 1
• Connect Cables, Turn on Power, and Verify Connectivity, on page 2
• Connect to a Console Terminal or PC, on page 4
Rack-mount the ASA
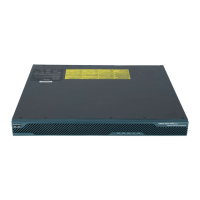
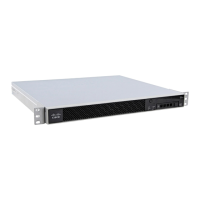
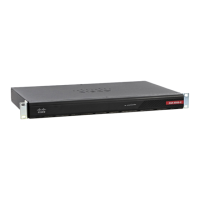
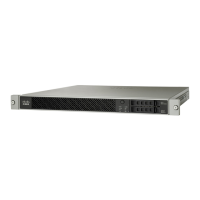
The ASA ships with rack-mount brackets or “ears,” which you can install on the front or the rear of the chassis.
Follow these steps to install your ASA in a rack.
Step 1 Attach both brackets to the sides of the ASA chassis, either to the front or rear.
After the brackets are secured to the chassis, you can mount it in the rack.
Step 2 Attach the chassis to the rack.
We recommend that you install the chassis with the rear panel facing the cold aisle. (See the following illustration for an
example of air flow from back to front.)
Mount and Connect
1








 Loading...