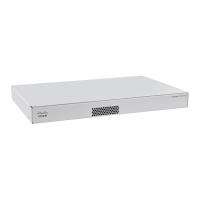
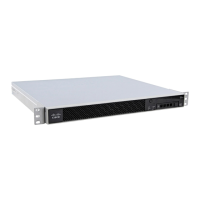
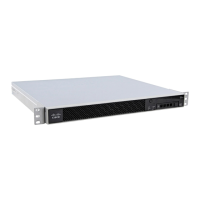
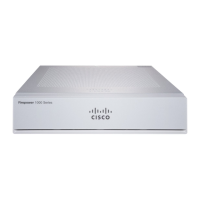
Figure 3: ASA 5506H-X in the Rack-Mount Shelf
Step 5 Carefully turn the tray right-side up and slide it into the rack-mounted shelf.
What to do next
You can now install the cables and power cord, as described in Connect Cables, Turn on Power, and Verify
Connectivity, on page 6.
Install the ASA 5506H-X in a DIN Rail
You can use the 7.5-mm thick 45mm wide top hat DIN rail for the ASA 5506H-X. Secure the DIN rail to the
mounting surface approximately every 7.8 inches (200 mm) and use end-anchors appropriately.
We recommend that you install the ASA 5506H-X on a steel DIN rail for extra stability.
Note
To attach the ASA 5506H-X to a 35-mm wide DIN rail, follow these steps:
Step 1 Attach the DIN rail bracket to the back of the chassis using the four screws provided.
Mount and Connect
4
Mount and Connect
Install the ASA 5506H-X in a DIN Rail
 Loading...

