Step 3
Use the torque wrench to tighten to a torque of 30 in.-lb (3.39 N-m).
Step 4
Connect the other end of the ground cable to a grounding point at your site, according to site requirements.
What to Do Next
After the chassis ground cable has been attached, remove the exhaust air deflector from the rear of the chassis.
Continue to the “Removing the Exhaust Air Deflector” section on page 7-45 for instructions.
Installing an AC or DC Power Shelf
This section describes how to install the AC or DC power shelves in the Cisco CRS Series Enhanced 16-slot
Line Card Chassis. For complete information on regulatory compliance and safety, see Regulatory Compliance
and Safety Information for the Cisco CRS Carrier Routing System .
Although there are differences between the AC and DC power shelves, they are installed using the same
procedures.
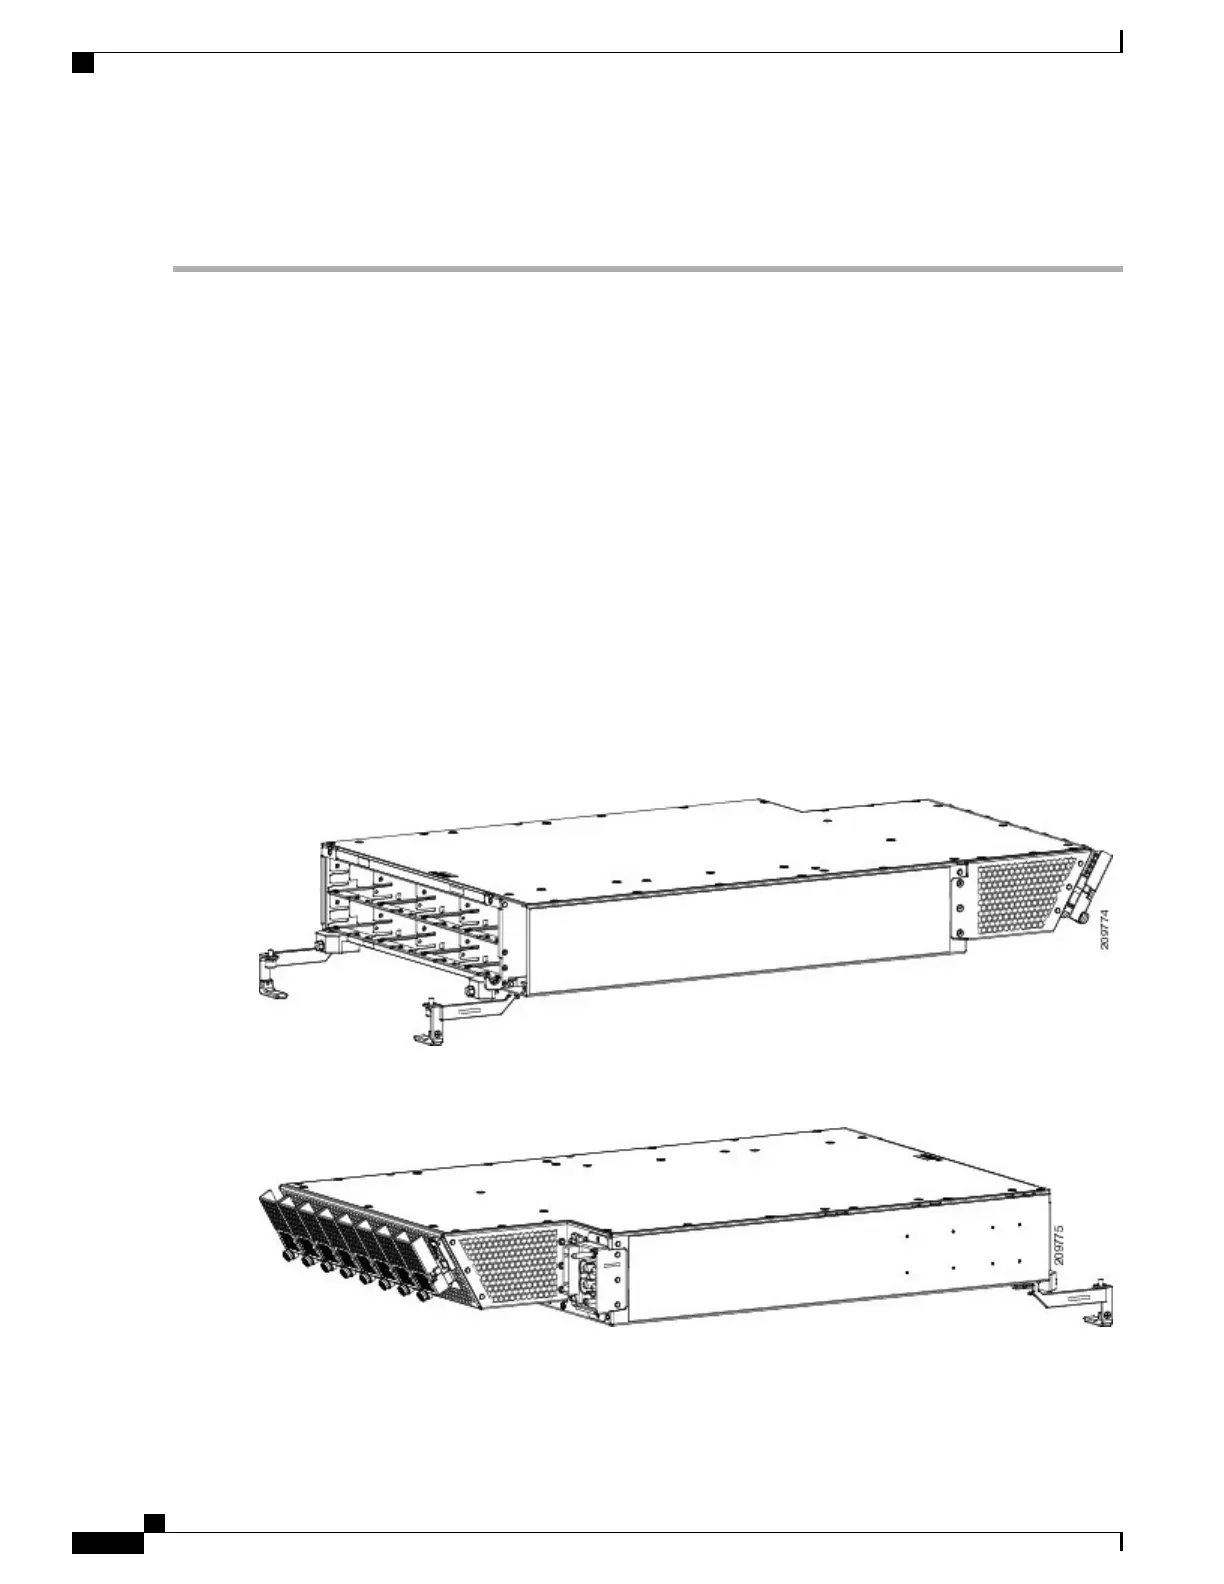
The front and rear views of the DC power shelves are shown in Figure 14: DC Power Shelf—Front View,
on page 24 and Figure 15: DC Power Shelf—Rear View, on page 24.
Figure 14: DC Power Shelf
—
Front View
Figure 15: DC Power Shelf
—
Rear View
Cisco CRS Routers 16-Slot Line Card Chassis Enhanced Router Installation Guide
24
Installing Power Components
Installing an AC or DC Power Shelf
 Loading...


