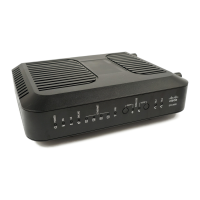
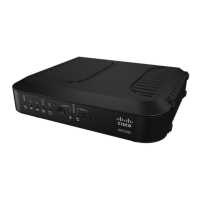
5 Locate the AC power cord provided with your residential gateway. Connect the
barrel connector end of the power cord into the power input on the back of the
residential gateway. Then, plug the other end of the power cord into an AC
outlet.
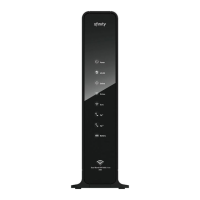
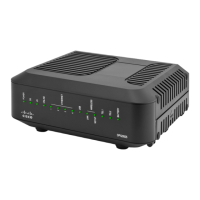
The residential gateway will perform an automatic search to locate and sign on
to the broadband data network. This process may take up to 2-5 minutes. The
residential gateway will be ready for use when the P owe r , US/DS, and Online
LEDs on the front panel of the residential gateway stop blinking and remain on
continuously.
6 Plug in and power on your PC and other home network devices. If one or more
of these devices uses wireless networking, the 2.4G or 5G LED on the residential
gateway should be on or blinking.
7 At this point, the installation is complete, and you can begin surfing the Internet.
Note: If your PC does not have Internet access, refer to How Do I Configure
TCP/IP Protocol? (on page 26) for information on how to configure your PC for
TCP/IP. For Internet devices other than PCs, refer to the DHCP or IP Address
configuration section of the User Guide or Operations Manual for those devices.