5
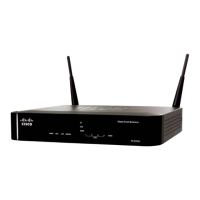
3 Configure the PIX 515E
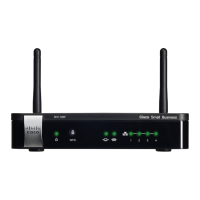
The PIX 515E comes with a factory-default configuration that meets the needs of most small and
medium business networking environments. A default DHCP server address pool is included for hosts on
the inside interface. The factory-default configuration on the PIX 515E protects your inside network
from unsolicited traffic.
By default, the PIX 515E denies all inbound traffic through the outside interface. Based on your
network security policy, you should also consider configuring the PIX 515E to deny all ICMP traffic
to the outside interface, or any other interface you deem necessary, by entering the icmp command.
For more information about the icmp command, refer to the Cisco PIX Firewall Command Reference.
The PIX 515E contains an integrated web-based configuration
tool called the Cisco PIX Device Manager (PDM), that is
designed to help you set up the PIX Firewall. PDM is
preinstalled on the PIX 515E. To access PDM, make sure that
JavaScript and Java are enabled in your web browser. Refer to
the Cisco PIX Device Manager Installation Guide for more
information on the operating system and web browser
environments supported by PDM.
PDM includes a Startup Wizard for simplified initial
configuration of your PIX Firewall. With just a few steps, the
PDM Startup Wizard enables you to efficiently create a basic configuration that allows packets to flow
through the PIX Firewall from the inside network to the outside network securely. Follow these steps to
use the Startup Wizard:
Step 1 If you have not already done so, connect the inside Ethernet 1 interface of the PIX 515E to a
switch or hub using the Ethernet cable. To this same switch, connect a PC for configuring the
PIX 515E.
Step 2 Configure your PC to use DHCP (to receive an IP address automatically from the PIX 515E)
or assign a static IP address to your PC by selecting an address out of the 192.168.1.0
network. (Valid addresses are 192.168.1.2 through 192.168.1.254 with a mask of 255.255.255.0
and default route of 192.168.1.1.)
Note The inside interface of the PIX 515E is assigned 192.168.1.1 by default, so this
address is unavailable.
Step 3 Check the LINK LED on the PIX 515E Ethernet 1 interface. When connectivity occurs, the
LINK LED on the Ethernet 1 interface of the PIX Firewall and the corresponding LINK LED on
the switch or hub lights up solid green.