78-20007-03 MX200 Table Stand Installation Sheet | 2012 JANUARY | © 2011-2012 Cisco Systems, Inc. All rights reserved.
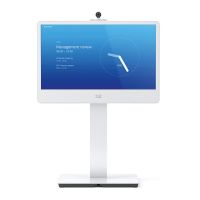
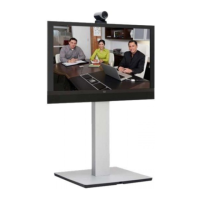
Installing Cisco TelePresence MX200 - Table Stand
5
Finishing up
EMC Class A declaration
WARNING: This is a class A product. In a domestic environment this
product may cause radio interference in which case the user may be
required to take adequate measures.
声 明
此为A级产品,在生活环境中,该产品可能会造成无线电干扰。在这种
情况下,可能需要用户对其干扰采取切实可行的措施。
WARNING: This is a class A product. In a domestic environment
this product may cause radio interference in which case the user
may be required to take adequate measures.
4
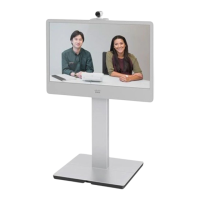
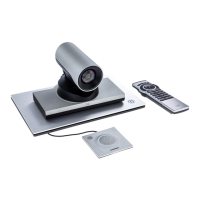
Switching on the system
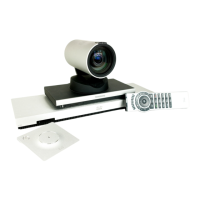
i Plug in the cables from the LCD video unit as
appropriate, and make sure the Touch controller is
connected.
SAFETY REQUIREMENT: The equipment shall be
installed close to the socket outlet. The socket outlet
shall be easily accessible after installation.
ii Switch on the system.
The power switch is located next to the power
connector on the rear side of the LCD video unit.
iii Wait while the MX200 starts up. Normally this
takes just a few minutes. If an automatic software
upgrade occurs the start-up process may take up to
15minutes.
When the home menu and contact list appear on the
Touch controller the system is ready to use.
CAUTION: To alter the camera position always use the
Camera Control panel on the Touch controller; never move
the camera manually when the power is switched on.
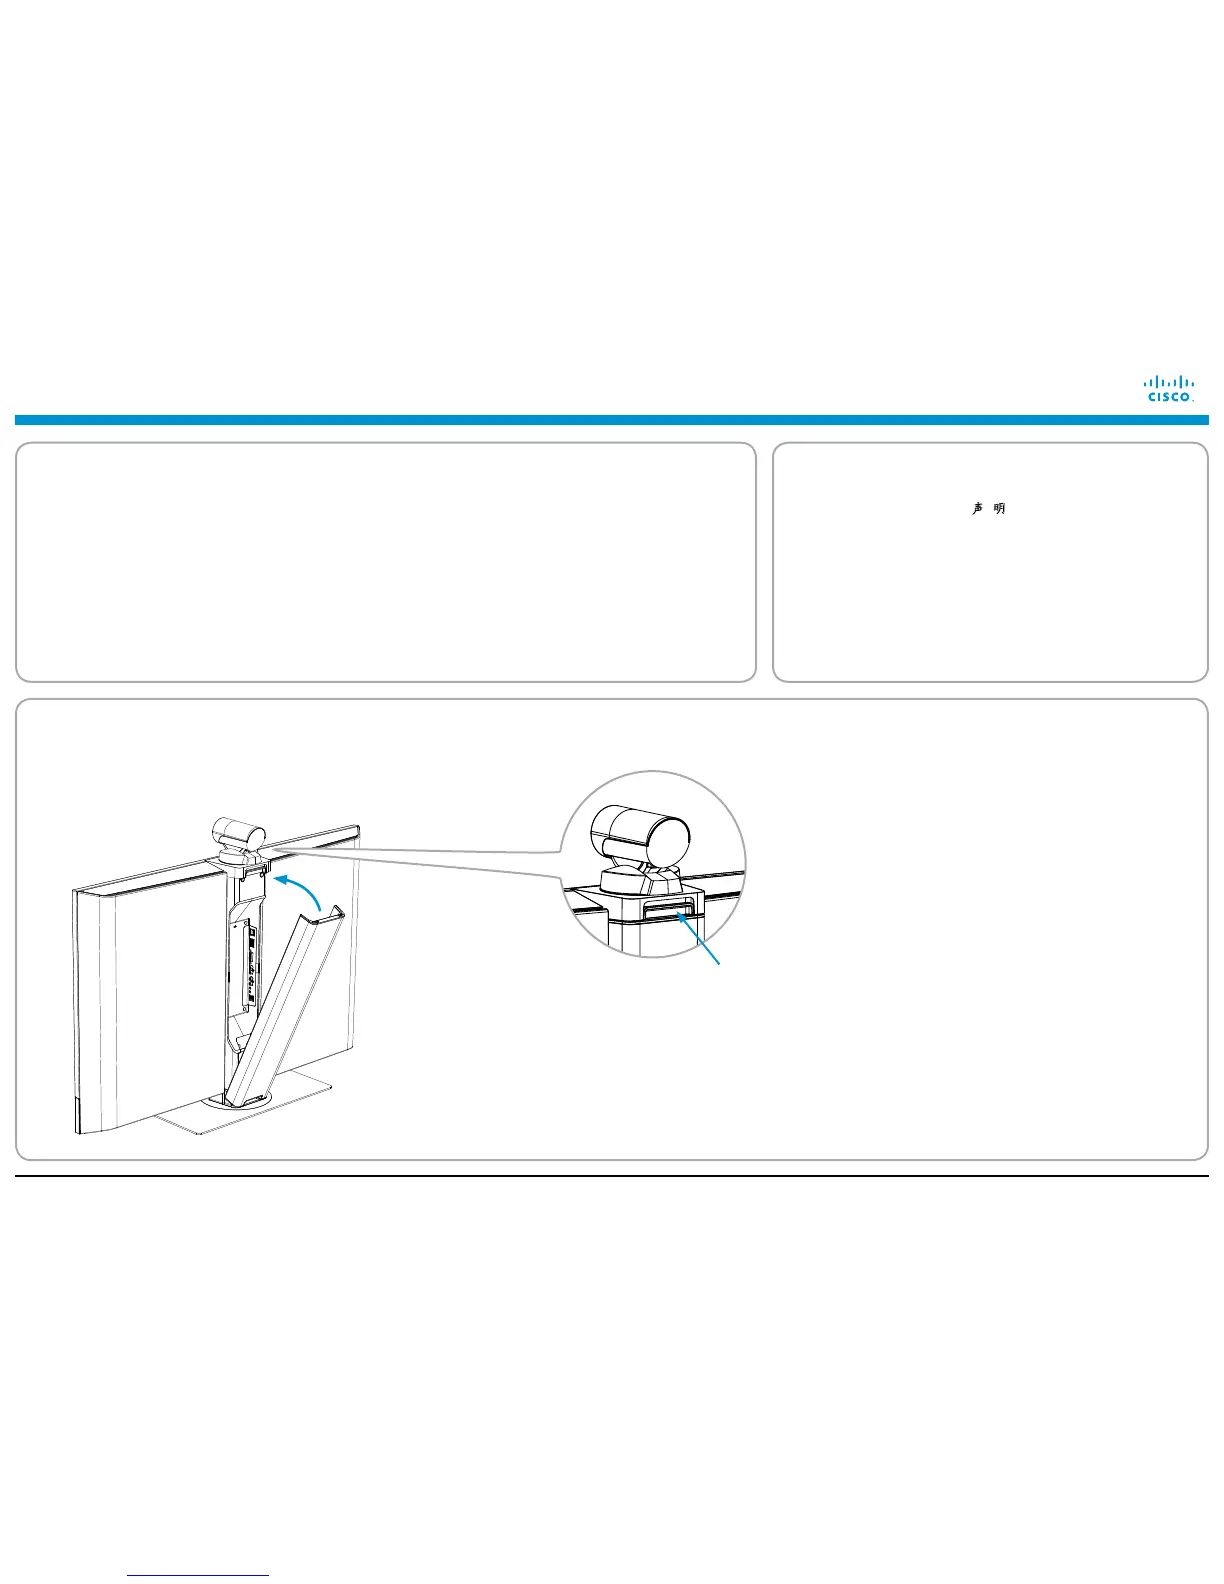
You can lock/unlock the back
cover by lifting this handle.
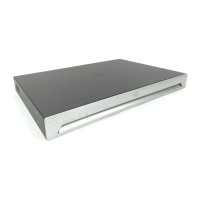
i Snap on the back cover to hide the connectors and cables. ii Remove the protective foil from the LCD video unit.
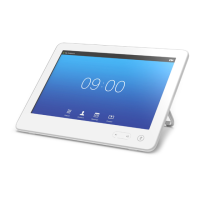
iii If required, clean the Touch display (not the LCD video
display) using the dry cleaning cloth provided.
iv Unfold the rear-mounted foot on the Touch controller to
increase its tilt.
 Loading...