A 级声明 (A Class product declaration)
本产品为 A 级 ITE,在其使用说明,铭牌等显著位置中已包含如下内容的声明
(We declare here that the subject product is A class ITE product, and the
following statement is clearly marked in the user manual or nameplate):
声明所在位置 (Position of the Declaration):
使用说明 User Manual
铭牌 Nameplate
申请号 (Application No.):
申请人 (Applicant):
型号 (Model Number):
签字/盖章 Signature/Stamp:
日期 Date:
警告
此为 A 级产品。在生活环境中,该产品可能会造成无线电干扰。在这种
情况下,可能需要用户对干扰采取切实可行的措施。
WARNING:
This is a class A product. In a domestic environment this
product may cause radio interference in which case the user may be
required to take adequate measures.
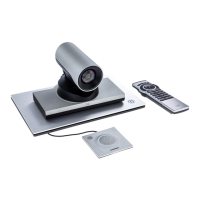
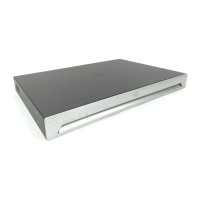
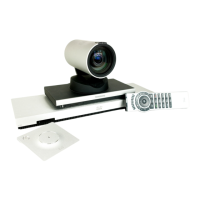
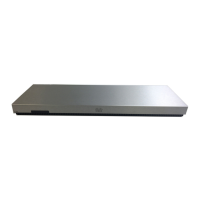
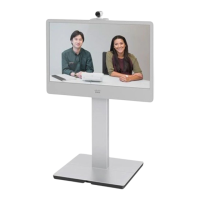
SX20 Quick Set components
y SX20 Codec
y Camera options
A: PrecisionHD 1080p 12X
B: PrecisionHD 1080p 4XS2
C: PrecisionHD 1080p 2.5X
y Table Microphone 20
(1 default and 1 optional)
y Remote control and
four AAA batteries
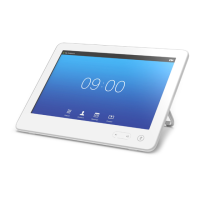
y Touch 8” controller (optional)
y Touch 10” controller (optional)
y Codec wall mounting kit
(optional)
y HDMI cable for monitor
(1 default and 1 optional)
y Ethernet cable for LAN
y VGA to DVI-A cable
for PC connectivity
y Camera cable
y Power supply and
power cable
y Camera mounting bracket
y Microphone extension cable
(optional)
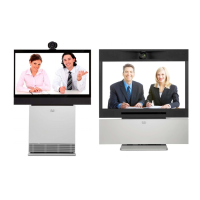
In addition to the SX20 Quick Set you must provide a monitor or
projector, and a loudspeaker (external or built-in to the monitor) to
complete your video conferencing system.
User guides
User guides and compliance and safety information for this product, is
available at http://www.cisco.com/go/quickset-docs
EMC Class A declaration
WARNING: This is a class A product. In a domestic environment this product
may cause radio interference in which case the user may be required to take
adequate measures.
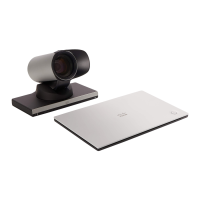
Camera option A: PrecisionHD 1080p 12X
Snap on the lens hood to
prevent stray light from
disturbing your video
experience.
You can use the provided
camera bracket to place
the camera on top of the
monitor. Fasten the bracket
to the monitor with Velcro.
The camera snaps to the
magnets on the bracket.
Recommended room setup
The following should be regarded as
guidelines only. Try things out on-site
before fixing any mounting positions.
To learn more about how to optimize
your office or meeting room for video
conferencing, please read the Video
conferencing room primer and Guidelines
for video conferencing room acoustics
documents available on our web site.
Camera
Place the camera at eye height to get the
best perceived eye contact. Typically, this
is about 1.2 m (4 ft) above the floor.
Use the camera self view function to
make sure all participants are captured by
the camera.
Aim for good illumination of a person’s
face to avoid shadows. Also avoid direct
light on the monitor to prevent reflections.
Microphones
Place the microphone(s) as close to all
meeting participants as possible.
Camera option B: PrecisionHD 1080p 4XS2
You can use the provided
camera bracket to place
the camera on top of the
monitor. Fasten the bracket
to the monitor with Velcro.
The camera is fastened to
the bracket with a screw.
Tool: 4 mm Allen Key (not
provided).
Typical room scenario:
Medium to large
meeting room.
70˚
Typical room scenario:
Medium sized
meeting room.
Camera option C: PrecisionHD 1080p 2.5X
Read the assembly instructions that
comes with the bracket for directions
how to fasten the camera and bracket
to the monitor.
Typical room scenario:
Small office or
meeting room.
70˚
83˚