Chapter 2: Cisco Connect
During installation, the setup software installs the Cisco
Connect software on your computer. Cisco Connect offers
options to connect additional computers or devices to
your Valet and allows you to modify the Valet’s settings.
Installation
To install the Valet:
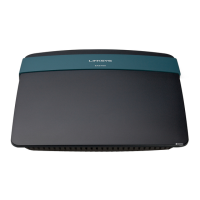
1. Insert the Easy Setup Key into a USB port on your
computer.
Insert Easy Setup Key
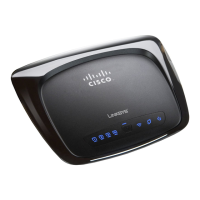
2. Click Connect to your Cisco Valet.
Connect your Cisco
AutoPlay
Always do this for software and games:
Install or run program
General options
Connect to your Cisco Valet
Published by Cisco Consumer Products LLC
Set AutoPlay defaults in Control Panel
Open folder to view files
using Windows Explorer
Speed up my system
using Windows ReadyBoost
Router Setup
Always do this for software and games:
Install or run program
General options
Connect to your Cisco Valet
Published by Cisco Consumer Products LLC
Open folder to view files
using Windows Explorer
Speed up my system
Connect to your Cisco Valet
If you do not see this, open the Easy Setup Key folder
and double-click Connect. To do so, perform the
following steps for your specific operating system:
Windows 7
a. Go to Start > Computer.
b. Double-click Easy Setup Key in the list of available
drives.
c. Double-click on Connect.exe.
Windows Vista
a. Go to Start > Computer.
b. Double-click Easy Setup Key in the list of available
drives.
c. Double-click on Connect.exe.
Windows XP
a. Go to Start > My Computer and select Easy Setup
Key.
b. Double-click Connect.exe.
Mac OS X
a. Double-click on the CD on your desktop.
b. Double-click Connect.
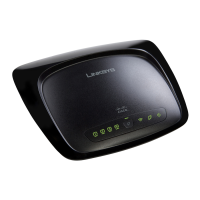
3. Read the Software End User License Agreement.
To accept the agreement and continue with the
installation, click Next.
License Agreement
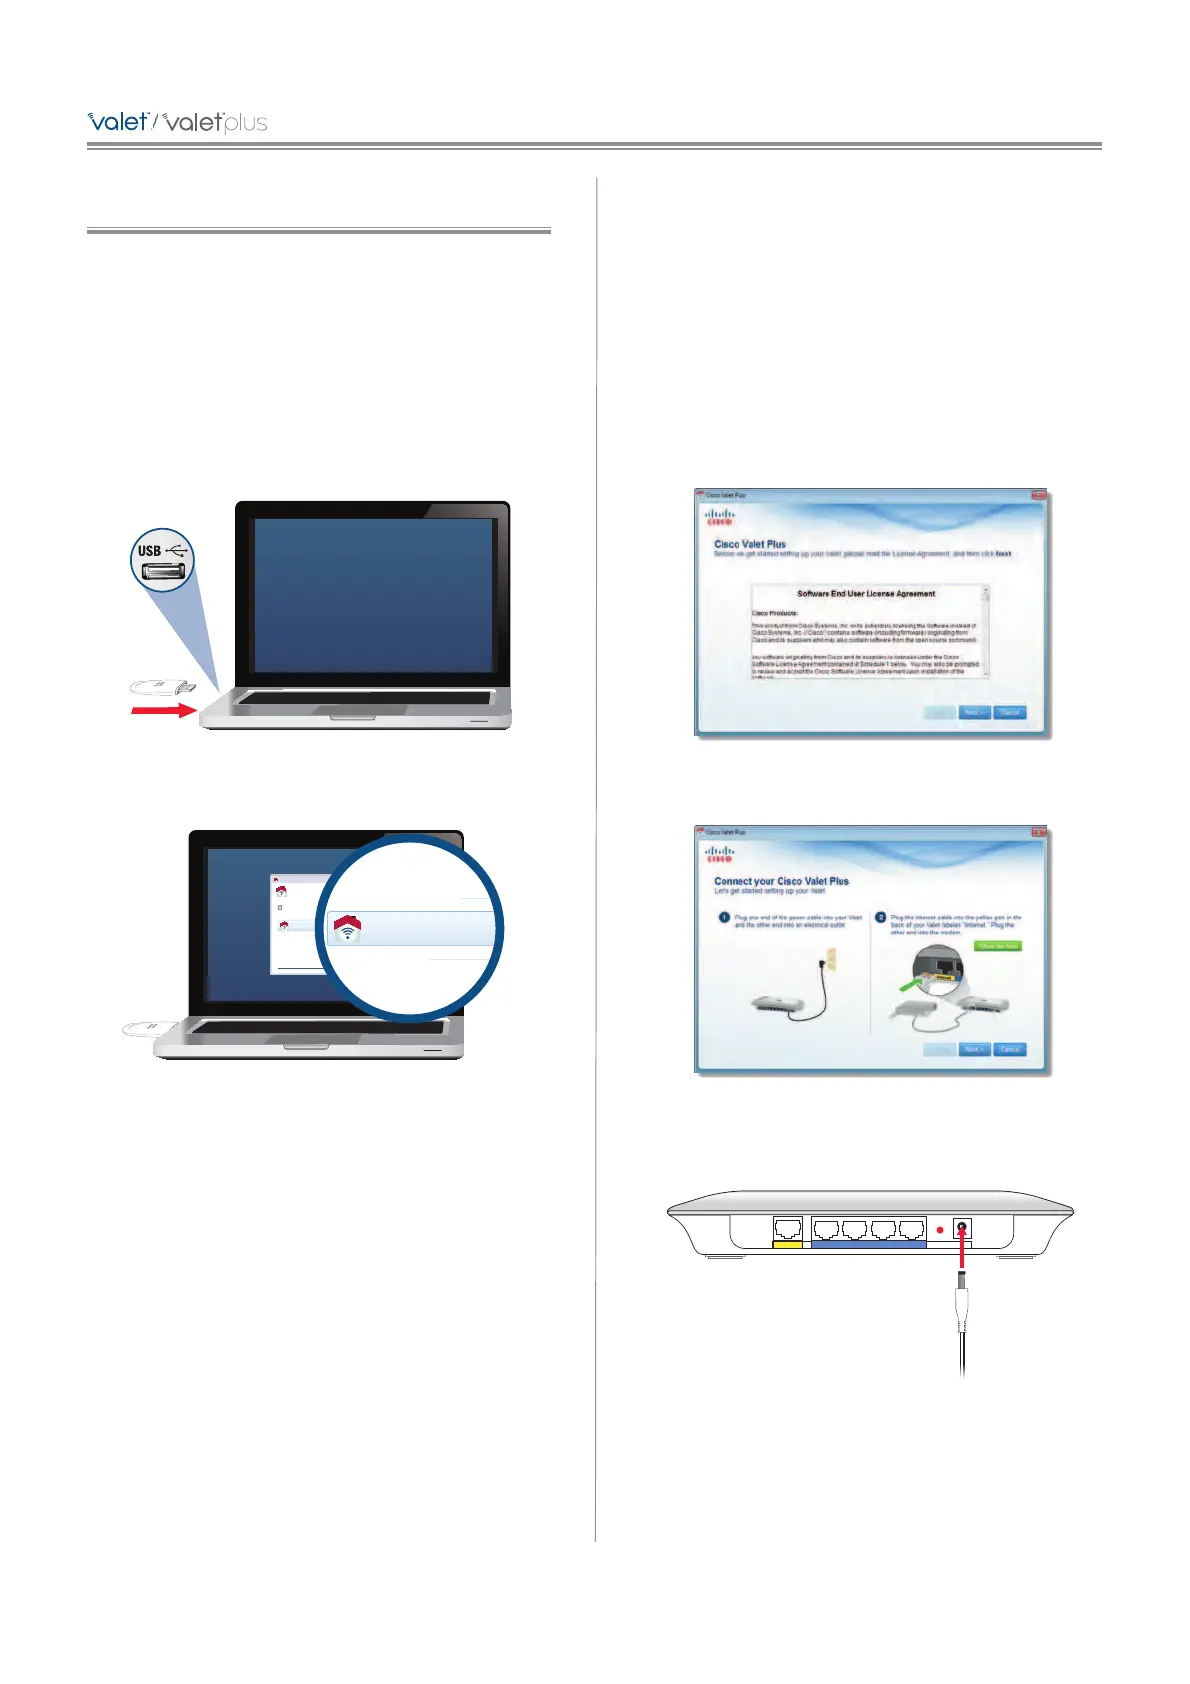
4. The connection steps are displayed.
Connection Overview
a. Plug the power cord into the Power port on the
back of the Valet.
Internet Ethernet4 3 2 1 Reset
Power
12VDC
Connect to Power Port