Customer Service Contact: 617-731-3320 sales@innovativeconsumergoods.com Page 6
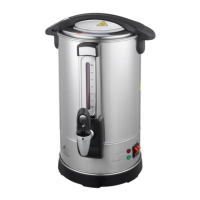
CAUTION: Do not immerse Water Boiler unit or cord into water or into any other liquid.
Do not lift the unit by the top handle which is intended for use to only twist on/off the top cover. Always lift
unit by the two handles located on the top of the side walls. Never lift with hot water inside!
BEFORE FIRST USE
1. Remove all contents and packaging from the Water Boiler.
2. Rinse with warm water and/or lemon juice. (See to page 8). Rinse with clean water and dry.
HOW TO USE
1. Place the Boiler on a dry, stable, flat without an incline, and heat resistant surface that supports the
weight of the unit when filled with water and is not heat sensitive.
2. Turn the lid anti-clockwise to open and fill the Boiler with water to the “MAX” (“FULL”) line. It is
suggested to fill using a pitcher or utensil.
3. After filling the Boiler, replace the lid with clockwise motion to “close” position and push the white
lock tab button to “OFF” position. This locks the lid in place.
4. Plug the Power Cord into back of unit and then opposite end with 3 prongs into a grounded outlet.
Do not use a grounding adapter.
5. Turn on only the left On-Off switch; the Red Boiling light will illuminate.
6. Wait for the water to reach boiling temperature. It is natural to hear sounds of the water boiling
during this process. Once the water has reached boiling temperature, the Red Boil light will go off
and then the Green Keep Warm light will illuminate. Water is now heated to 207°F (97°C) and is
ready for use.
NOTE: The high tech PCB board setting keeps water at the 200°F (93°C) level. Should there be a
drop in this temperature level, the unit will automatically reheat itself to bring the temperature level
back up to specification. The red light will go on during this process and you will hear a “water
heating” sound for a short while.
THIS IS A NORMAL FUNCTION of the unit to maintain the pre-programmed temperature level.
HOW TO DISPENSE THE WATER
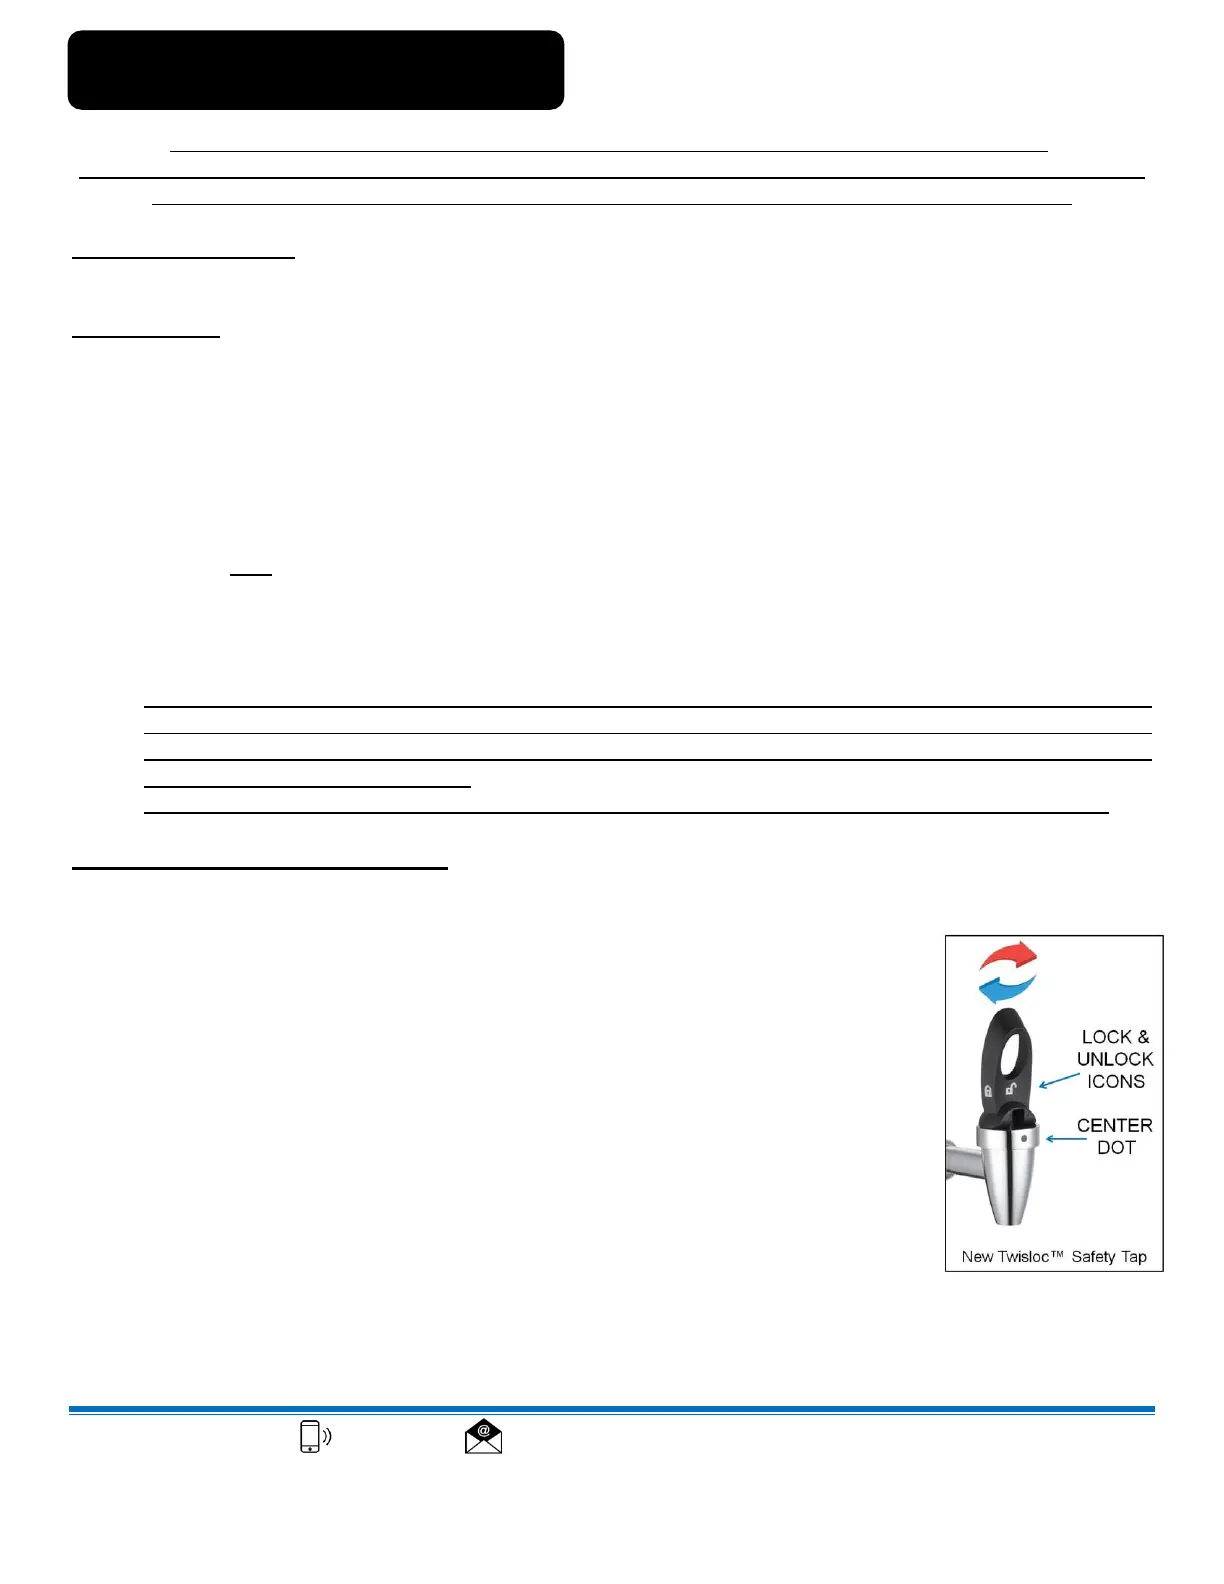
Use the new TWISLOC™ Safety tap to dispense water:
Place a cup or mug close to the bottom of the spout.
CAUTION: The metal spout may be hot to the touch!
Rotate the tap handle so that the Unlock Icon is lined
up with dot imprint on the top of the spout (see photo).
Pull tap FORWARD to dispense water and release the tap
when finished. Tap will spring back to a vertical position.
Wait until last drip(s) of water stop before removing the cup.
To LOCK THE TAP to prevent any dispensing of water,
rotate tap handle to the right and match/line up the
Lock Icon with the dot imprint on the top of the spout (see photo).
NOTE: Icons need to be aligned for the Twisloc™ tap to work properly.
Forcing the Twisloc™ tap when not correctly aligned or when locked may
result in tap breakage, not covered by the Warranty.
**** RED Arrow direction to LOCK – BLUE Arrow direction to UNLOCK


 To Next Page
 Loading...