EU +44 118 324 1242 | Germany +49 361 7473
www.clearlight-saunas.eu
26
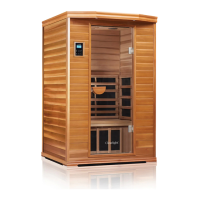
11 - CONNECT HEATERS IN ROOF
1. Locate the “trap” doors that open in the roof.
2. Connect the black and white cables that come out of the walls
to the connector located in the roof.
3. Connect the green ground wire that come out of the walls to the
green ground wire that is in the roof. Push the wiring inside the
roof area and close the roof door compartments.
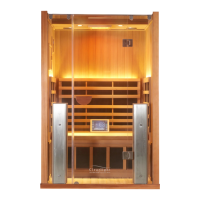
4. In the left side wall compartment, there will be two connectors:
1) Heater connector. 2) Keypad connector. The heater
connector is a two wire connector. The keypad connector is a
seven wire connector.
BE SURE TO MATCH THE COLORS IN THE CONNECTORS. THE
BLACK WIRE SHOULD MATCH UP WITH THE BLACK WIRE, ETC.
Assembly Instructions Cont’d
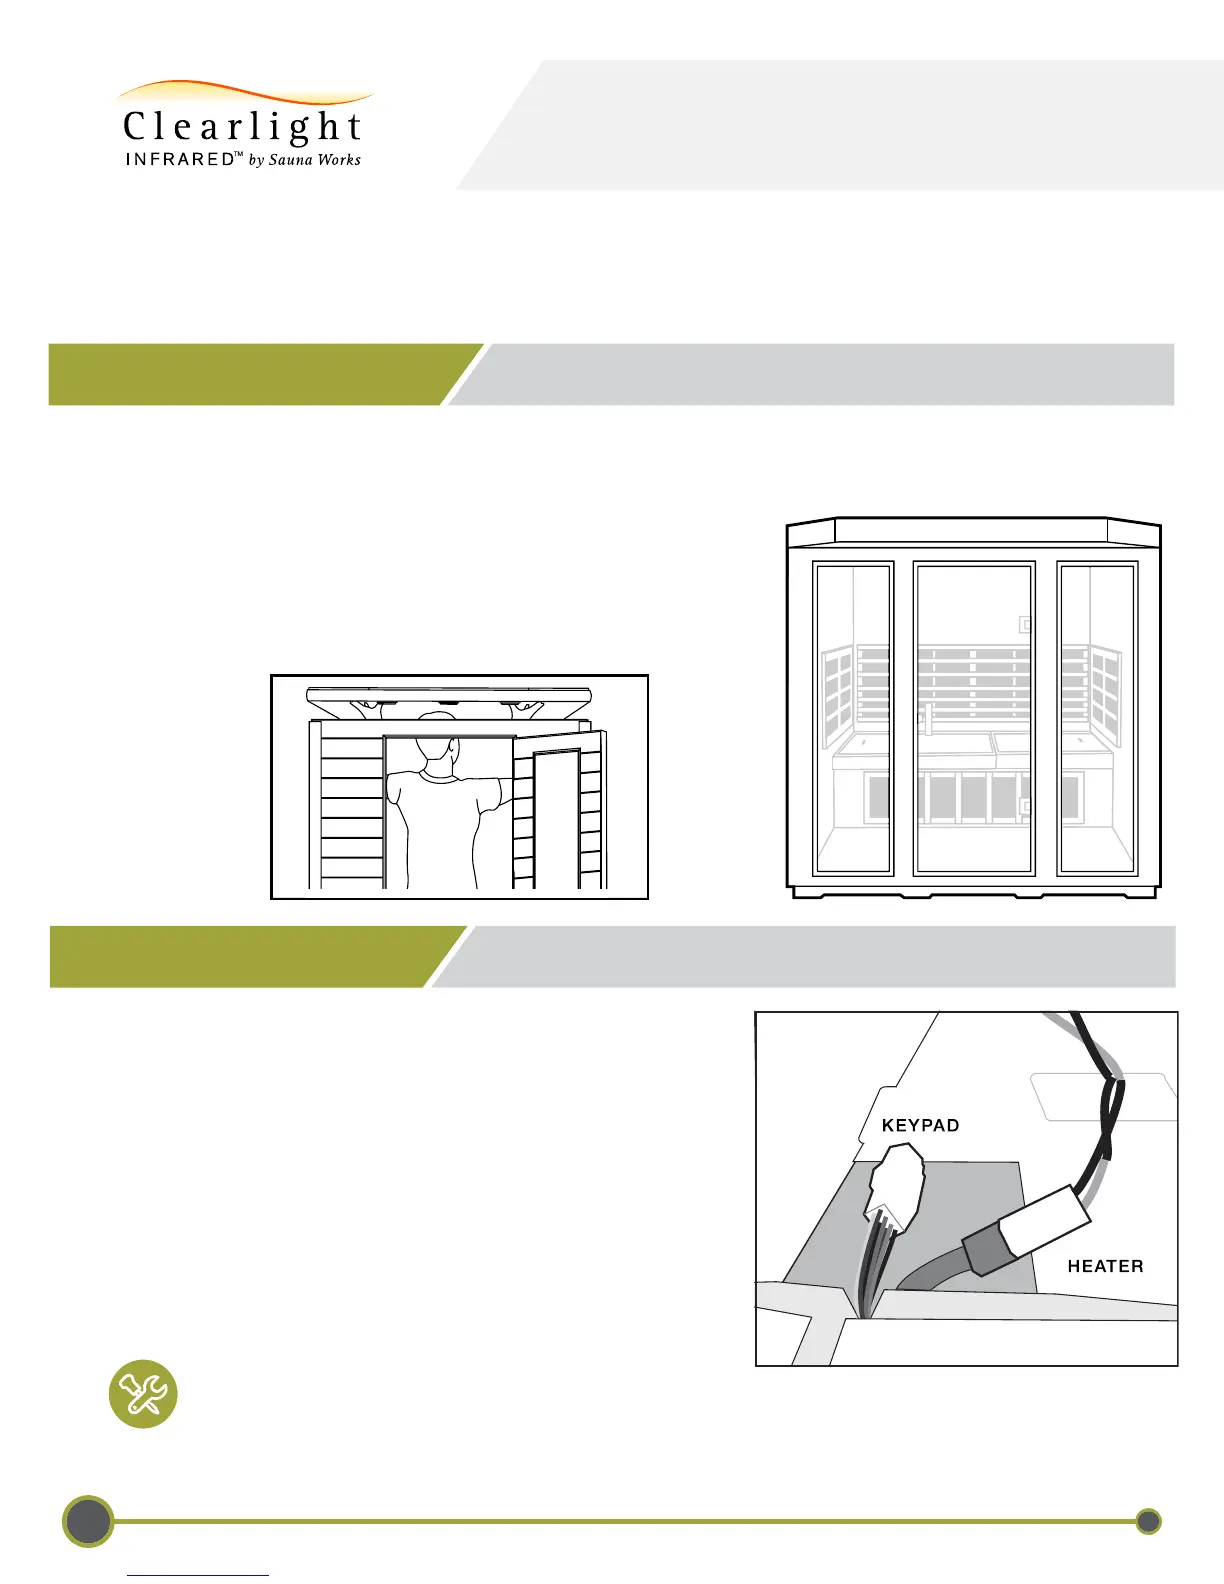
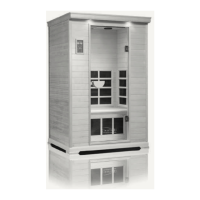
1. Lower the roof panel on to the assembled panels.
2. Position the top panel so that the exterior lights are at the front of the sauna.
3. Make sure that the cables from the top panel are do not get pinched
when placing the panel.
4. Gently place the top panel onto the rest of the assembled panels.
When all four corners are in place, gently push down the roof panel
from the outside corners until it ts snugly over the rest of the panels.
10 - INSTALLING THE ROOF PANEL
)
PREMIER IS-5