Disassembly
2 - 8 Removing the Keyboard
2.Disassembly
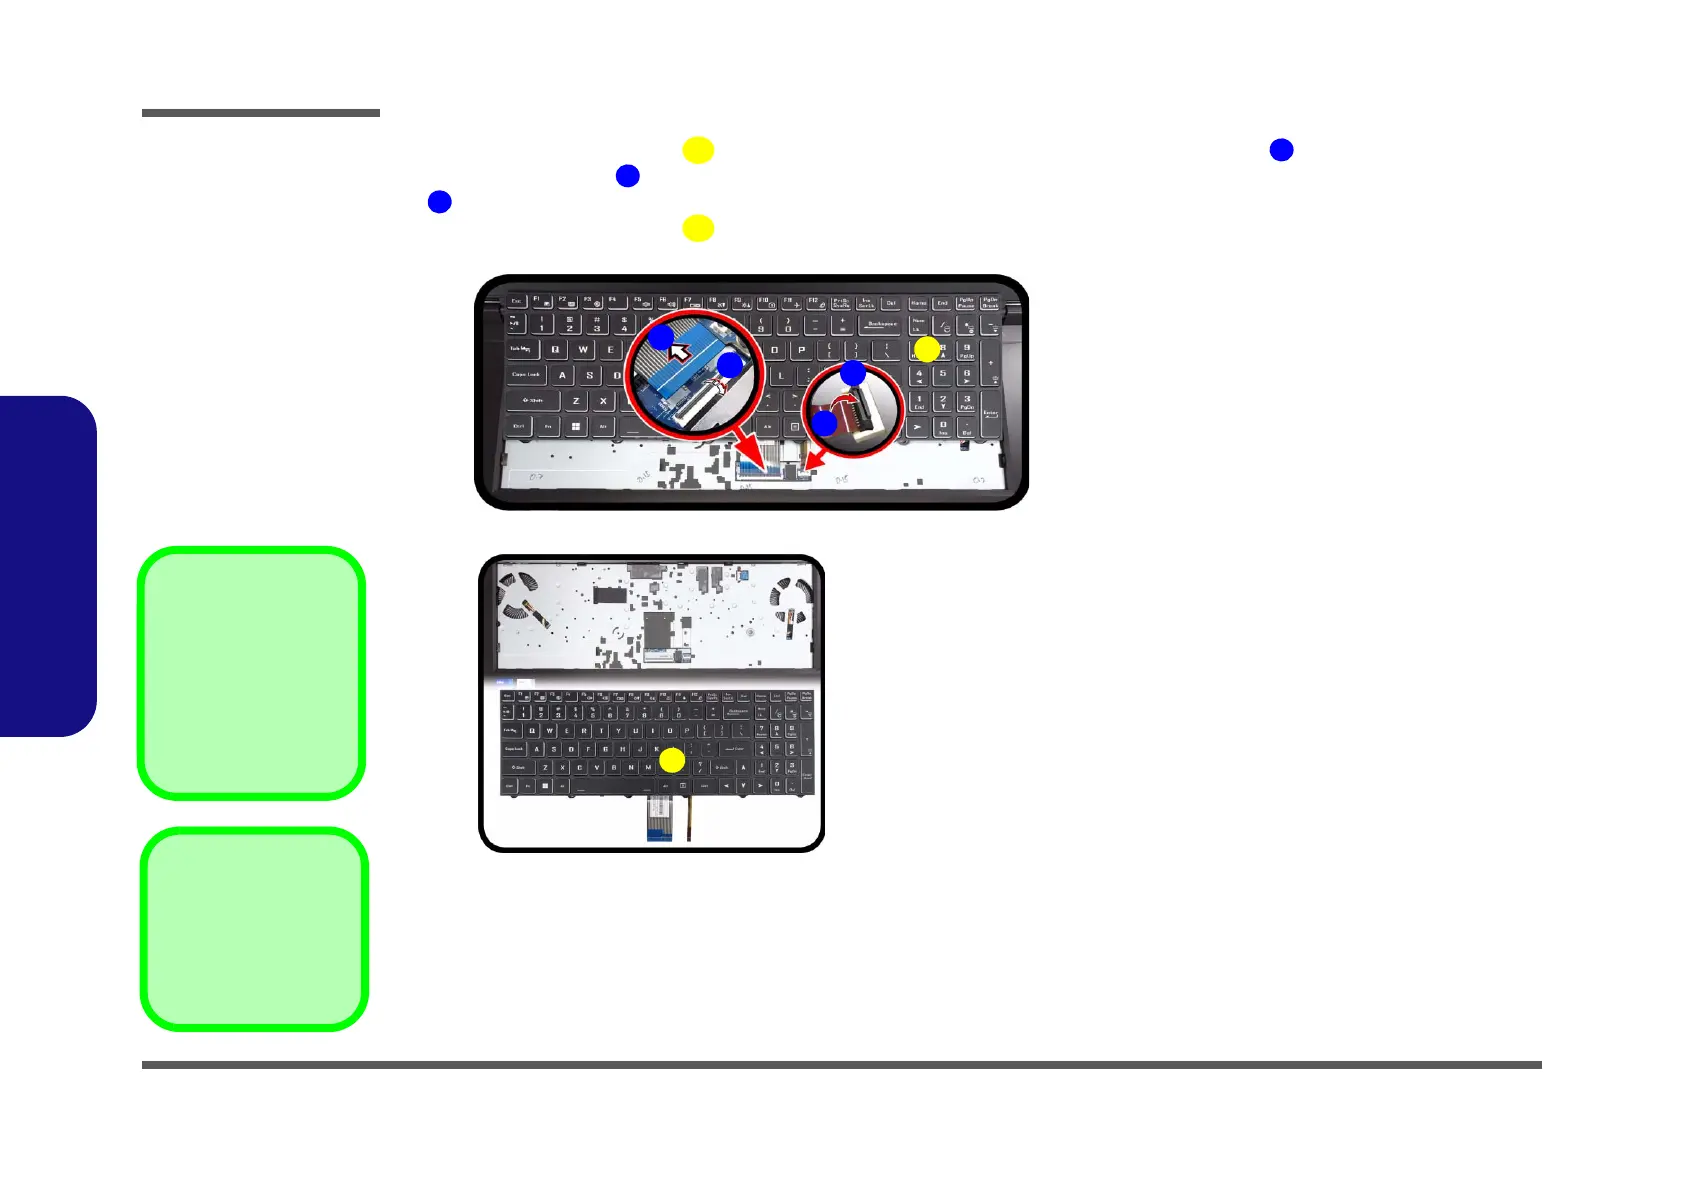
4. Carefully lift the keyboard up, being careful not to bend the keyboard ribbon cable . Disconnect the key-
board ribbon cable from the locking collar socket by using a flat-head screwdriver to pry the locking collar pins
away from the base (Figure 4c).
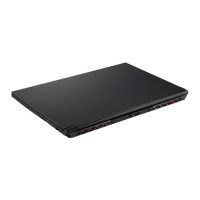
5. Carefully lift the keyboard off the computer (Figure 4d).
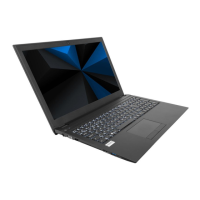
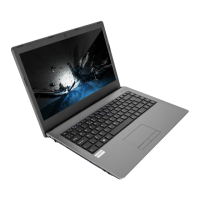
Figure 4
Keyboard Removal
(cont’d.)
c. Lift the keyboard up and
disconnect the keyboard
ribbon cable from the
locking collar socket.
d. Remove the keyboard.
Re-inserting the Key-
board
When re-inserting the
keyboard firstly, align the
keyboard tabs at the bot-
tom of the keyboard with
the slots in the case.