Disassembly
2 - 8 Removing the Optical (CD/DVD) Device
2.Disassembly
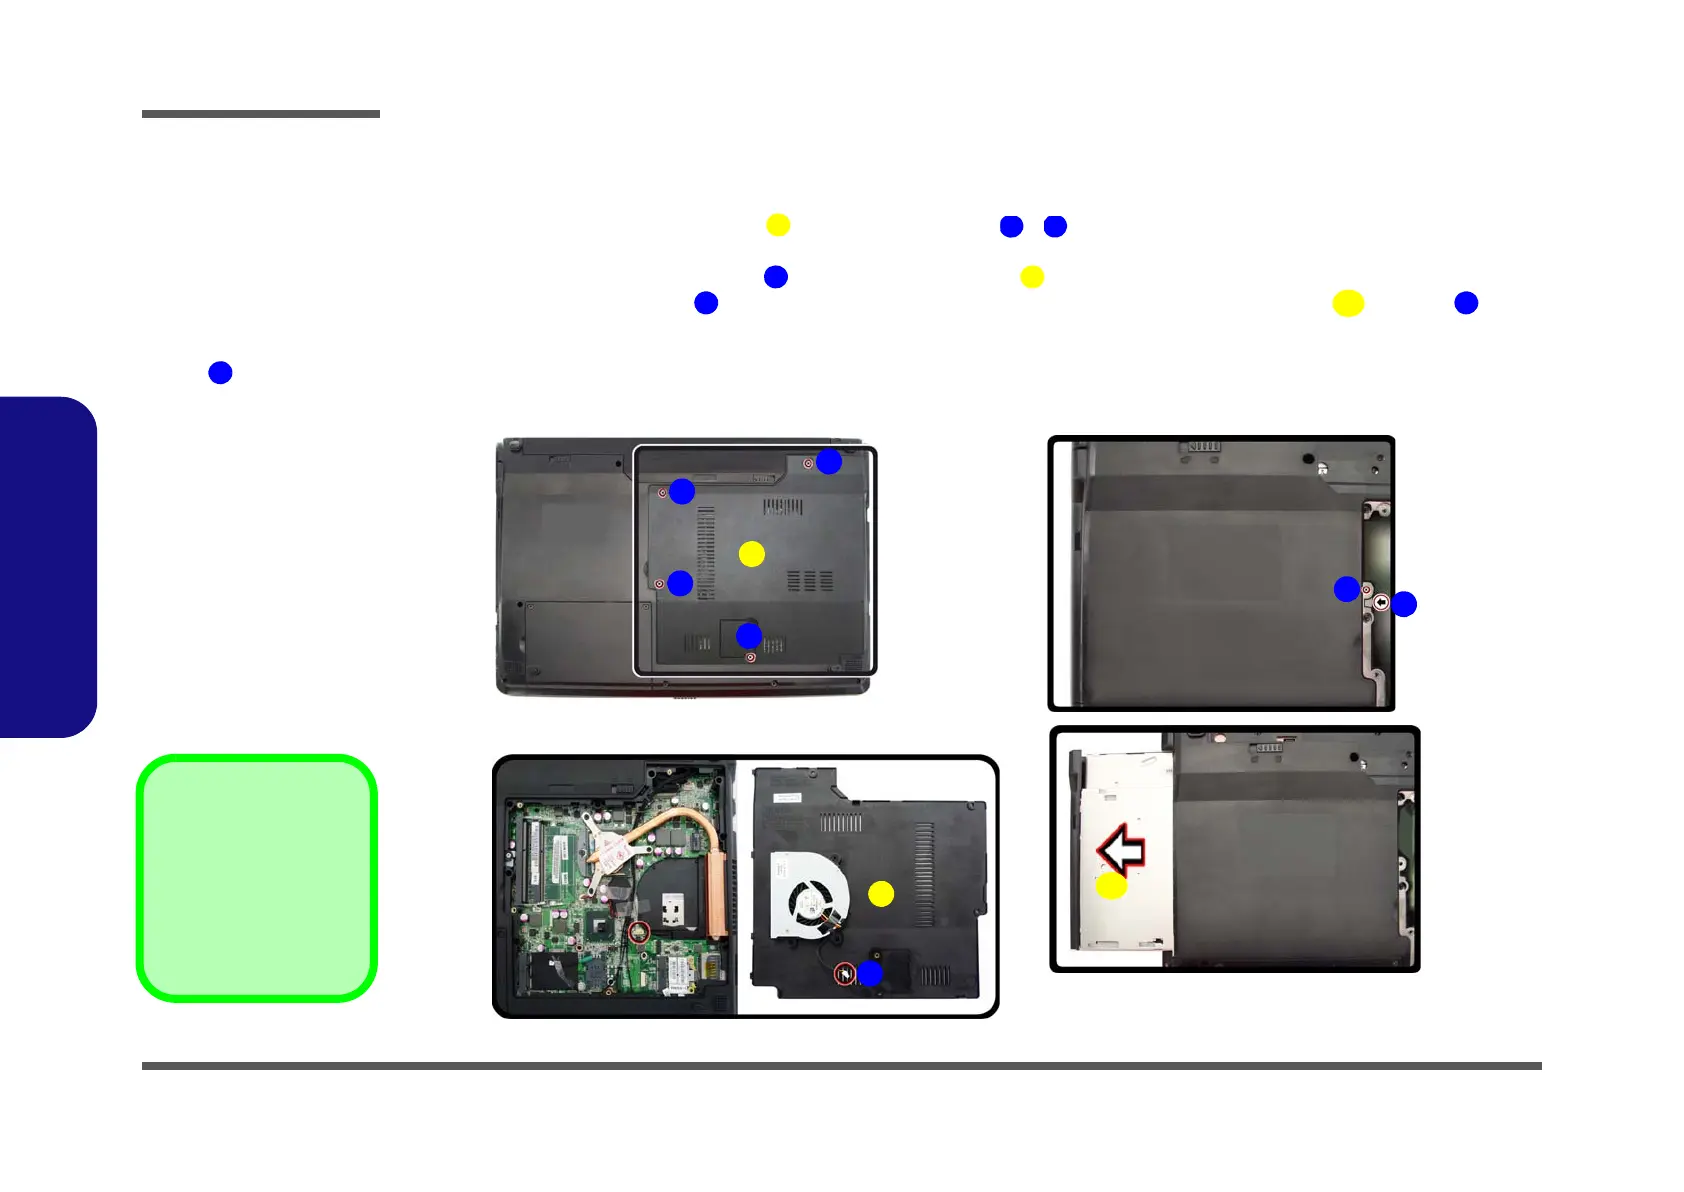
Removing the Optical (CD/DVD) Device
1. Turn off the computer, and remove the battery (page 2 - 5).
2. Locate the RAM & CPU bay cover , and remove screws - (Figure 4a
).
3. Carefully (a fan and cable are attached to the under side of the cover) lift up the bay cover.
4. Carefully disconnect the fan cable , and remove the cover
(Figure 4b).
5. Remove the screw at point , and use a screwdriver to carefully push out the optical device at point (Fig-
ure 4c
).
6. Insert the new device and carefully slide it into the computer (the device only fits one way. DO NOT FORCE IT; The
screw holes should line up).
7. Restart the computer to allow it to automatically detect the new device.
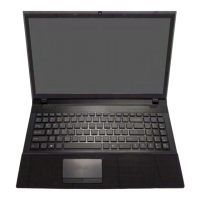
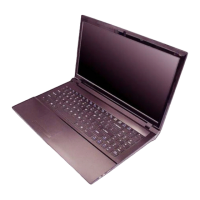
Figure 4
Optical Device
Removal
a. Remove the screws.
b. Remove the cover.
c. Remove the screw and
push the optical device
out off the computer at
point .
1. Component Bay Cov-
er
9. Optical Device
•5 Screws
 Loading...