4
OPERATION
Installation
1. The light comes with one solar panel supplied. During the day, the light automatically absorbs light
energy from the sun and stores it in the built-in rechargeable battery.
2. The solar panel must be installed facing up and capturing maximum sunlight hours each day. To get
better eciency of charging, ensure that the solar panel is installed in a bright sunlight location and not
in a shaded area.
3. The work time of the light depends on your geographical location, weather conditions and seasonal
sunshine availability. Must be taken into consideration that the sun trajectory is at a much lower angle
and with shorter available day light hours during winter. Daylight hours will be longer in summer.
Securing the Light & Solar Panel
This light also comes with wall mounting accessories to wall mount the solar panel. The following
installation instructions must be adhered to in order to ensure that it is installed and secured safely:
1. When installing the solar panel and light, it is important to ensure that the light is securely mounted indoors
and the solar panel is mounted on the outdoor wall area. Take care during the installation process to avoid
damaging any concealed cables.
2. The wall mount must be secured into solid substrate (brick , concrete etc.) or aligned with timber or metal
wall studs. Do not secure onto just plaster or similar materials that cannot support the weight of the light.
Screws and wall plugs are included.
3. Ensure that the solar panel is mounted away from any surrounding combustible materials.
4. Do not use the light until properly fixed to the wall and the instructions are read fully.
5. Please be careful while drilling the holes.
Securing steps for Solar Panel:
Note: Remove the packaging material completely. Before assembly, decide where you want
to install the product. Pay attention to the following when selecting an installation location.
The light must be turned off before securing the panel
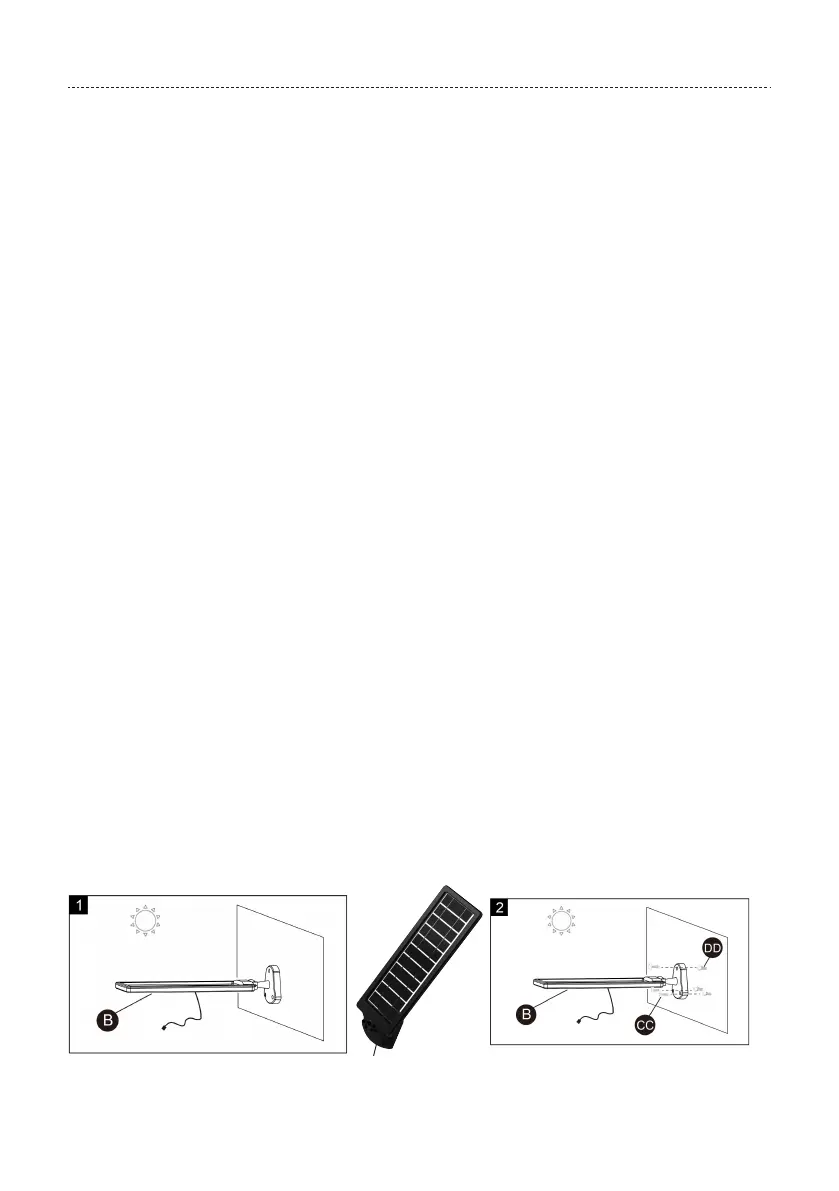
1. Ensure your solar panel (B) is installed so it can receive direct sunlight. Be aware of objects such as trees
or property overhangs that may impede the panel’s ability to generate a charge. To adjust the solar panel,
loosen the wing nut and position the panel. When desired position is achieved, tighten wing nut until
secure. The solar panel is equipped with a 4.5m connecting wire, so the light fixture and solar panel can
be installed up to 4.5m apart.
2. Put the solar panel base on the wall to mark the 3 screws holes (applicable to solid substrate of brick,
concrete etc.) and ensure it is vertical. Use 6.0mm Masonry drill bit, drill 25 mm deep holes, insert wall
plugs into the holes. Use 3pcs ST4X25 screws (provided) to fix the solar panel of the right way up on the
wall.
The right way up of the solar panel
 Loading...