6
Ceiling mounted and wall mounted installation
. Select suitable location that can support the weight of the fixture, and make sure it is within the reach
of the power cord of the solar panel. Determine method of mounting before drilling.
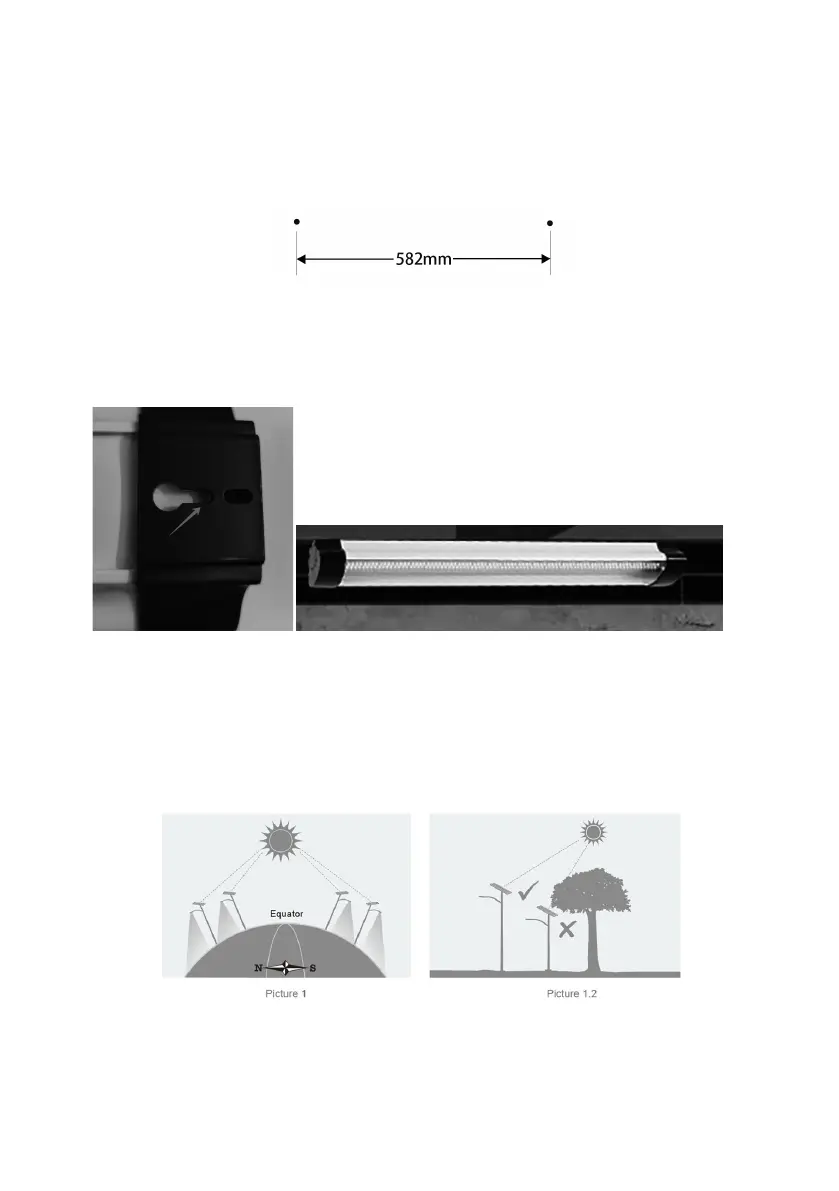
Mark the screws holes (applicable to solid substrate of brick, concrete etc.) on the ceiling or wall, and
ensure it is leveled on a line. Use .mm Masonry drill bit, drill 5 mm deep holes, insert anchor into the
holes. Secure with the pcs STx25mm screws provided. For fastening to wall stud there is no need to
drill .mm hole, drilling a .mm pilot hole for securing with screw directly into wall stud is sucient.
NOTE: A minimum distance of 1.5m from the floor for wall mounted installation. Ensure the
two screws holes are equally levelled by using a spirit level whilst marking out the hole
positions.
.
Lift the light and place it carefully onto the wall brackets. Slide unit to the right to secure light into key
hole slots as shown in picture below.
. Carefully route the power cord of the solar panel (B) to the light fixture (A) and plug into the socket located
on the light. Use the solar panel (B) only for charging the light fixture (A). It is not designed to charge other
equipment or devices. Pull the chain once to turn on the light on low brightness mode (600 lumens). Pull
the chain twice for a higher brightness mode (1200 lumens). To turn the light off, pull the chain three times.
NOTE: Solar panel needs to charge in direct sunlight for 10-15 hours to fully charge the
battery. The light will charge in the ON or OFF position.
 Loading...