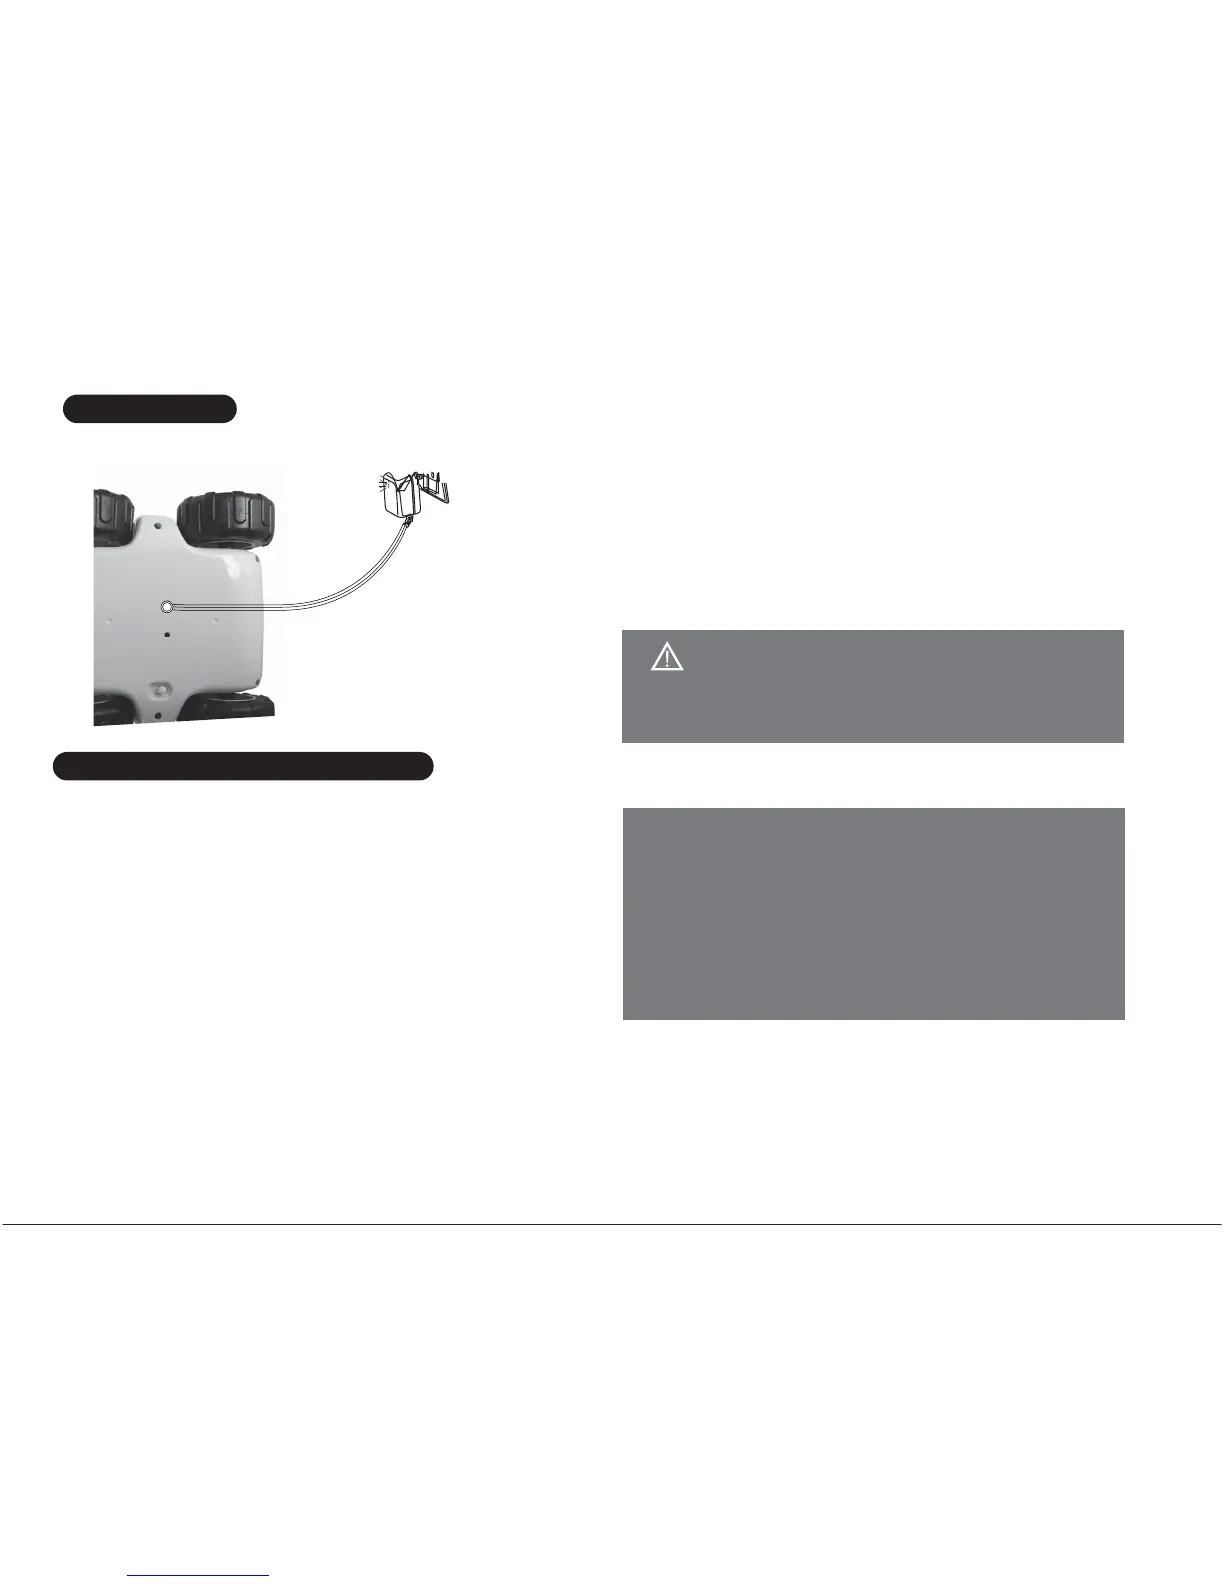
CHARGING
1. Turn the vehcile power switch on "OFF" or “ON” Position.
2. The tail light will be red flashing when charging.
3 . When the charging completely finished, All the tail
flash light will be light up in red.
CAUTION:
Notes:
-3-
Do not remove the indoor battery out of the
Cloud
Rover™
Vehicle.
HOW TO CONNECT THE WI-FI
1. Please check up the SSID number on the bottom of
the vehicle. Move the power switch on the vehicle to
"ON" position. The power will illuminate, Wait
approximately 60 seconds and the signal light will start
to blink slowly.
2. On your iOS, Android and PC system device, go to
settings and trun on the Wi-Fi. The SSID address of
your vehicle will appears as an available connection.
3. Select the vehicle to confirm the connection. Ensure
there is a check mark to the left of the SSID address
and the Wi-Fi connection logo appears at the top of
your device's screen.
4. Exit out of setting and open the "Cloud Rover™".
Each
Cloud Rover™
vehicle has an unique SSID
address ( stick on the underside of each vehicle).
If there are multiple vehicle's being used, the
individual SSID address will appear as Wi-Fi
connection on your device, select your vehicle's
SSID address.
5. The signal light will blink faster now.
6. When your device screen shows the view from the
vehicle's live-stream video camera. Your are ready to
start exploring.
Remark: The Charging time will be shorted in half
when the power switch is on “OFF” state.