Do you have a question about the Cloud CV SERIES and is the answer not in the manual?
Covers risk of electric shock and opening the unit.
Explains lightning flash and exclamation point symbols in hazards.
Lists 14 essential safety instructions for installation and use.
Notes on avoiding moisture, heat, ventilation, and proper handling.
Details EMC and electrical safety standards met by the product.
Information on hazardous substances and end-of-life disposal.
Covers earthing, high voltage, mains fuse, and servicing safety.
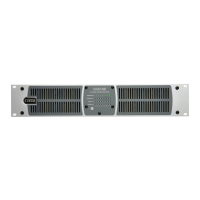
Overview of amplifier capabilities and target applications.
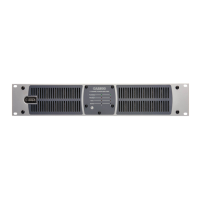
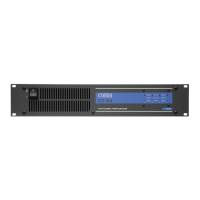
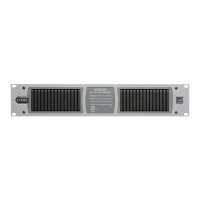
Lists the CV2500, CV4250, CV6160, CV8125 models and their specs.
Details on onboard DSP for routing, filtering, EQ, and limiting.
Lists items included in the product packaging.
Illustrates the internal signal flow and components of the amplifier.
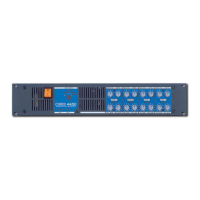
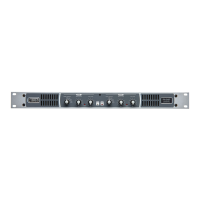
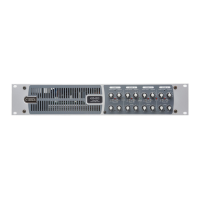
Explains the function of buttons, LEDs, and ventilation on the front panel.
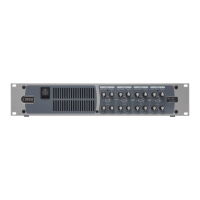
Details all input/output connectors, DIP switches, and ports.
Guidance on rack mounting, spacing, and airflow for installation.
Instructions for turning the amplifier on/off and using APD mode.
Procedures for remote standby and resetting to factory defaults.
Details on output protection against faults and spikes.
Explains how total power is distributed across amplifier channels.
Describes balanced and unbalanced input connections.
How to use DIP switches to route input signals to amplifier channels.
Details on connecting to 70V/100V line speaker systems.
How to configure voltage for 70V or 100V line speaker systems.
Setup of high-pass filters to prevent speaker transformer saturation.
Adjusting channel output levels using rear panel controls.
Connecting RL-1 plates or DC voltage for remote level adjustment.
Details on using AUX outputs for expansion, recording, or system linking.
Accessing amplifier functions via a web browser.
Steps for connecting the amplifier to a network using Discovery Tool.
Procedure for entering and changing the installer PIN.
Setting IP addresses, subnet masks, and gateways.
Navigating and configuring channel settings via tabs like Input Routing and Output.
Configuring input sources and routing for individual channels.
Using bass/treble filters and parametric EQ for room acoustics.
Applying EQ presets or manual settings for speaker response.
Adjusting the high-pass filter frequency and slope for speaker protection.
Adjusting output level, muting channels, and voltage selection.
Configuring the DSP-implemented limiter to prevent clipping.
Routing and summing inputs for auxiliary outputs.
Applying EQ and filter settings to auxiliary outputs.
Managing DSP blocks for mono, stereo, and crossover configurations.
Allocating DSP blocks to pairs of channels for stereo operation.
Configuring a 2-way mono crossover using DSP blocks.
Viewing rear panel settings like Level, Input, Filter, and Voltage.
Interpreting front panel LED mimics for Powered, Protect, Peak, and Signal.
Recording and reviewing amplifier events and faults.
Listing the submenus available under the Config menu.
Configuring DHCP, IP address, subnet mask, and gateway.
Setting unit names, HTTP, Bridge, and TCP/UDP parser ports.
Setting the amplifier's internal clock and synchronizing with browser.
Programming wake and sleep times for automated power management.
Setting the serial port baud rate.
Selecting which critical events are logged and transmitted.
Configuring GPIO pins for input (muting, user control) or output (faults, indicators).
Renaming line inputs for intuitive interface.
Naming DSP blocks for easier identification of channel configurations.
Setting time delays for loudspeaker alignment across channels.
Exporting and importing amplifier settings for backup or replication.
Procedure to change the installer access PIN.
Viewing firmware versions and hardware information.
Details on GPIO port pins, configurations, and external connections.
Connecting and controlling the amplifier via RS-232 interface.
How channels are grouped into blocks for serial commands.
Examples of common commands for input selection and level control.
Setting absolute levels or relative changes via serial commands.
Information on RL-1 plate form factors and connections.
Using external DC voltage for remote audio level adjustment.